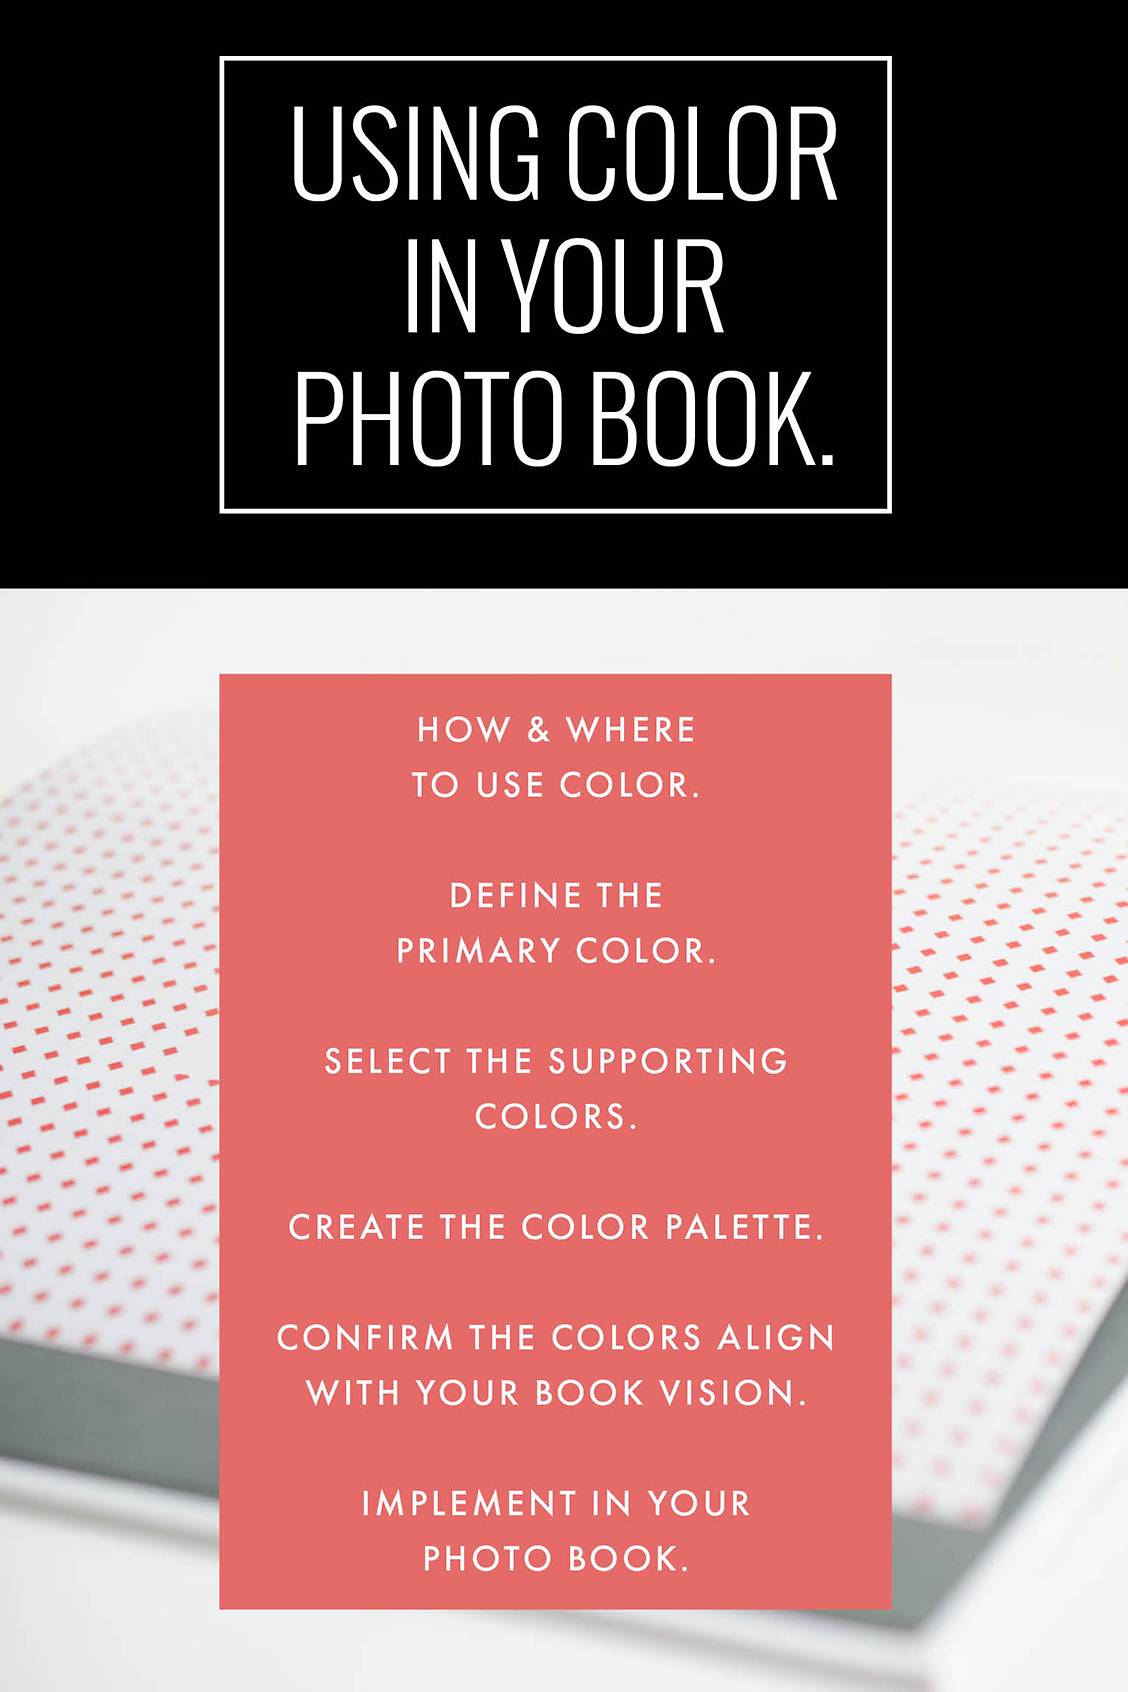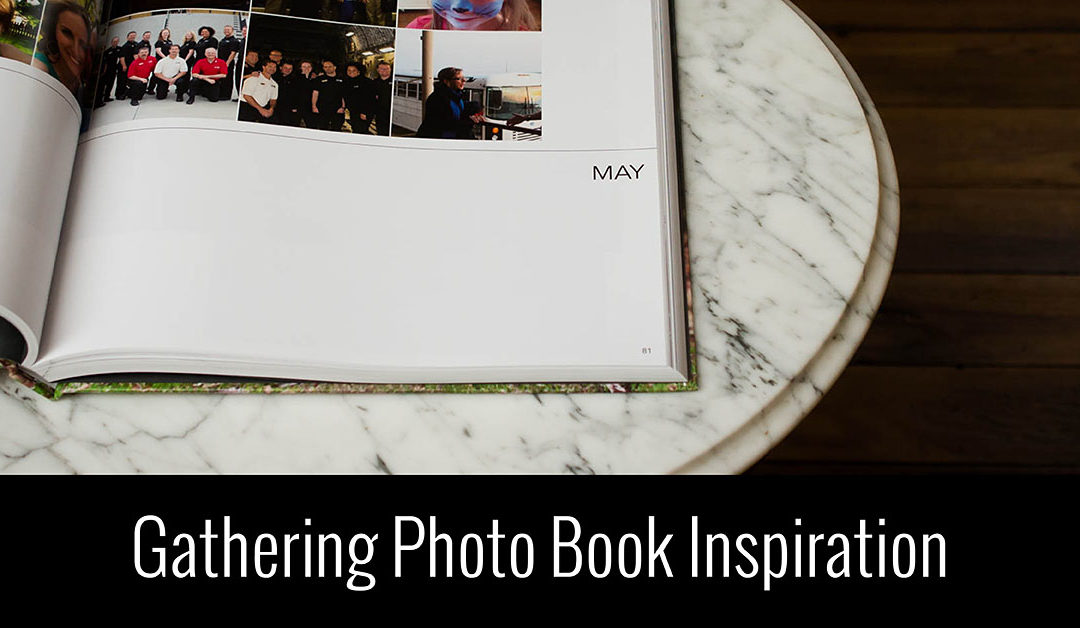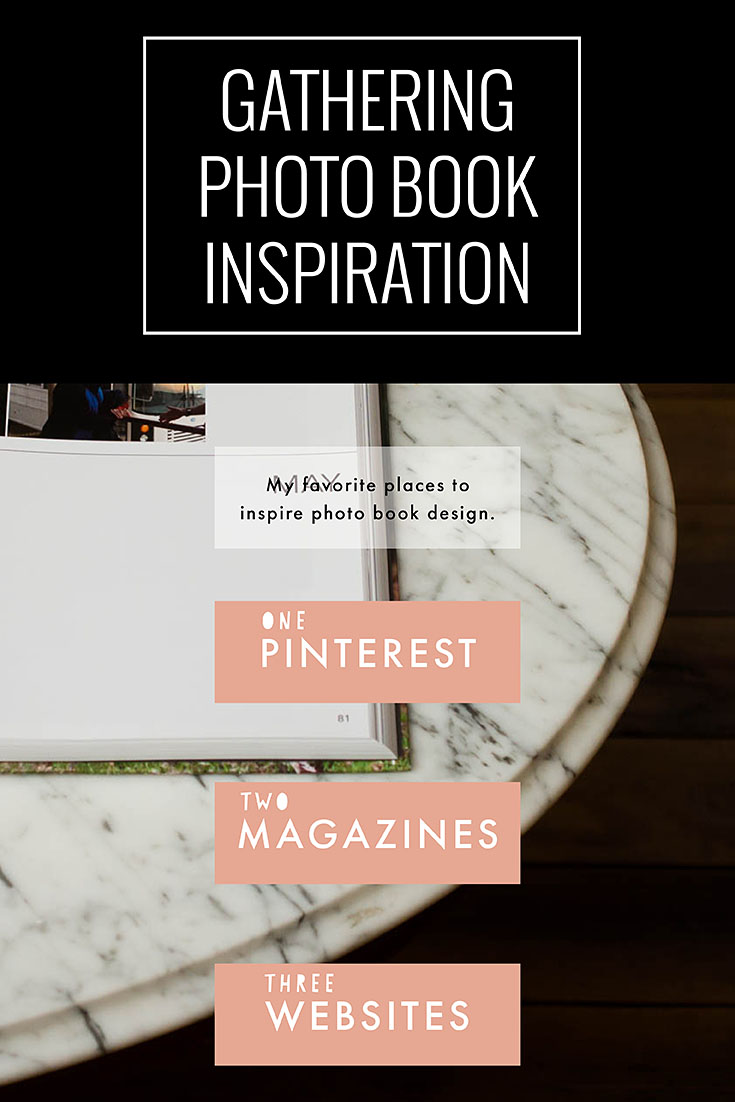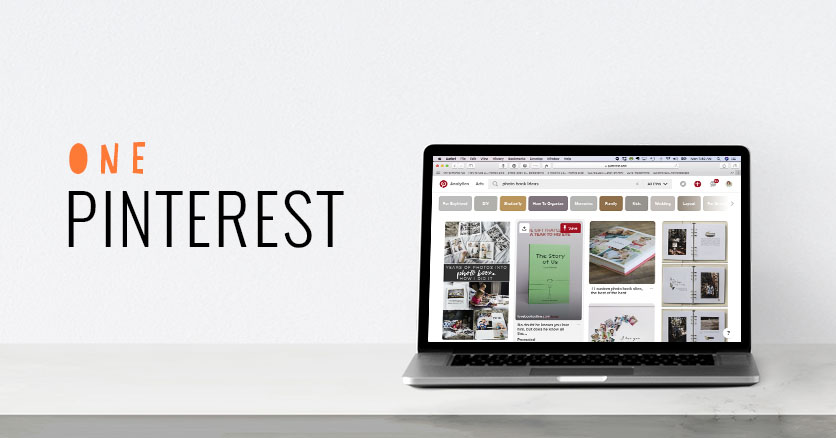
Kid Author: 3 Tips to Help your Kid Write a Photo Book
*This blog post contains affiliate links. By clicking on a link and making a purchase, Book This Project will earn a small commission. I only recommend products I use and highly recommend to make your photo book experience better.
During one of our summer vacation at the beach, we experienced our first King Tide. My mother-in-law explained that this is the highest predicted high tide of the year based on how the Sun, Earth and Moon line up. My daughter, who just finished her first grade year, was completely fascinated by this idea and kept imagining herself as a mermaid experiencing the high tide. I made the suggestion that she should take this idea and make a story out of it. We could make a photo book together. As I’m sure you could imagine, my heart skipped a beat when she jumped up and down and was excited to make her very own book. Usually, my suggestions are not met with as much enthusiasm. So, one afternoon of our vacation, we skipped the ocean, sat out on the screened in porch and worked on this photo book. Here are a few of my favorite tips and suggestions to help your own budding author!
1: Set up the Photo Book Parameters ahead of time
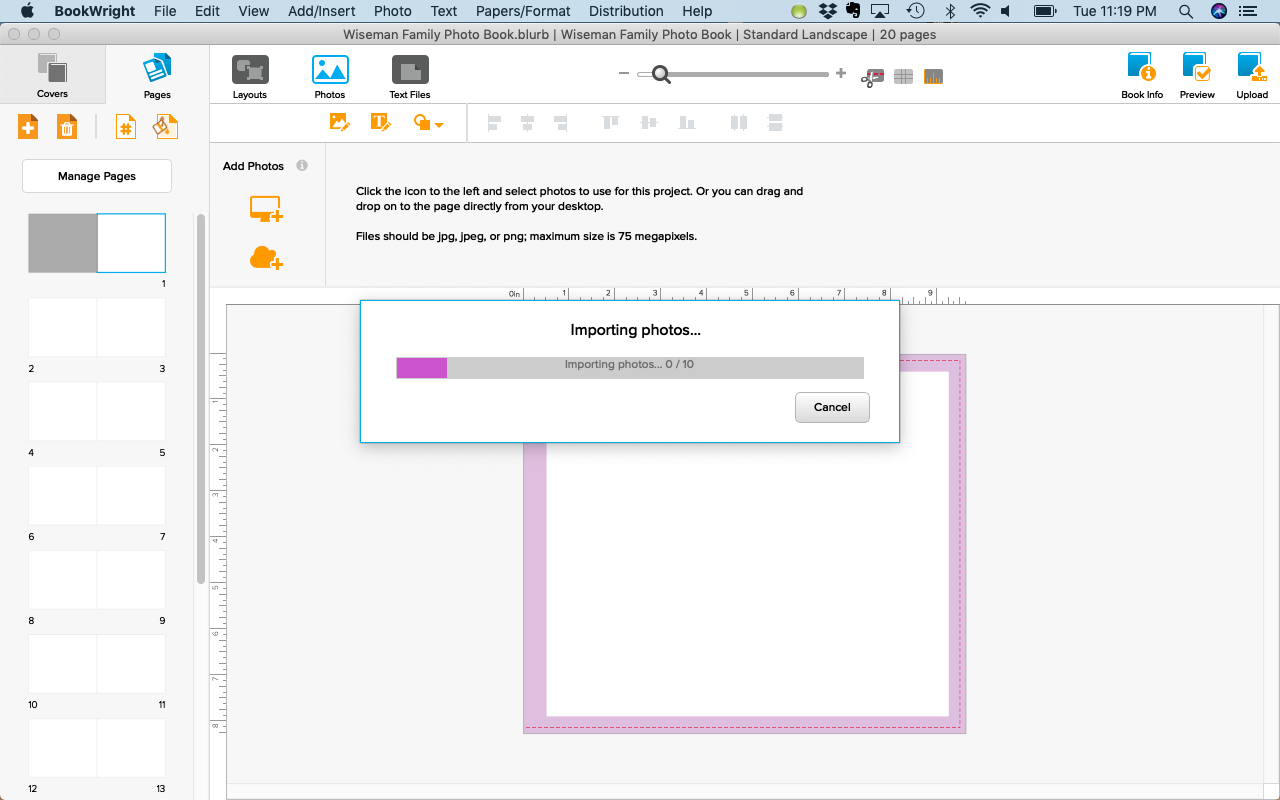
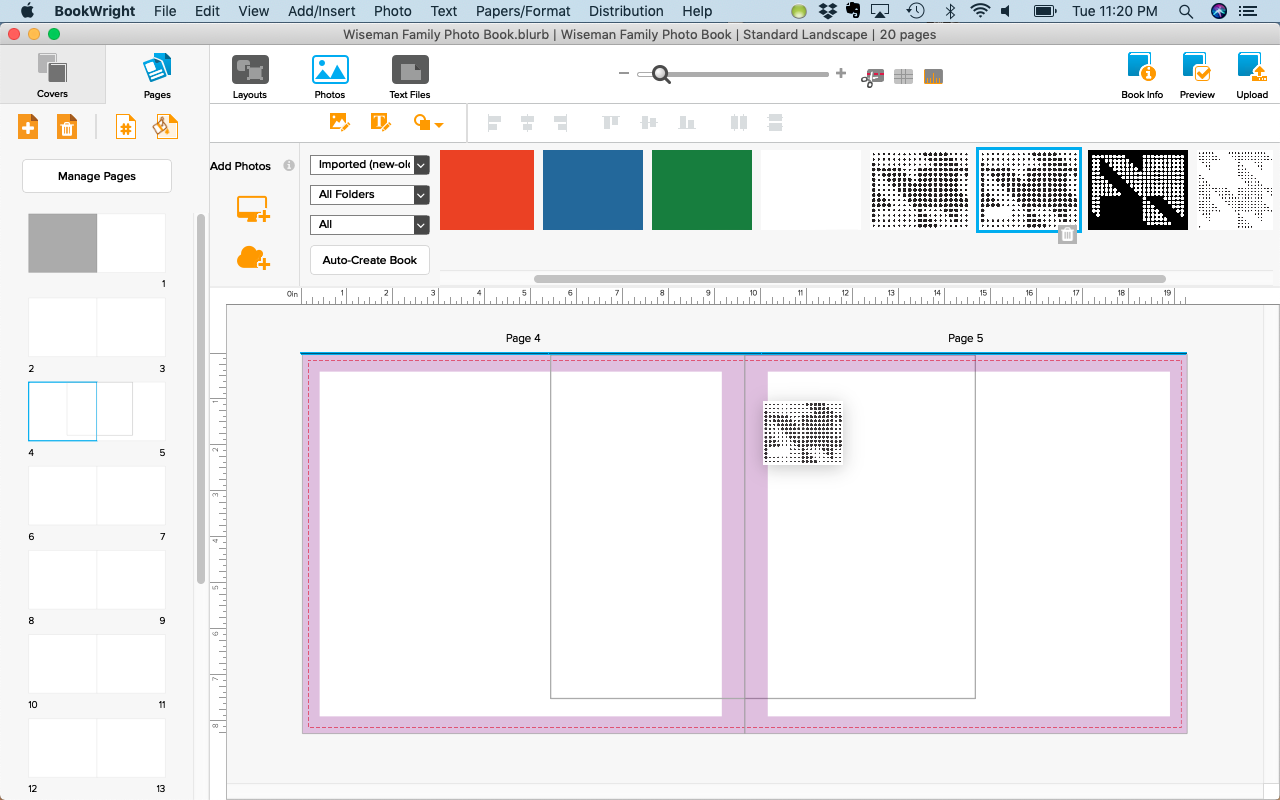
Before you start the process with your kid, I recommend that you set up the photo book parameters (paper, cover, etc), define the approximate number of pages and import the graphics or any photos that you want to incorporate. This saves some of the boring work and allows you to get started with the fun stuff when you sit down to work on it with your little one.
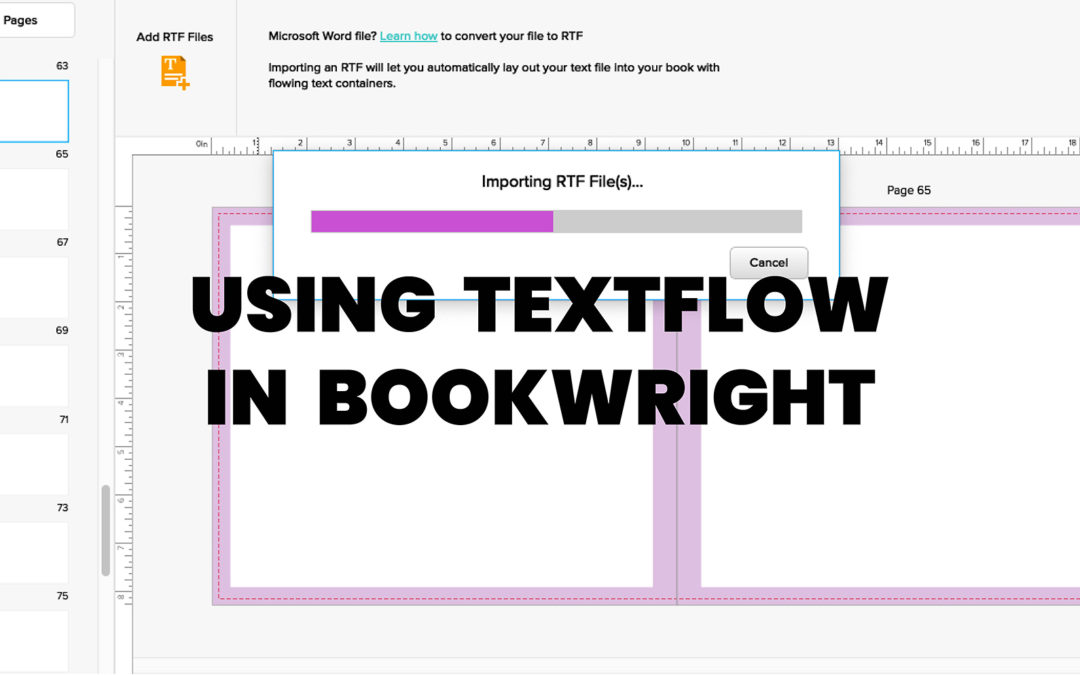
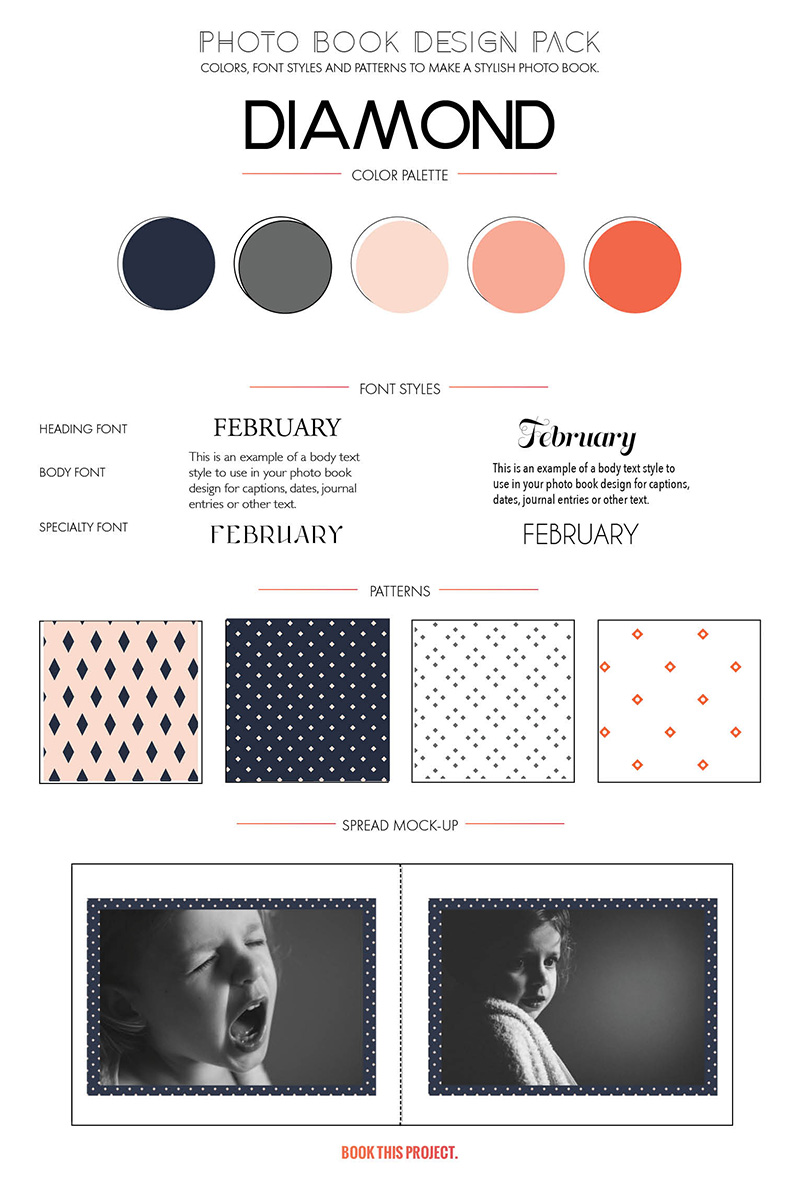
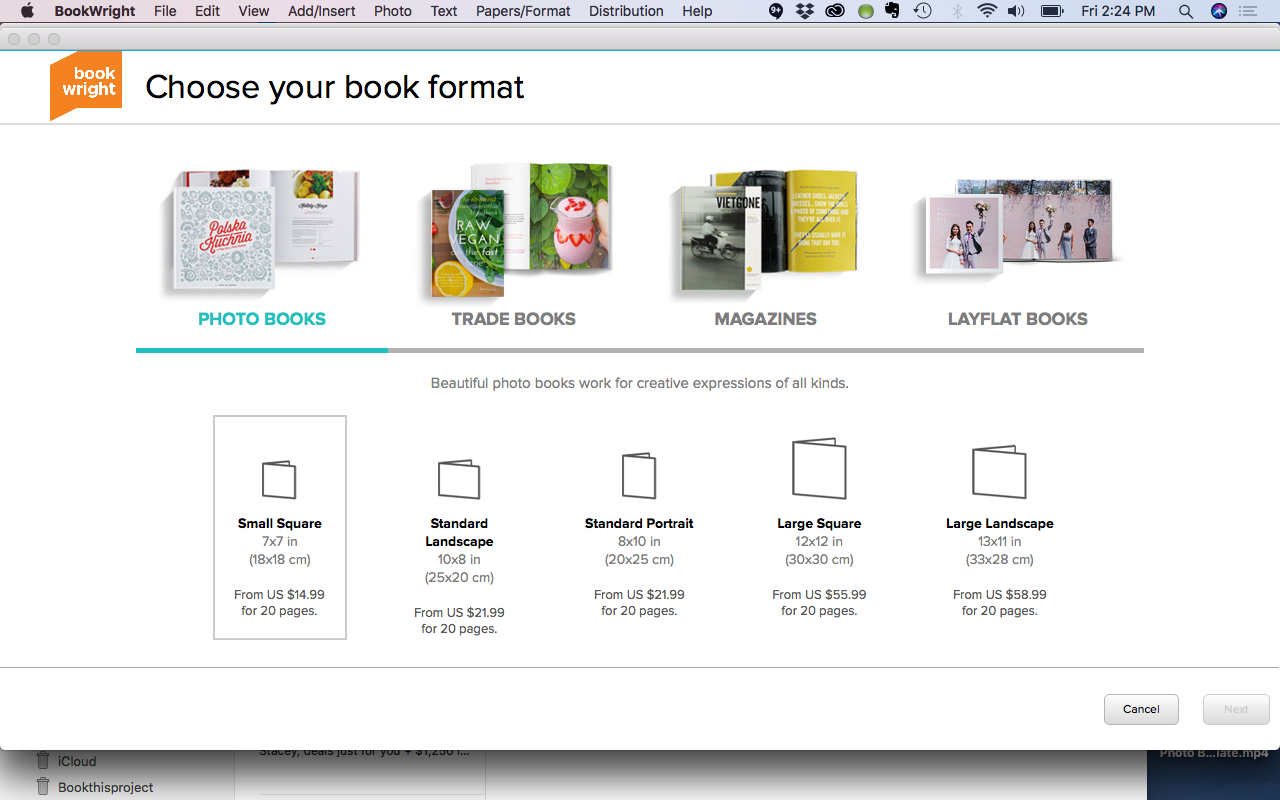
For this photo book, I recommend using Blurb’s BookWright program. Our photo book was a soft cover book with standard paper.
Another piece of advice, have your son or daughter think through a rough outline of the story ahead of time as well. This gives you a sense of how they are starting to formulate the basic structure of the story. Of course, it doesn’t have to be perfect but you’ll want to make sure they have a main character that follows a series of action steps. Bonus points if the action that a character is doing leads up to a conclusion, or main point.
2: Write the book with pre-made graphics in mind
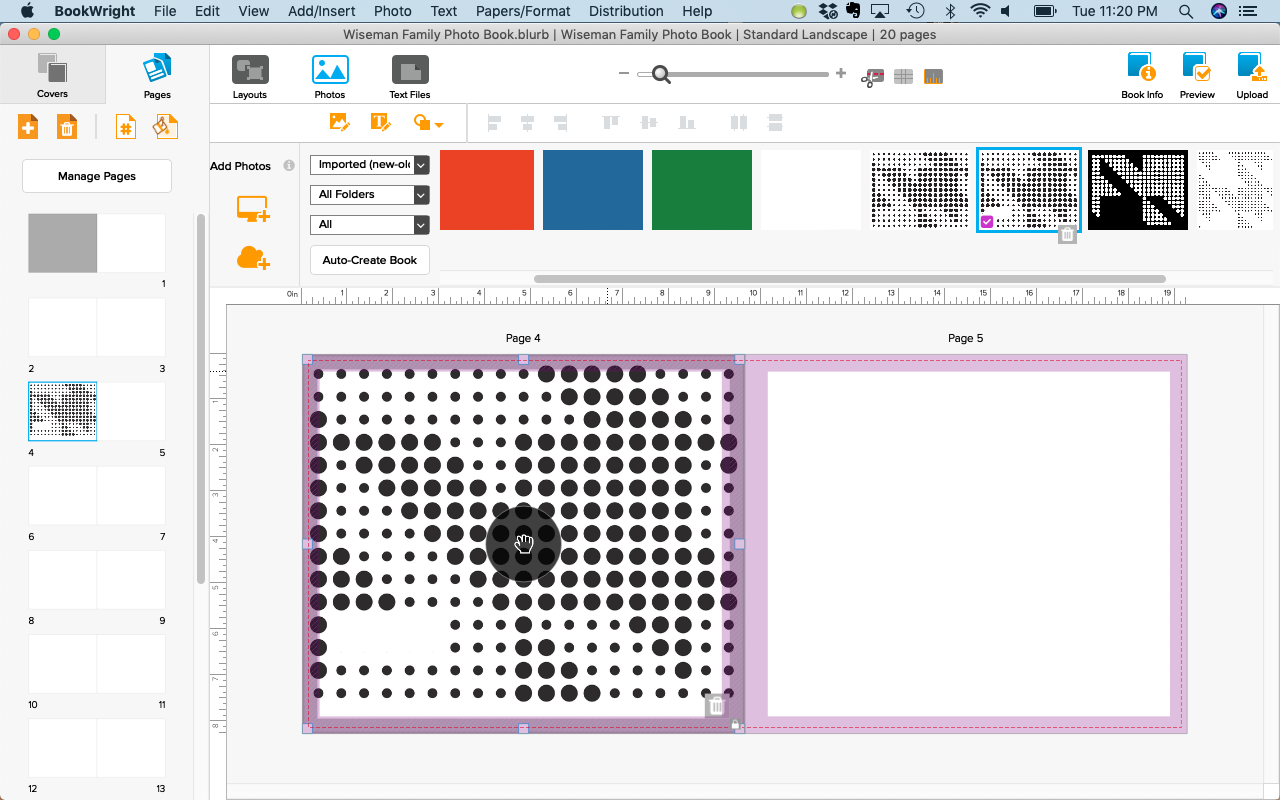
Before we got started with writing, I looked for graphics that roughly match the storyline she’s created. If your kid loves to draw, you could easily have them make drawings for the photo book. However, this will add a little more time to the process. For me, especially on vacation, it was easier to find already made graphics that we could use.
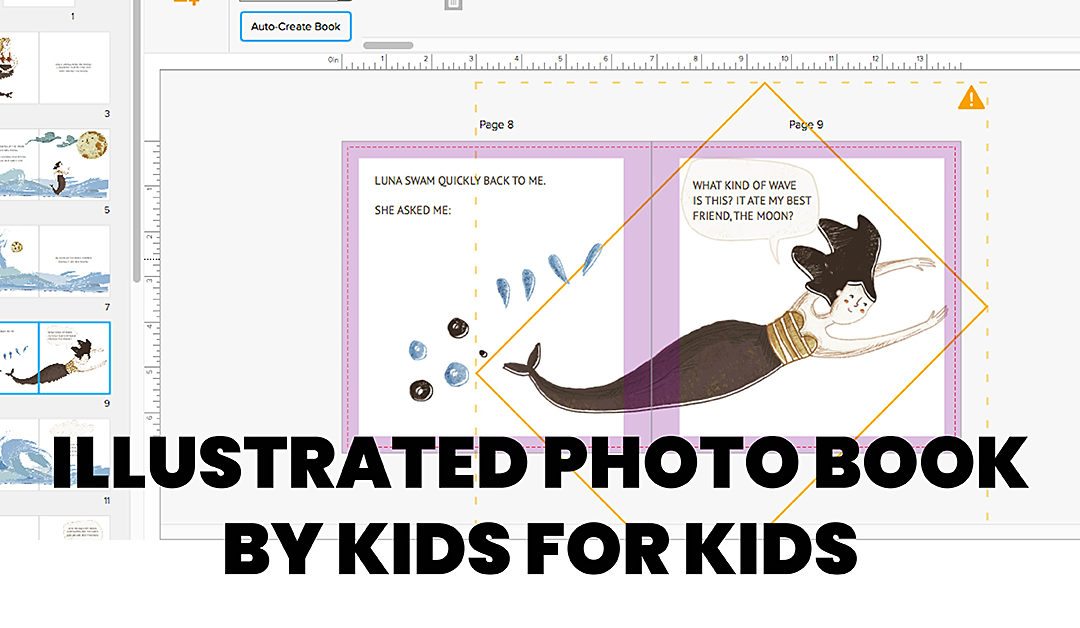
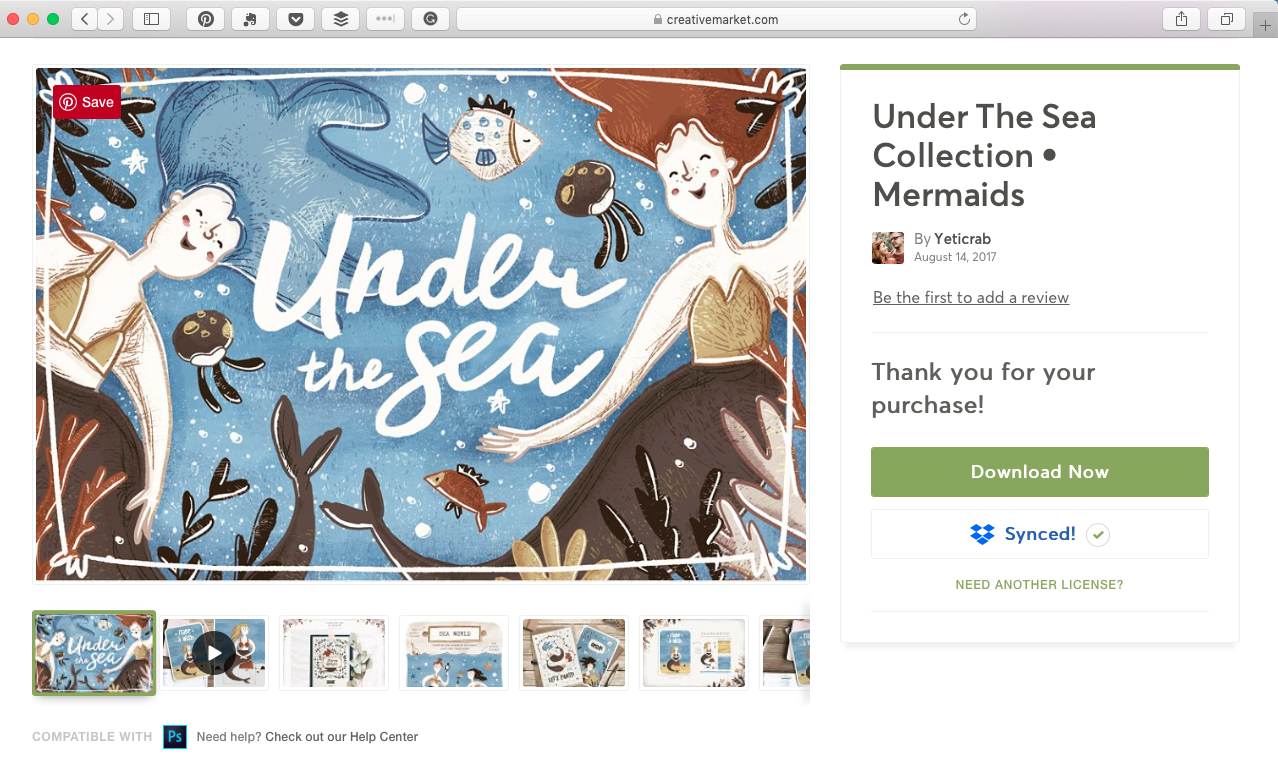
For our story, I used these graphics from Creative Market. I loved this pack because it included characters (mermaids) plus flora/fauna to add interest to the page. It also had frames and speech bubbles in the same graphic style which made the book creative and consistent.
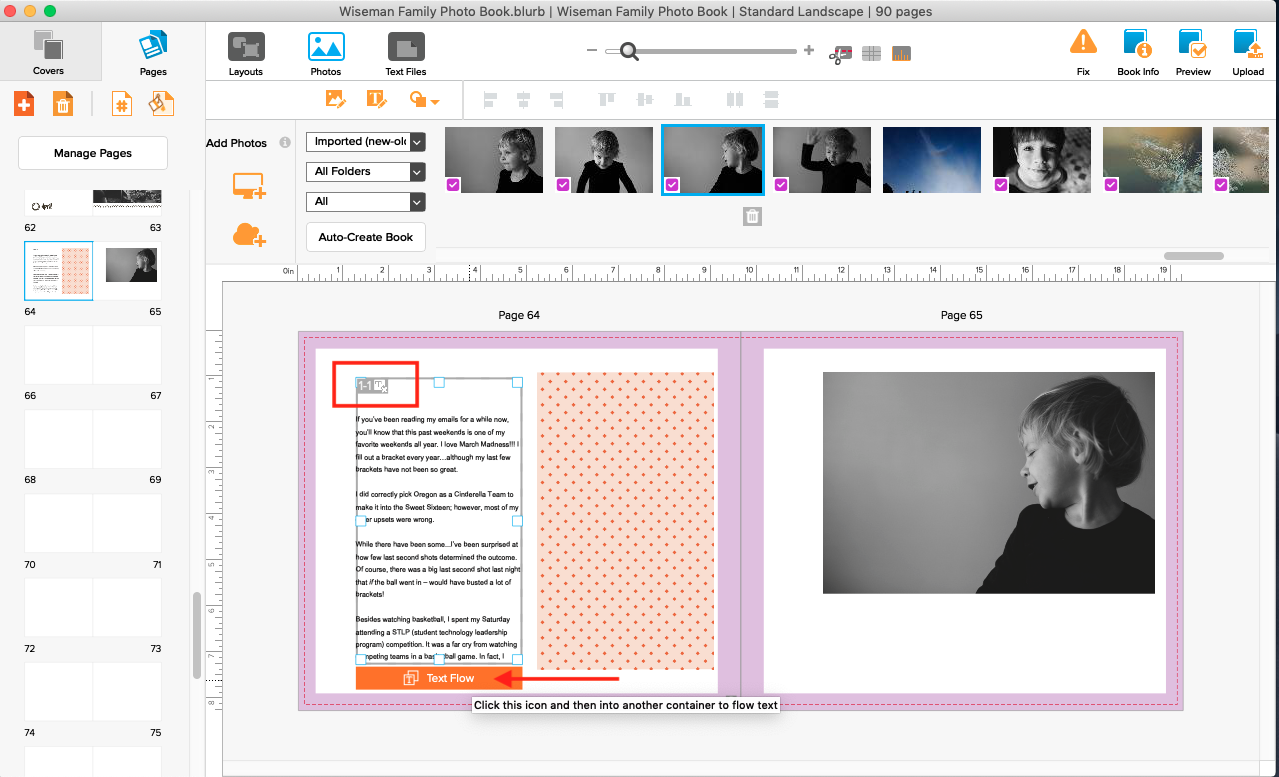
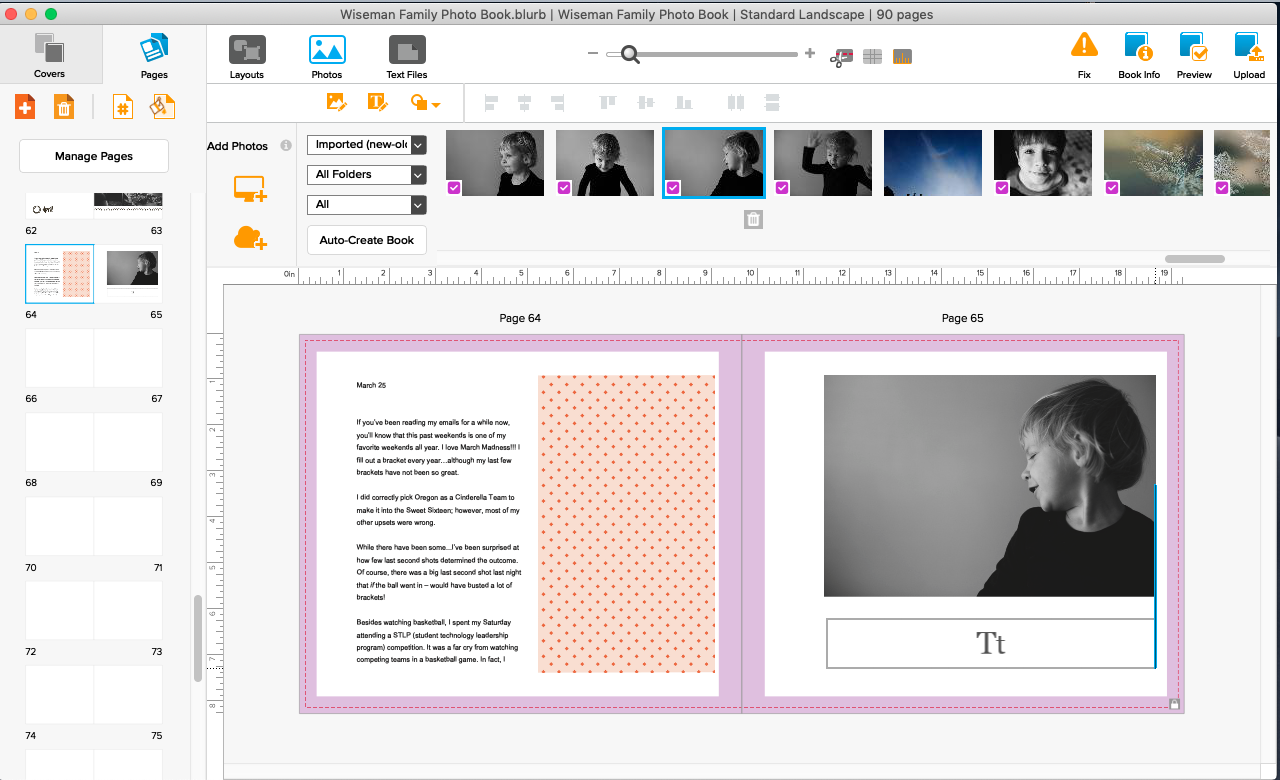
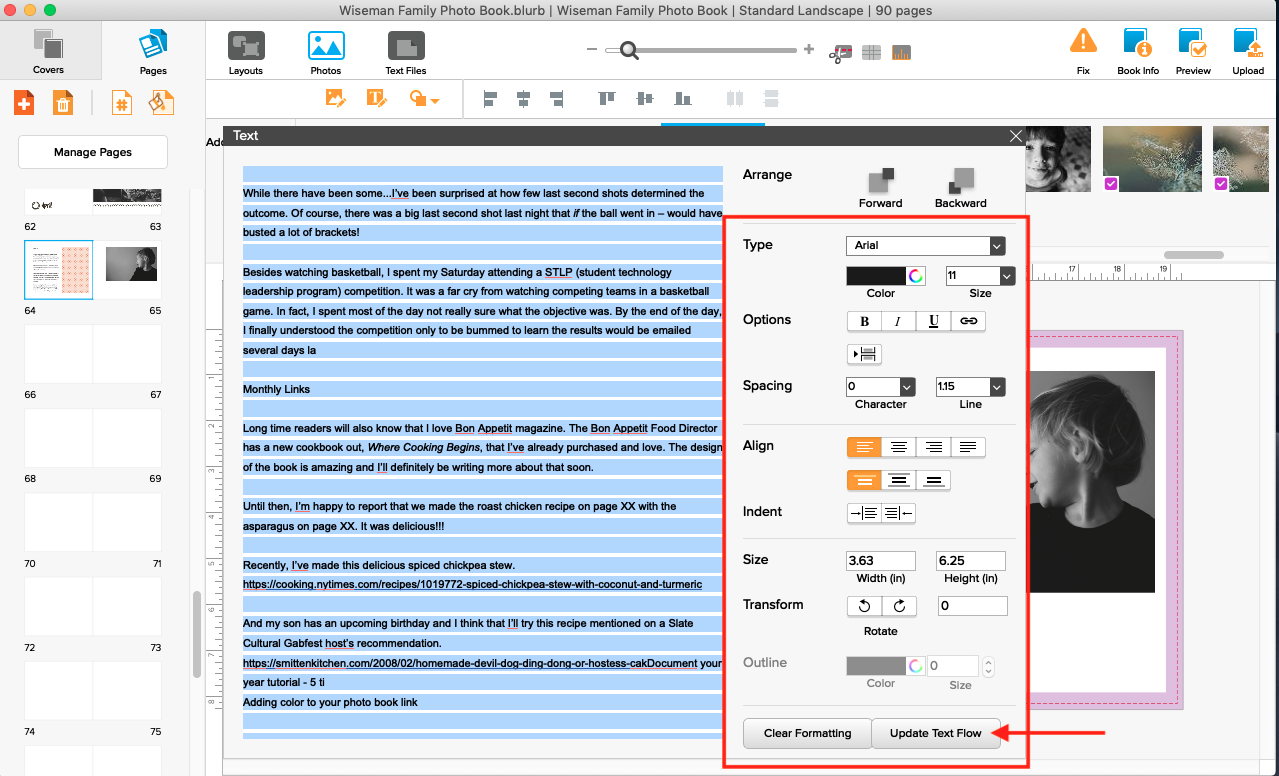
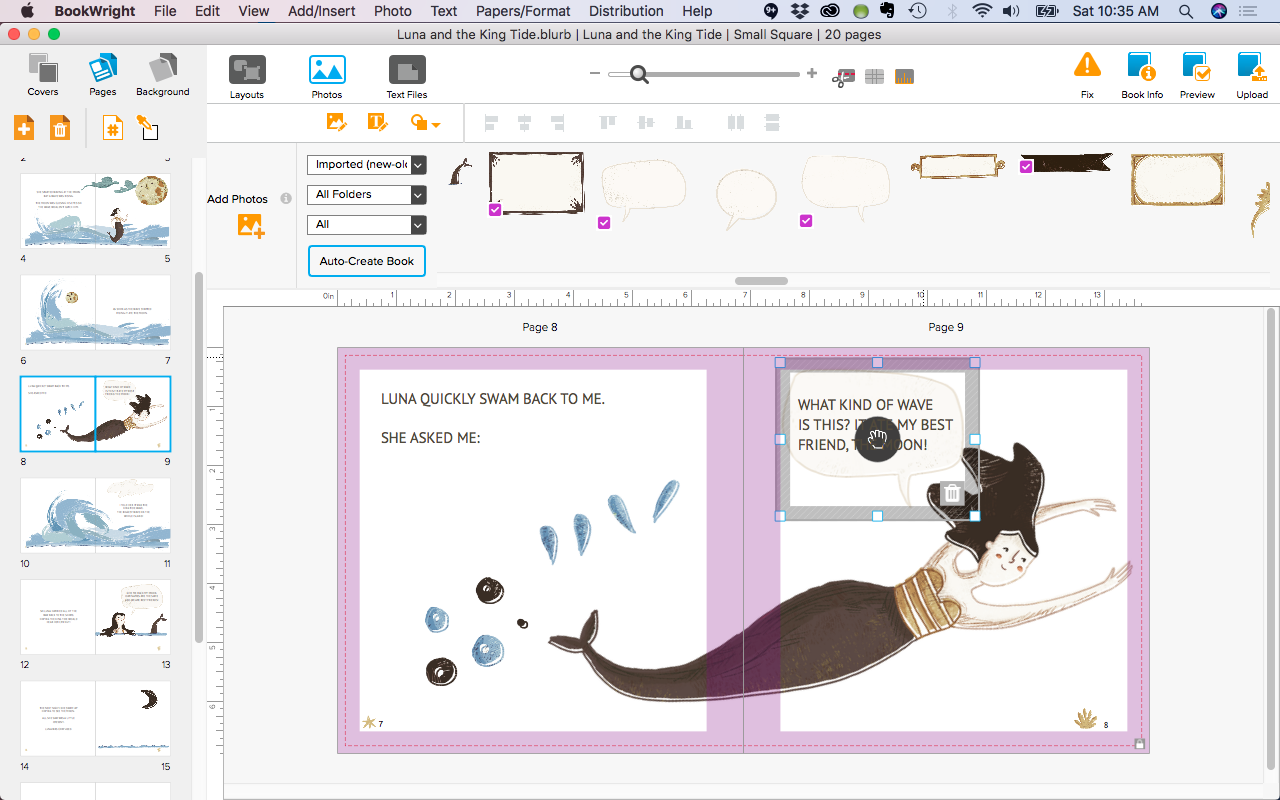
Since the graphics were already imported into the design program (see tip 1), we went page by page with my daughter selecting which graphic she wanted to use. Then she would tell me the text and I would type it in. Once we finished the full story, we read back through it and made any edits together. In this process, I would ask her if what she originally said made sense and confirm it’s what she wants. If I had a slight tweak, I’d make a suggestion for her approval. Then we’d give one final read through. Once it was set, I handled all of the uploading and ordering process.
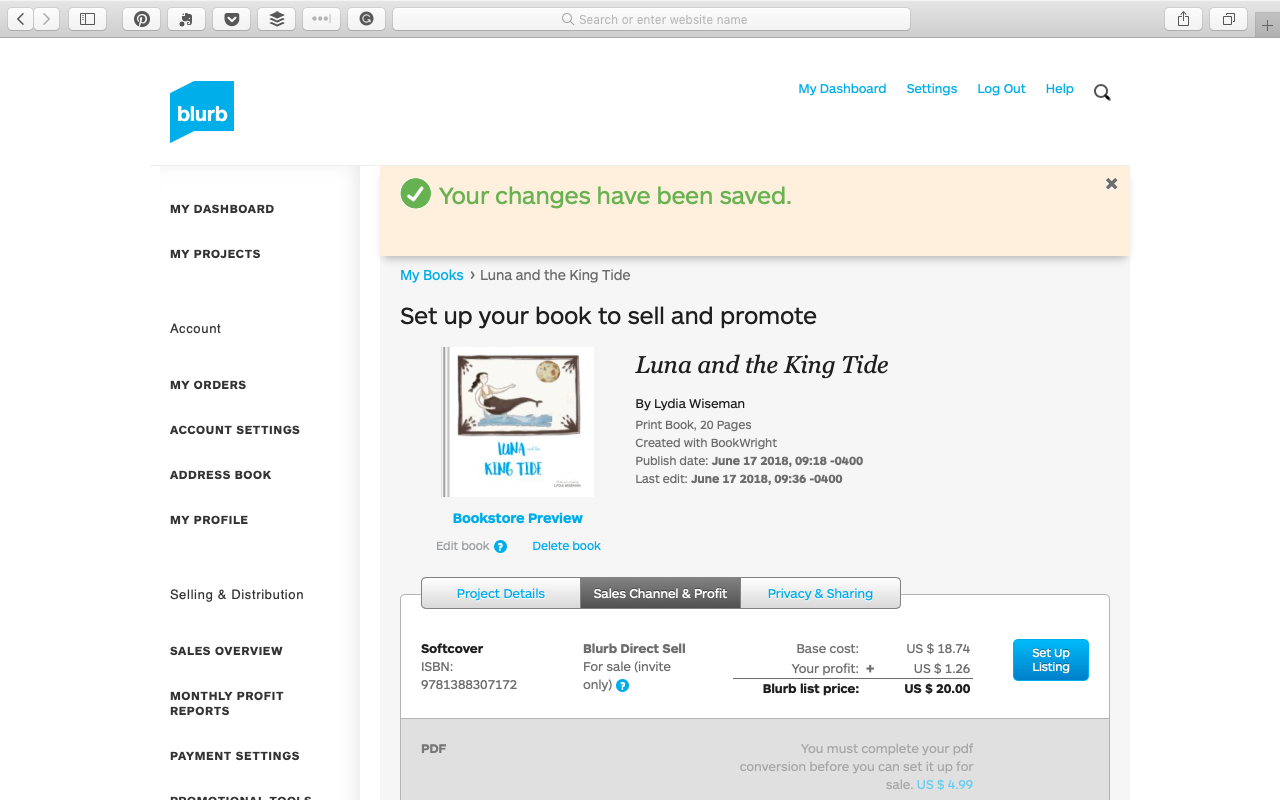
3: Share the book for others to purchase
One of the great things about using Blurb is that you can share the book with family and even set the book up for sale. With the cost of the printing of the photo book makes it difficult to make money, it is something fun for kids to look forward to.
You can check out (and even purchase) my daughter’s photo book here.
To set up your child’s book for others to purchase, you’ll have this option after you upload the photo book to Blurb’s website. So once you order the book, all you have to do is answer a few simple questions to set it up for others to purchase.
If you want even more tips and details – I share over 35 screenshots showing you how we made this photo book – sign up for my Special Photo Book Project: Summer Guide. This mini-workshop will be released in a few weeks but you can pre-order it now for a discount!