fbq('track', 'PageView');
Using the BTP Graphic Design Packs

Using the BTP Graphic Design Packs

Disclosure: Some of the links below are affiliate links, meaning, at no additional cost to you, I will earn a commission if you click through and make a purchase. 

One of my goals this year is to flex my graphic design muscle. It’s been a while since I’ve focused on how color, font styles and patterns can come together to customize a photo book. And with everything in life, one only improves with practice. 

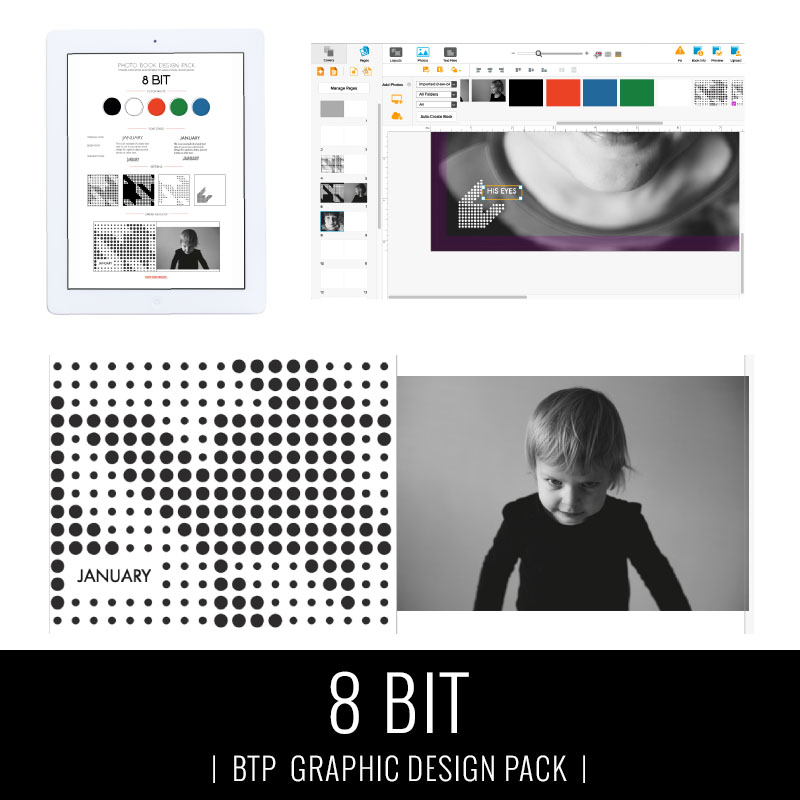
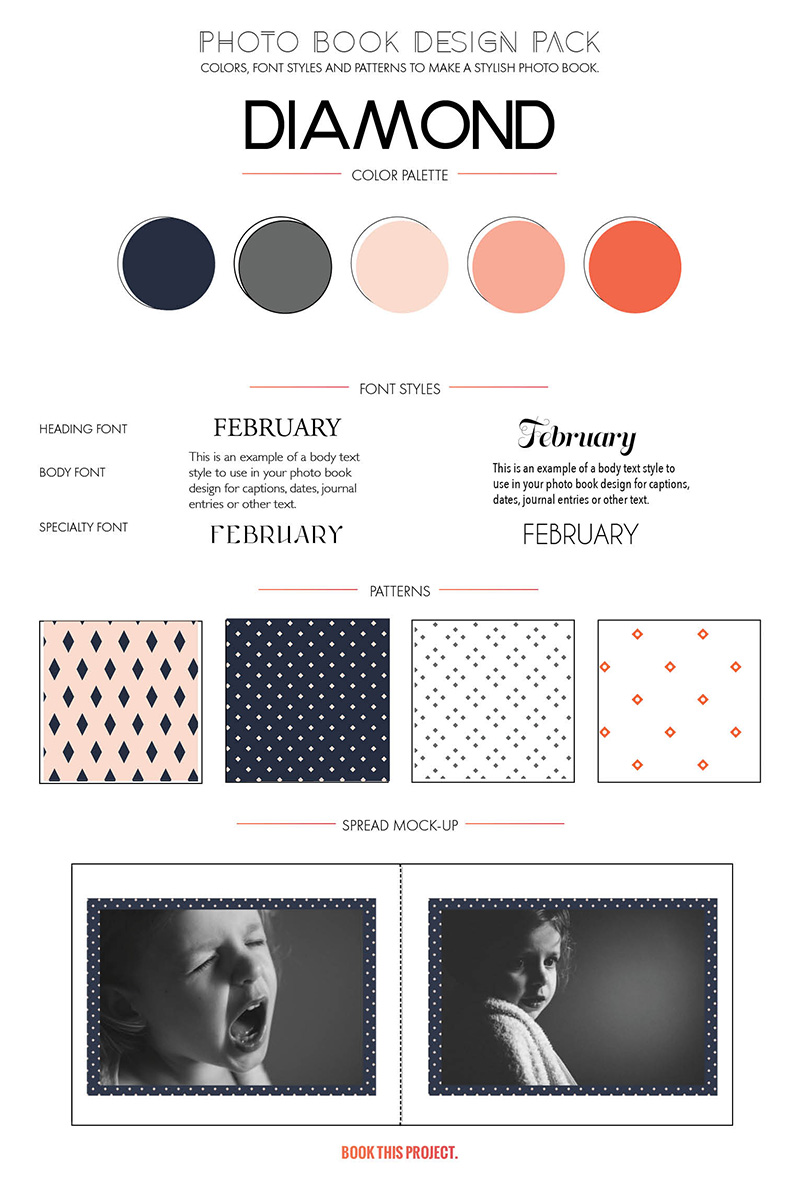
So this year, every month I’m creating free graphics – that includes color jpegs + CMYK values, font ideas and several patterns – to help “dress up” your photo book. My graphic packs are free during the month they are released and then will be in my shop for $10 when the month concludes. 

While every download comes with general instructions, I thought it would help to see how exactly you can use these graphics to transform your photo book from blah to amazing.  

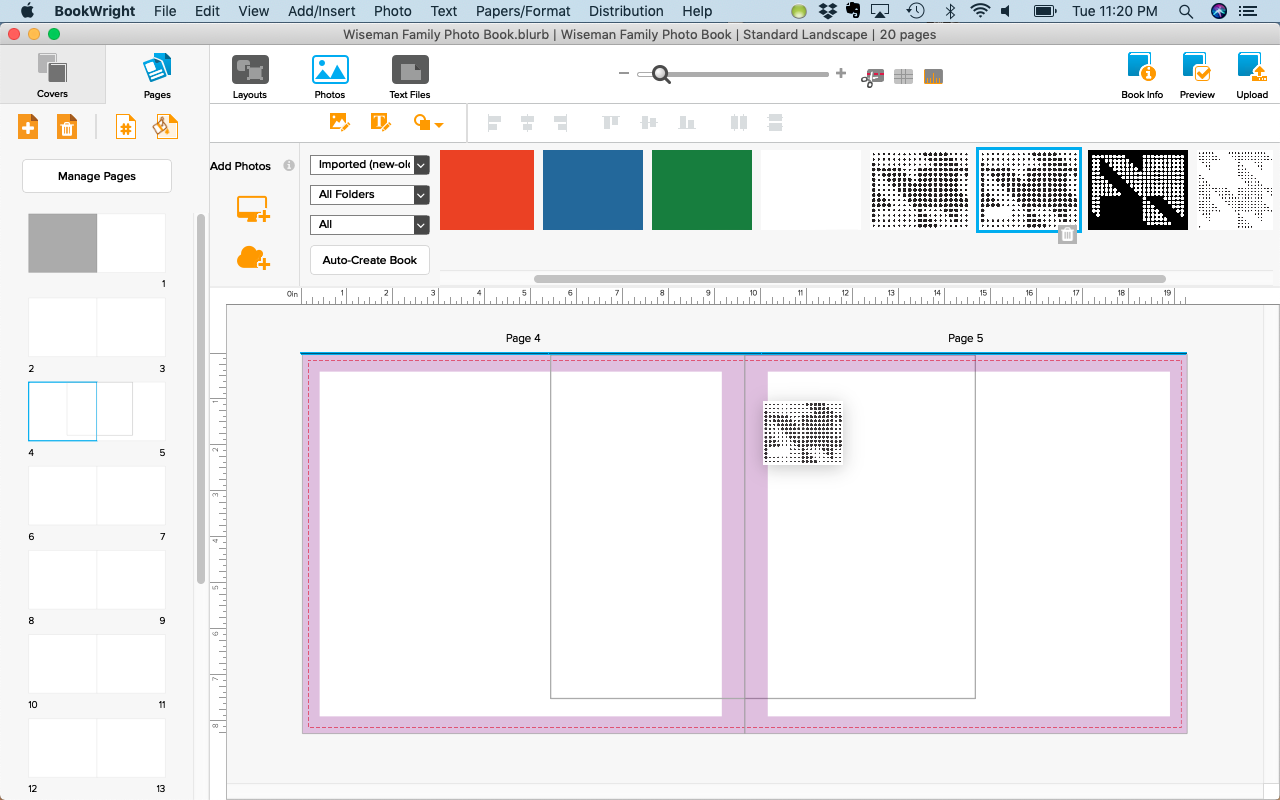
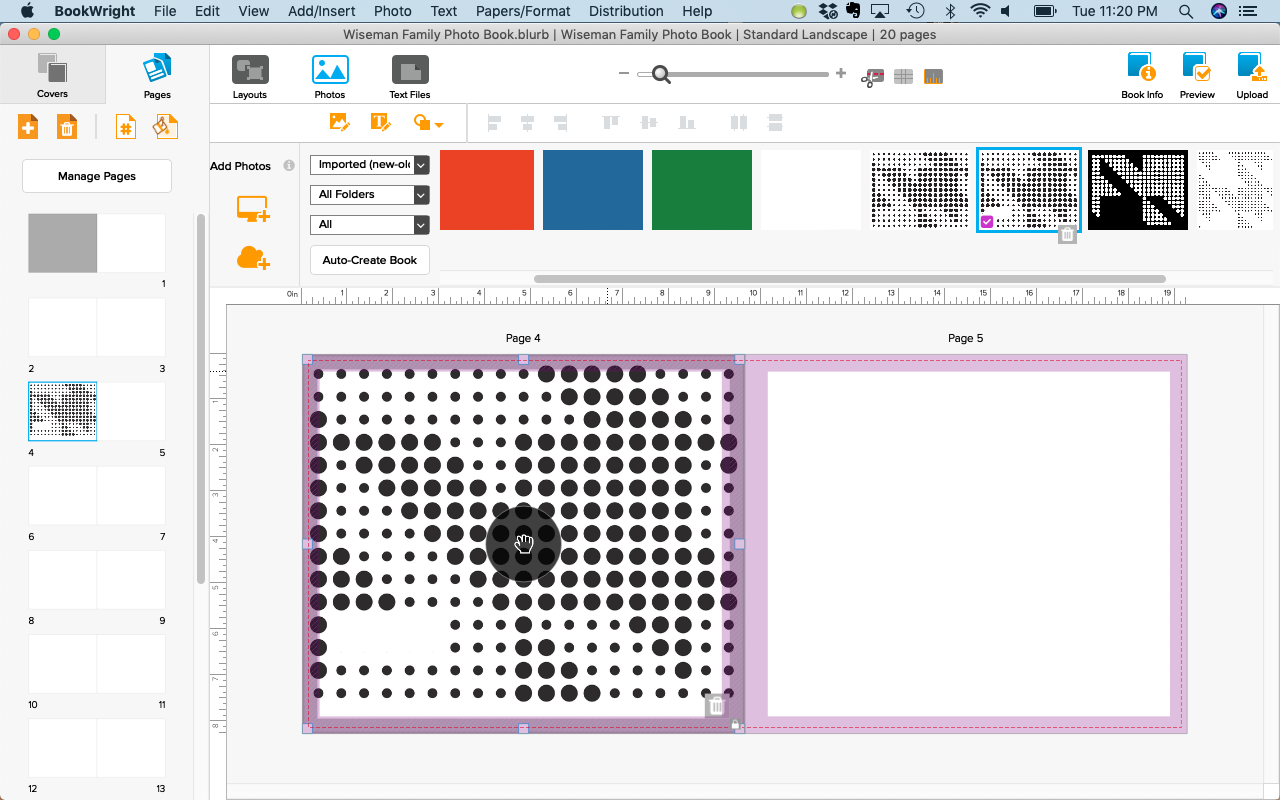
Import and use the graphic images from the design pack you want to use in your photo book just as you would any other photo. 

If you’re new to making photo books, I recommend Blurb’s BookWright free software tool (clicking this link will support Book This Project) and you should definitely check out my workshop, Document Your Year. This workshop shares everything you need to know to make a beautiful photo book for your family.

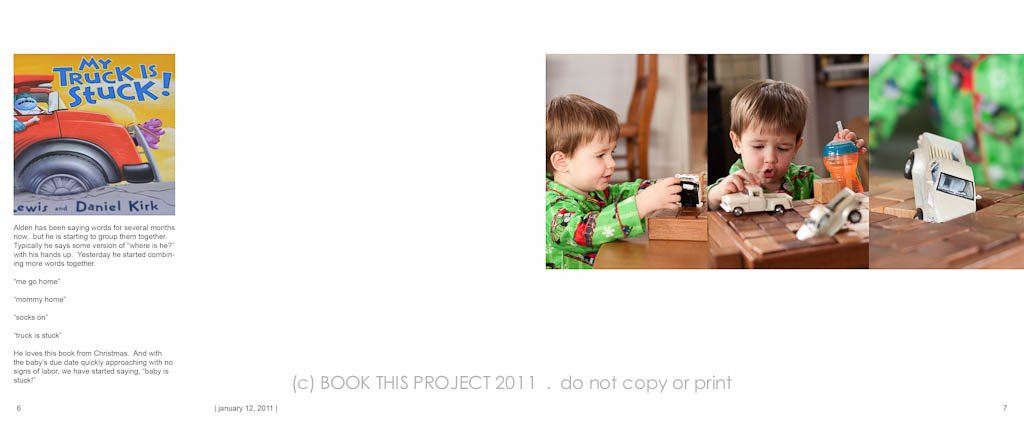
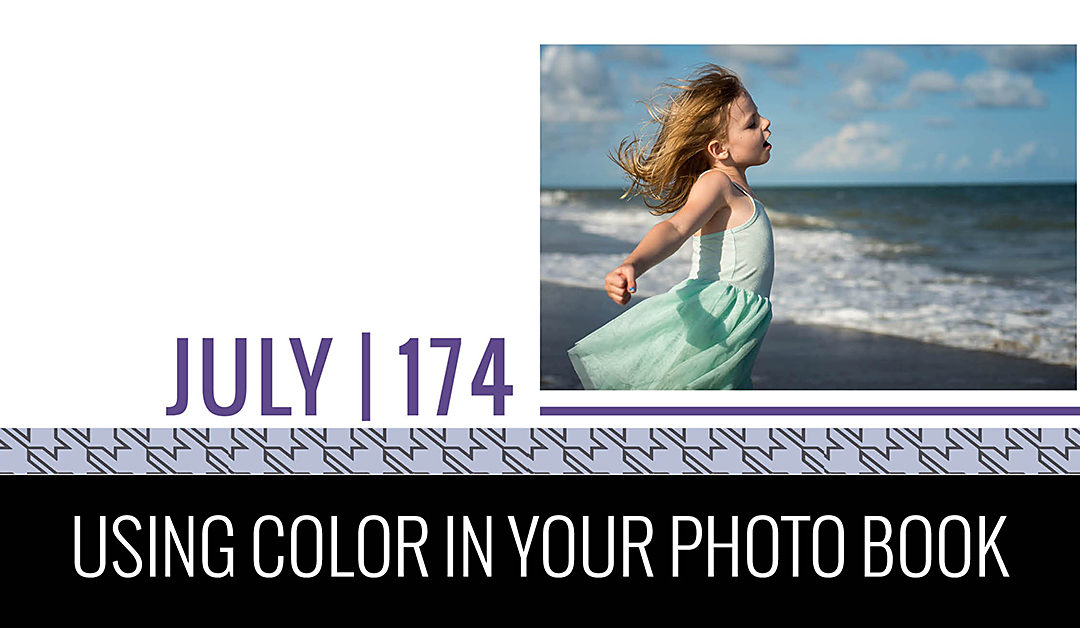
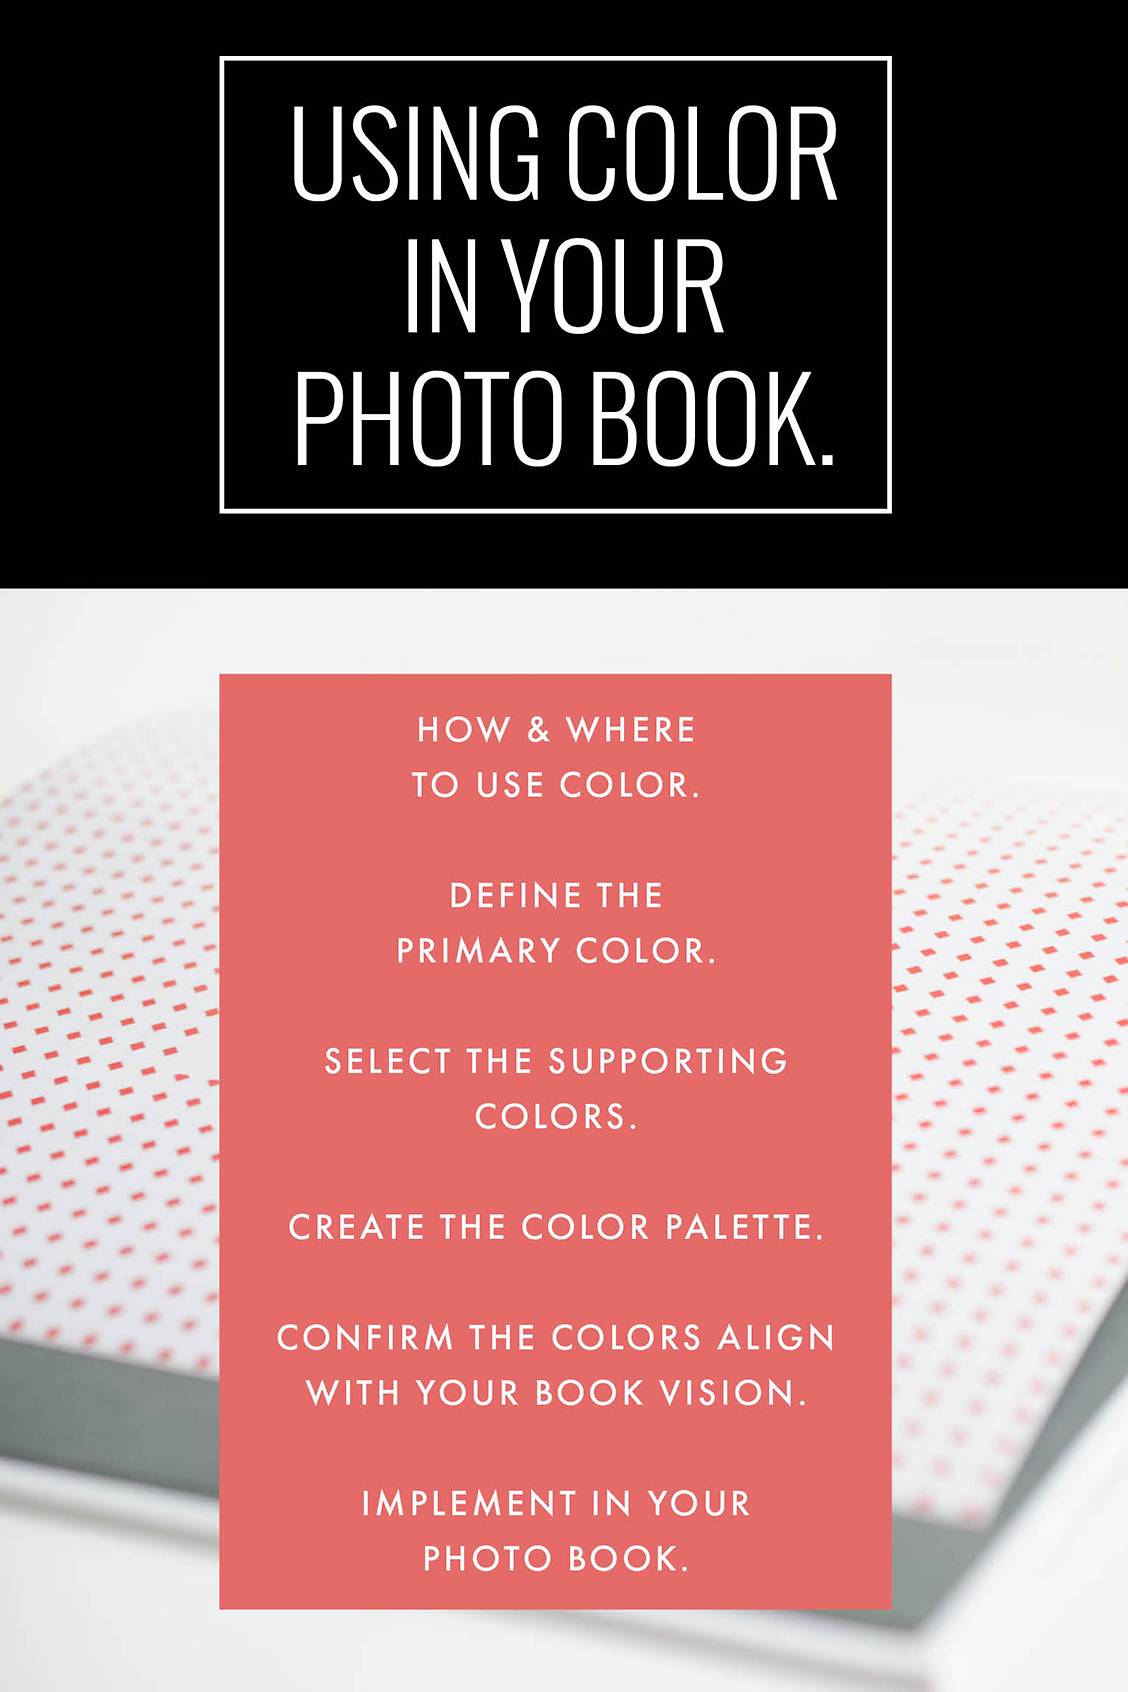
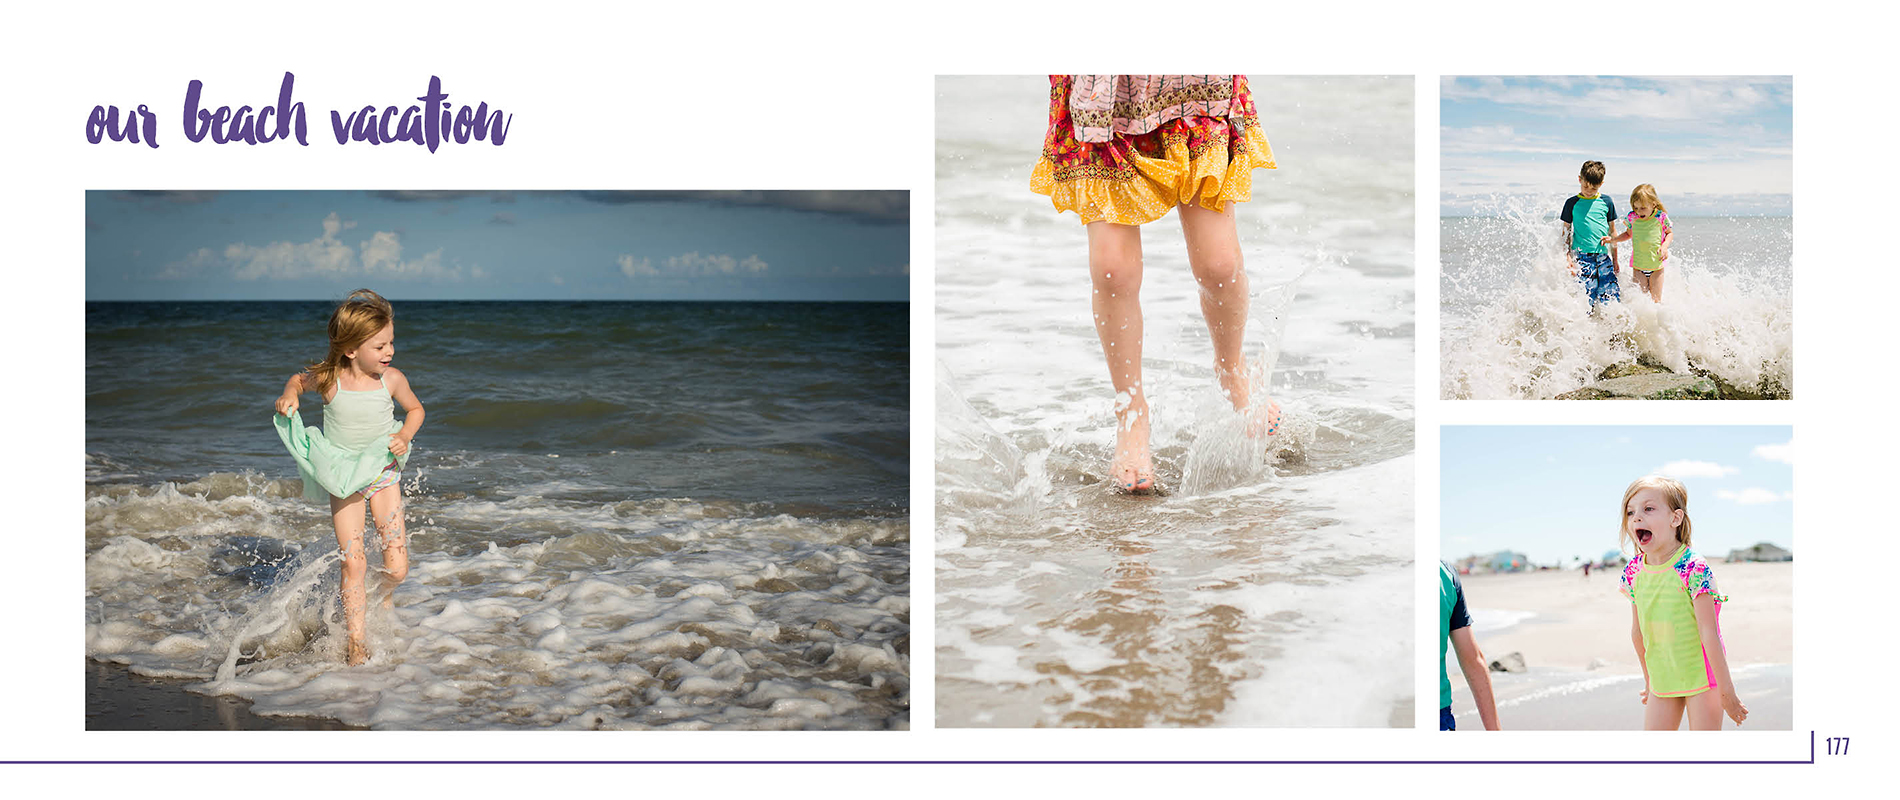
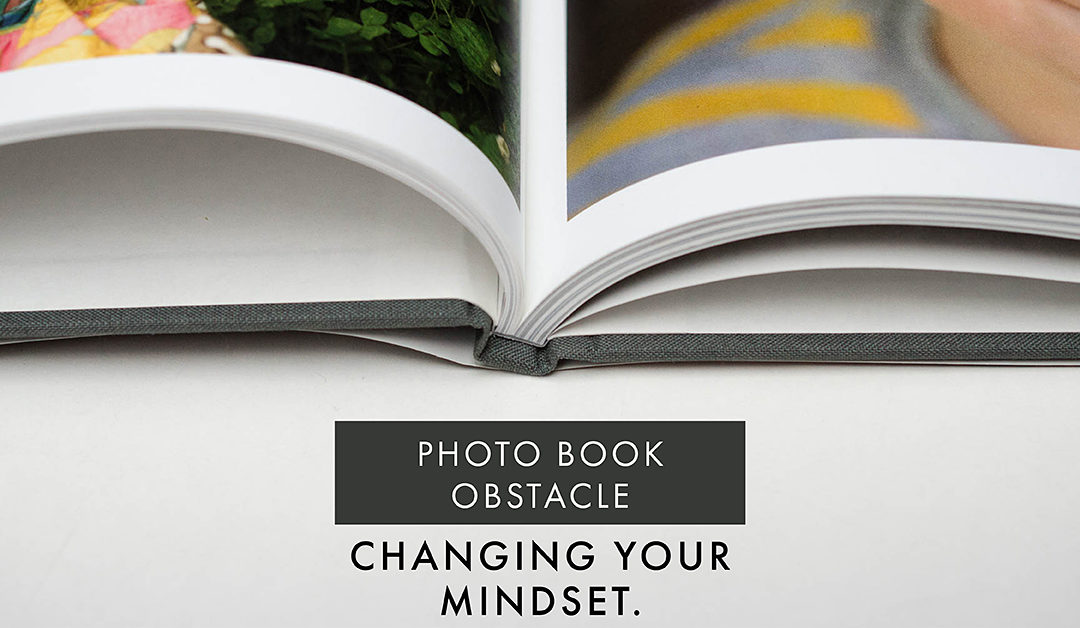
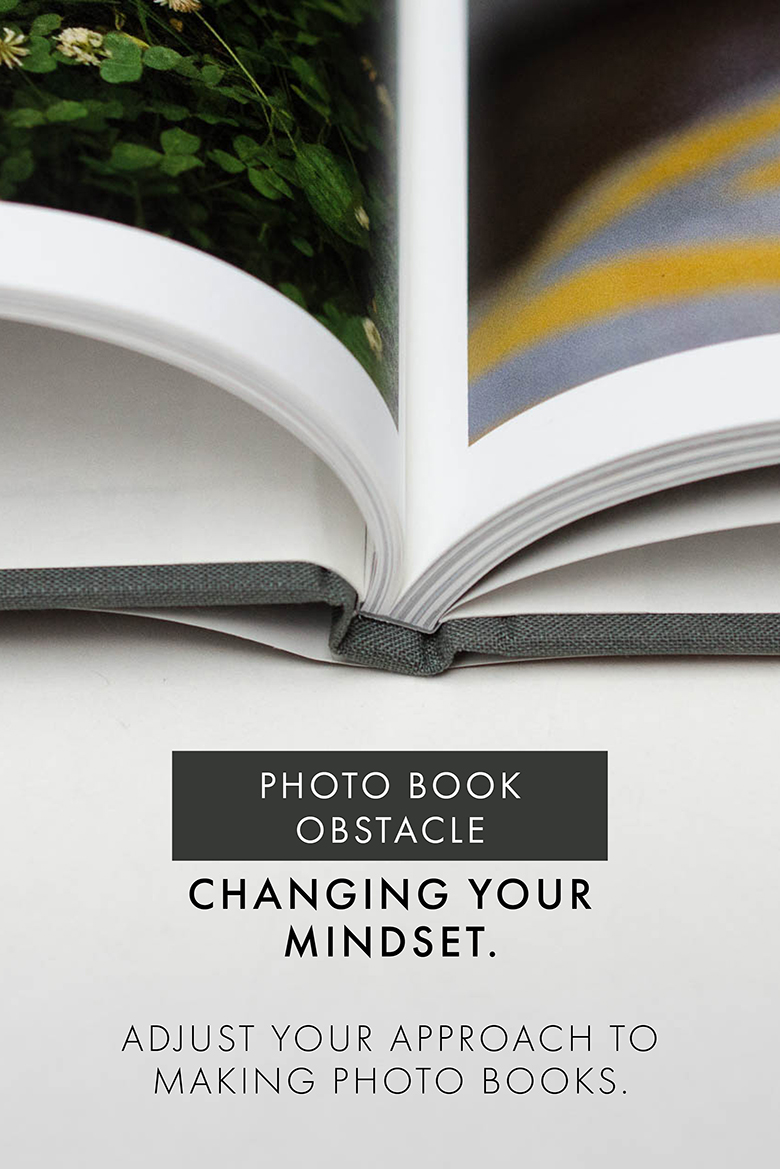
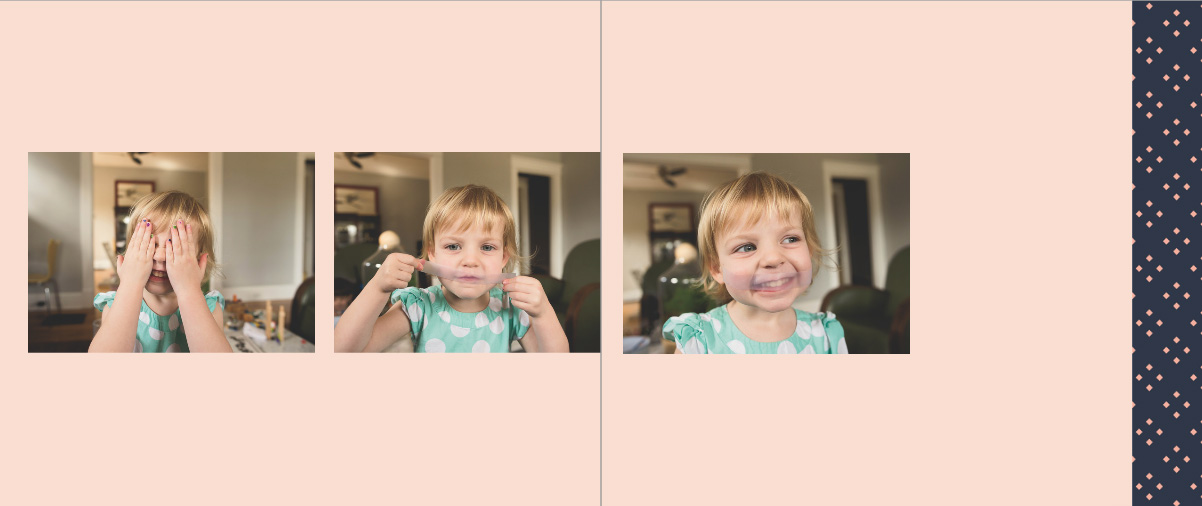
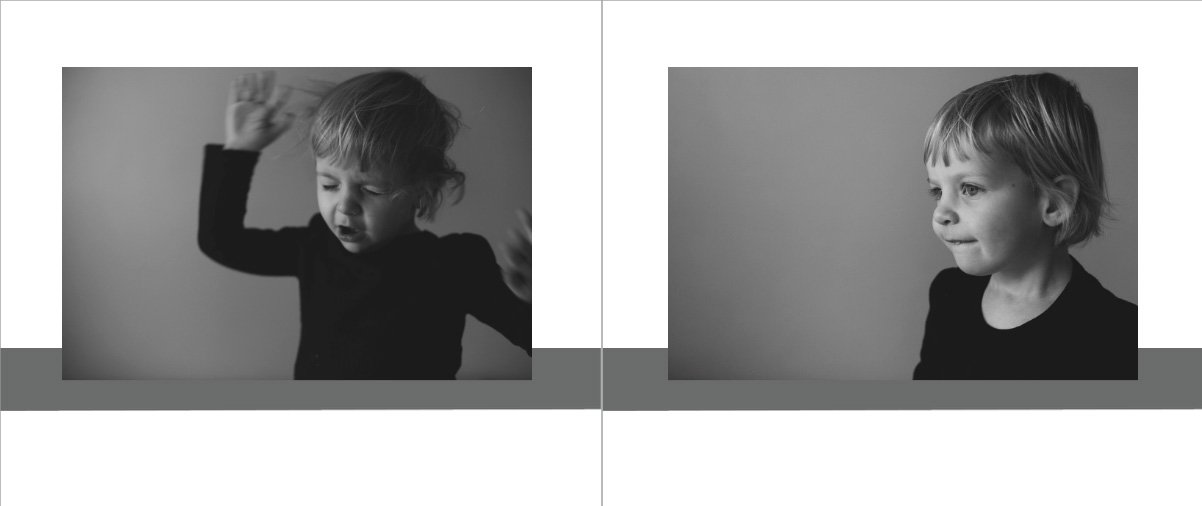
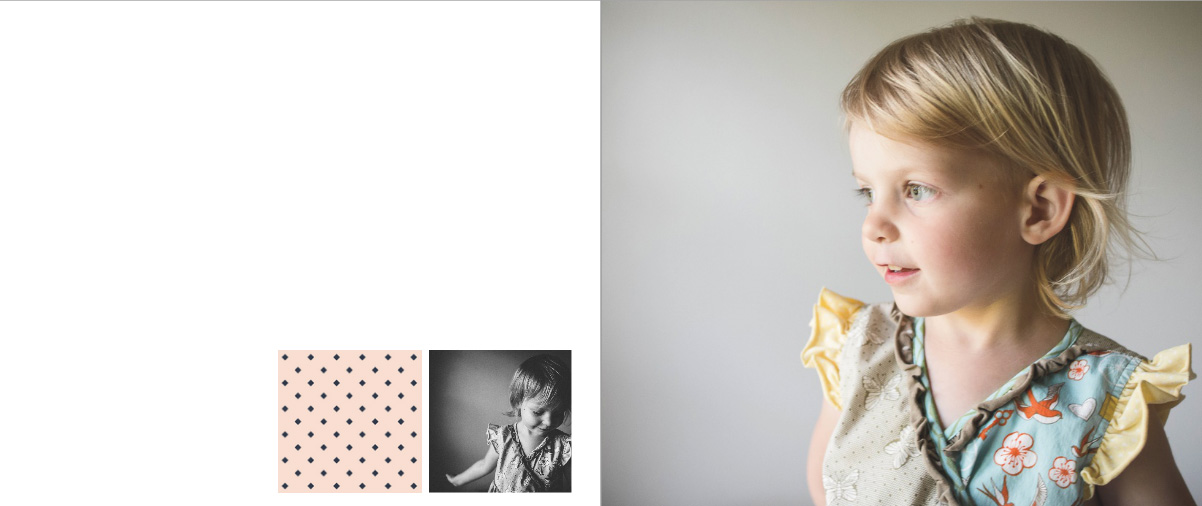
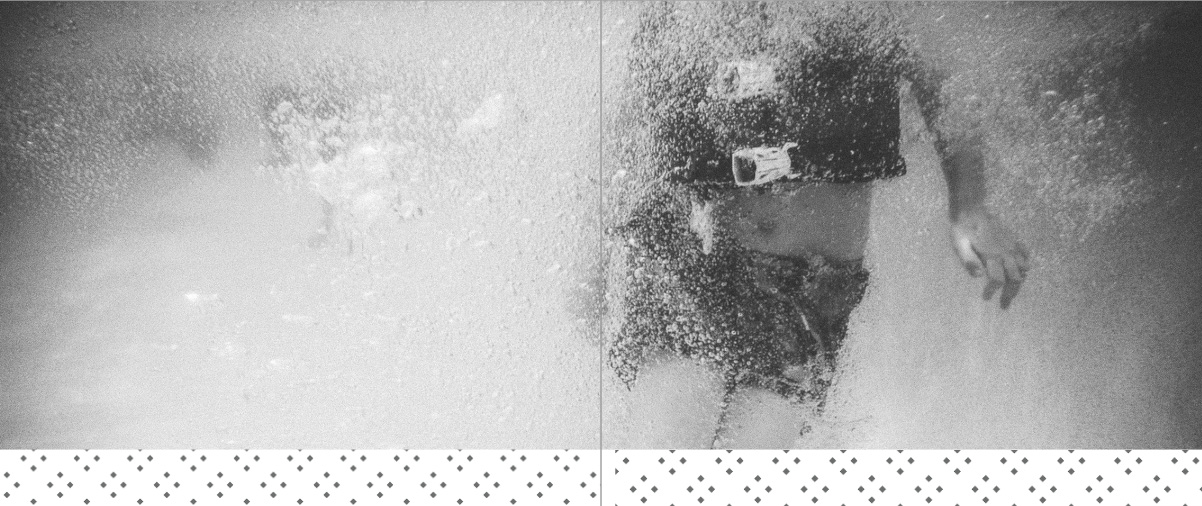
Once you download the BTP Graphic Design Pack you may be thinking, “This is great….but now what do I do with them???” So I wanted to share 12 layout examples to show you how the BTP Graphic Design Pack can make your photo book amazing. These examples are just to get your creative juices flowing. There are so many ways you can use the colors, fonts, and patterns in the graphic design pack to make your book a perfect reflection of your design aesthetic.

I’ll be sharing more examples on Instagram – make sure to follow me here. And I’d love to see how you incorporated the graphic elements into your own photo book. Simply use the hashtag #btpgraphicdesignpack when you post a screenshot of your example.

In these examples, notice the scale, placement, and mixing of different elements are incorporated on the page. 


Sign Up to get the current free BTP Graphic Design Pack.

Check out other BTP Graphic Design Packs.

Photo Books are a Memory Preserver

Photo Books are a Memory Preserver

Recently I listened to a Revisionist History Podcast with Malcolm Gladwell titled “Free Brian Williams”. While the podcast starts off describing the moment in 2013 when David Letterman asked Brian Williams about the helicopter convoy he was on in Iraq ten years earlier. During his answer, he claimed that he was on a helicopter that was shot down….but it turns out, he was actually on a different helicopter that arrived on the scene of the ambush an hour later.

This lead to him eventually being fired from the host of NBC Nightly News and he was excoriated in the media for lying. However, Gladwell’s point in using this as an example, is not that he was lying but illustrates an example of how memory can be contorted over time.

{

We are memory fundamentalists. We think our memory is a camera recording our life in real time with a video time-stamped for later retrieval…[But] everytime we retrieve a memory, there’s a chance it can get contaminated. We hear a new detail somewhere about the event and without realizing it, we just add it in. Memory researchers talk a lot about what they call time slice errors. A couple of things happen in the general timeframe and we get the sequence all jumbled up. 

Malcom Gladwell, Revisionist History, Free Brian Williams

Memory is fallible. Mutable. Imperfect. 

It’s why I take photos and make photo books. Not to capture every single detail; but to capture the essence of my life, year after year.

I take photos to help me remember a moment and while I’m not always successful, I attempt to take photos that remind me of not just what is happening but the emotion surrounding the event.

When I look at photos months or years later, I want to remember the moment and what it felt like to experience it.

And the only way I look back at old photos is through my photo books.

I can’t remember the last time I went back into my photo archives. Due to the sheer number of photos I take, this usually involves an effort to pull out the hard drive, load the digital catalog and sift through the thousands of photos I took that year.

But a photo book transports me immediately.

I just pull the year I want from the shelf, open it up and remember what life was like that year. It’s a collection of my favorite photos, creativity arranged to reflect my artistic voice – similar to my photographic vision.

Take this example a month before my youngest daughter was born.


I don’t have to rely on my memory because it is documented in my photo book. When I was nine months pregnant with my daughter, we were preparing for my son to be a big brother. One day we asked him when his little sister was going to get here and he said she was stuck in mommy – because we were reading the picture book, My Truck is Stuck, a lot. It was one of those classic family stories that have been memorialized in a photo book.

Everything about this layout is specific and intentional. Where I placed the photo, the amount of negative space I included, and the font style, size, and color. All of these small decisions led to a cohesive, sophisticated photo book.

A share my entire thought process, gameplan and inspirational layout and book examples in my workshop, Document Your Year. This e-course walks you through how to define your own vision, use the free Blurb design program to its greatest advantage and design a photo book to show off to your family and friends. 

Ready to make your own photo book this fall?

Sign up for my free video training sharing 5 tips to make a better photo book. In this 40 minute training, you’ll learn the best first step to make, my favorite 3 tools in BookWright and how to change a layout with one word. 

Using Color in your Photo Book.

Using Color in your Photo Book.

color in photo book

Lately, I’ve been in the mood to add color to my layouts. In my last blog post, I should 10 ways to add color to layouts. But those suggestions were more for you to pick and choose. In today’s blog post I want to share how you can add a color palette throughout one of your photo books. 

This step is something that you should consider the beginning of the design process, if possible. Here are my decision-making steps: 

-1-  Select how and where you want to use color. 

-2-  What is the primary or dominant color you want to use?  

-3-  What color(s) could support the main color, if any. 

-4-  Define the full color palette. 

-5-  Does this color palette support the overall vision you originally wanted? 

-6-  Implement in your photo book design. 


Now let’s see these steps in action. I’m going to use a typical annual photo book for this example. 

I want to use a color palette for section pages, page numbers and any titles on the page. I want to use the same color for all three places. But on the section page, I want to use two other colors to add design variety. 

The dominant color will be the 2018 Pantone color: Ultra Violet.

The supporting colors should be more neutral to balance the purple color. On the Pantone website, they provide several different color combinations. I selected one that resonated with the balanced scheme I was looking for this particular photo book. 

Here is my color palette. 

color in photo book

This color palette matches my original vision because I wanted my family photo book to be fun yet classic. I want the design to have personality without being too bold. 

And here’s the result: 

Section Page:

color in photo book

Typical Page:

color in photo book

Show your photos some love

Show your photos some love

Previously, our mission was to delete unwanted photos from our photo library. I was able to delete some photos here and there throughout the week and then spent the time during my daughter’s ballet lesson to delete 215 photos in about 45 minutes!

I shared my process on instagram stories. Make sure to follow me to see more insta stories as I work on printing my photos this fall.

After my full week of focusing on deleting the clutter, I was able to delete 595 photos from my library, exceeding my goal of 477 photos. How’d you do? Even if you didn’t quite meet your goal, any progress is progress you should celebrate.

Now that we’ve deleted the clutter, it’s time to show some love.

I want you to go back through your photo library and rate the photos you love. If you don’t yet have a system for noting your favorites, now is the time. Use stars, hearts, colors or tags to mark the photos that mean something to you.

My preferred rating system is to start by giving photos I love 3 stars. This week, I’m going to through my library and making sure the photos I’ve edited and or want to edit have this 3-star rating. And I’ll be sharing some of my faves on instagram.

Why does this matter? Rating the photos you love, makes it easier to know which photos you want to print when you’re ready.

To make this extremely actionable, my goal for you is to find 1 hour in your week and rate the photos you love.

Any progress you make in this 1 hour will help you immensely in the long run.

Cool? You’ve got this! Trust me when I tell you that these small actions will help you print the precious photos of your family.

It’s time to clear the clutter in your photo library

It’s time to clear the clutter in your photo library

Last week, I wanted you to organize your photos into one location. How’d you do?

My goal was to send out 2 rolls of film and import photos from my smart phone. Being completely honest, I didn’t import my phone photos until last night and shipped my rolls of film off about two hours ago. But you know what? This is the reason I put a date to finish my tasks. It may have been under the wire….but I did it!

Now, it’s important to see all of the photos you’ve collected in your 2017 catalog and figure out how many photos you’re starting with. My number is: 4,769 photos.

What’s yours?

This week, your challenge is to start deleting your unwanted photos.

Unless you’re incredibly diligent, chances are you have a number of easy photos to remove from your catalog. I’m sure you know the ones I’m talking about. Photos of your kids with half-closed eyes, missed focus because they occasionally move as you’re pressing the shutter or all the times you took 20 photos that all turned out to really be the same shot (yes, I’m guilty of taking plenty of those).

Let’s clear out the clutter in your photo library.

My goal for you is to delete about 10% of your 2017 photo catalog.

For me, I’m starting the week with 4,679 photos. So my goal is to delete 477 photos by the end of the week. Or 68-70 photos per day.

See how far you can get this week!

The essential first step to an organized photo library

The essential first step to an organized photo library

The last few weeks, I’ve been sharing how to move past common photo book obstacles. Most obstacles we face when it comes to starting a photo book are mental. Once you’re clear you want to make a photo book and you figure out how to fold it into your workflow, it’s time to get tactical. And that’s exactly where we are heading for the next three weeks.

If you’ve been a BTP reader for a while, you probably already know my favorite first step to organizing your library. But whether you’re familiar or not, it’s important to follow these steps year after year. The more you can make it consistent, the more likely it will become part of your process and feel less like a chore.

Your first action step is to get all of your photos from the year in one place.

It’s time to make sure you have every single photo taken in 2017 all in one photo library catalog.

The software program doesn’t matter. The point is that your photos are not scattered in multiple folders, programs, or computers.

Once you have all of your photos in one place, note the total number of photos you’ve collected so far in 2017. This is your starting point. And it will come in handy for your task next week.

While this task seems simple, it’s oh-so-important to do. And we all need simple tasks to easily complete to build momentum. 😉

My specific tasks for the week are to finally develop the two rolls of film from our summer vacation and to import my iPhone photos into my main LR catalog.

Even though I’ve been putting off these tasks for several months, it should only take about 30 minutes of effort – 20min to fill out the film development form and mail it to the developer and 10min to import my iPhone photos. I can definitely fit that into my schedule.

I’d love to hear from you in the comments below – what task do you need to put on your weekly to-do list based on this email? And how much time do you think it will take to finish this task?

I’ll see you next week with your next action step!

Photo Book Obstacle: Overcome Negative Thinking

Photo Book Obstacle: Overcome Negative Thinking

When you’re organizing your photos or making a photo book, do you ever have a small voice in your head playing negative thoughts? Something like: You’re never going to be able to go through all of these photos? Or you’re never going to finish this project? Or this is hopeless?

This is your mindset around printing your photos in a photo book. I want to spend time today addressing and adjusting your current mindset to make sure it’s helping you achieve your goals.

Now, maybe you are familiar with mindset…but if you’re not, here’s a story to illustrate. It’s been several years since we’ve gone through potty training in our house. However, we still go through times where we have to consistently work with our kids to be……well…..regular.

Recently, we were going through a dry spell 😉 and after several days of my daughter telling me she couldn’t go, I told her that she needs to change what she’s saying and to say “I can” instead of “I can’t”. I reinforced that she needed the confidence to believe in words “I can”. Sure enough the next day, she was able to go!

She was so excited to realize that changing her attitude could help her accomplish something. Simply by approaching the situation with a different mindset led to her success.

It’s this exact shift in thinking that you need if you keep talking yourself out of making a photo book.

Start paying attention to what you think about your ability to print your photos in a photo book.

Do you tell yourself that you have too many photos to ever get organized to print them?

Do you make excuses about why can’t finish a photo book project?

Do you immediately tell yourself you don’t have the time it will take?

Once you notice the thoughts you have, I want you to shift the language to be positive; to reinforce that you can make a photo book. Finally, I want you to have the confidence in the words. This voice should stay with you throughout the entire process. You can do this!

As I’m sure you already know, it’s not enough to simply say you can do something. You have to have the action to back it up.

If you need help with the action or implementation, I developed a workshop, In One Hundred Pages, to help. This workshop covers what you need to easily and simply start -and finish- a photo book. 

Now is the time to get organized and make a photo book with your favorite photos from the year. Trust me, it doesn't have to be overwhelming or stressful. With my workshop In One Hundred Pages, I describe my entire streamlined process so you can make a photo book in less time and with less stress.

Photo Book Obstacle: Too Many Ideas….Too Little Time

Photo Book Obstacle: Too Many Ideas….Too Little Time

If you’re looking to make a photo book this year – admitting it is the first step.

Say it with me: “I want to make a photo book this year.”

Great! And I hope you said it like you meant it. Even if it was in your head. 😉

Admitting you want a photo book is the first step.

But as you know, it’s not the only step.

It takes knowing what type of book you want, how to go about selecting photos for the book, and laying out the pages in your program of choice and finally editing + ordering the book before you can cross it off your to-do list.

Did I already lose you?

I hope not. Because having a photo book is worth it. It matters to your family. It documents all of those amazing moments you captured of your family with your camera. It holds them all together in a book that you can easily access and go through with your kids.

So yes, you want to make a photo book. But how do you take the second step?

It starts with what kind of photo book are you going to make.

Maybe it’s been a while (or ever) since you’ve made a photo book and you don’t know where to start.

You have too many book ideas floating around in your head and are stuck on which one your should get to first.

I hear it from so many and I don’t want this to be your stumbling block.

Let me help you get past this hurdle.

Over the summer, I’ve helped three of my photo book club members decide which photo book is perfect for them to start and finish by the end of the year.

Now it’s your turn!


Fill out the form below and let me know all of the photo book ideas swirling around in your head or where you are getting stuck trying to decide what photo book to make first.

I’ll respond with custom advice to help you keep moving forward.

Now is the time to get organized and make a photo book with your favorite photos from the year. Trust me, it doesn't have to be overwhelming or stressful. With my workshop In One Hundred Pages, I describe my entire streamlined process so you can make a photo book in less time and with less stress.

6 Reasons You’re Not Making a Photo Book

6 Reasons You’re Not Making a Photo Book

Do you get pangs of guilt when you see a friend or fellow photographer post about their newly finished photo book and wonder why you can never finish a photo book?


This is a very common feeling because it’s hard to find the time to actually start and finish a photo book. The process is longer than taking a photo where you can experience the joy later in the day when you import your photos from your card to your computer.

While it takes a little more effort and time, making a photo book is definitely worth it in the end. You’re printing your photos to last a lifetime. You’re giving your kids a photo book documenting the big and small moments of their lives.


Today, I’m sharing 6 reasons why people have a hard time finishing their photo book….and how to overcome them.

1. Too Time Consuming.

No doubt about it, making a photo book takes some time. Particularly when you want to create an intentional photo book documenting your year. And if you’re not constantly making photo books, it’s hard to remember all of the ins and outs of the design program, increasing the time it takes to finish.

Overcome the Obstacle: Develop a workflow. Recognize that it doesn’t have to be daily or weekly, yet finding time to include making a photo book into your overall photography process, makes it more likely for you to stay on top of it and establish a rhythm.

While you may not recognize it, I’m guessing you already have a workflow for your photographs. There’s a specific way you import your photos, the program you use, and when you edit. If you like to post your photos on facebook or your blog, you have an export process as well. You may also be tagging or rating your photos.

That’s your workflow.

Now imagine adding one or two more steps to incorporate making a photo book. Perhaps it’s tagging photos when you edit them to identify what photos would work well in a book. Maybe it’s finding a Saturday afternoon where you edit photos and immediately export them to a folder for a photo book.

By adding photo book related tasks to your existing workflow, you’re making it easier for when you’re finally ready to sit down to place those photos onto photo book layouts.


2. It’s a Chore.

Making a photo book feels like a chore. It’s hard to find time to work on a photo book because it feels like sweeping up cereal crumbs on the floor – you know it’s important to do but it’s not exactly the most enjoyable task to complete.

Overcome the Obstacle: You need to reconnect with your why. I have a great exercise in my free fresh start workshop about clearly defining why you want to print your photos. And not just because you know you should. It’s important to recognize a deeper why.

When you have a deeper why, it creates a sense of urgency and passion for printing your photos, elevating it beyond a chore. If you want to hear how I worked through defining my why, make sure you join my free fresh start workshop.

3. Your Photos are an Unorganized Mess.

Every time you go to Lightroom (or whatever program you use) to select photos, you realize that they are an unorganized mess. You started tagging photos in the beginning of the year but didn’t keep it up and now you can’t remember where you left off. Plus you have so many photos that you want to include in a book that have yet to be edited.

When you think about selecting photos for a book, you realize it’s going to take hours, days, weeks or months to get your photo library organized before you can even start the photo book process.

Overcome the Obstacle: Relax. Realize that it’s never going to be perfect and that it’s better to find a way to quickly select and edit photos so you can print them….then always leaving them in a chaotic mess that no one will sift through and enjoy.

Instead of trying to do it all – organize, edit, select, tag, export for your entire library – find a way to quickly sort through your photos and break up the editing and exporting into small chunks.

One suggestion is to look at a month or year of photos as small thumbnails. This way you see photos in their context and don’t pay attention to the details. Find photos that you love or capture an important event and rate them, tag them or give them a color designation. Then group these photos together, edit them in small batches and immediately export them when finished.

Remember, it’s more important that you quickly select and print 100-200 photos than endlessly sift through and organize thousands of photos so that you never find time to print. Don’t set yourself up for an impossible-to-finish task. Instead focus on the most meaningful photos and, at a minimum, print those.

4. Don’t Like the Templates.

Whenever you get into the design software program, you’re unhappy with the results. The layouts feel cluttered and it’s difficult to work with the tools to create the modern, sophisticated look you want.

Overcome the Obstacle: Always find ways to simplify your design and the layouts you prefer. I recommend spending time up-front designing a couple of core layouts that you can use for a majority of the pages in your book. It’s always better to rely on a few layouts that represent the look you want than re-invent the wheel on every page.

Also, realize it takes practice to get acquainted with the design software and the more you work in the program, the more it will feel like second nature to achieve what you want.

If you are interested in crafting a vision, defining your core layouts and learning how to make the most of the Blurb software or InDesign, check out my photo book design workshops which will be opening up for registration soon!


5. You’re Working Alone.

When you are first learning photography, it helps to be surrounded by other people learning as well as more experienced photographers sharing their work. Seeing other photographs motivates you to keep working on your craft and attempting new things. It also helps to be apart of a community where you can ask questions when you struggle, post examples for feedback, and share when you’ve finally achieved a goal.

When it comes to making photo books, it’s harder to find that motivation and inspiration around you.


Overcome the Obstacle: There are two great ways to get over this isolating feeling. First, find a friend or fellow photographer with a similar goal of printing their photos. Set up a specific goal with a timeframe and stick with it. Motivate each other by sharing progress. Jackie and Daniela co-wrote this blog post sharing exactly how they worked together to achieve their printing successes.

Another option is to join my Photo Book Club. This is a community of women who share the desire to print their photos. This group includes monthly PDF downloads, a quarterly call to check in with your progress, and a private facebook group to ask questions and share examples. It’s a perfect way to connect and share with others who have a similar goal.


6. Excuses are Easy.

Life is busy. And when there is so much to do and watch and read, it’s hard to make time for everything. It’s important to prioritize and yes, that means making trade-offs. But it’s also easy to make excuses for things that you really want to do.


For me, this is exercise. I’m not one to prioritize exercise. It’s not what I immediately and easily make time for each day. I don’t experience the runner’s high motivating me to get out there and workout when it’s raining or cold. I look for excuses. I find ways to rationalize why I can’t exercise today. But I also know, it’s really important for me to do. It is cathartic, stimulating and an important part of self-care. It takes mental work for me to overcome the easy excuses and make exercising part of my daily routine but I do it in order to achieve results.


Perhaps this is how making photo book is for you. You recongnize it’s something you want but it’s much easier to find ways to put this task off.


Overcome the Obstacle: First of all, it’s comletely ok to feel this way and to give into the excuses every once in a while. It’s true, making photo books is not always a top priority. But if it’s really something you want to accomplish in a year, it’s also important to realize it can’t fall prey to excuses every time. At some point, you have to find a way to work it into your monthly or annual routine.


If you’re constantly discouraged that you never find time to work on your photo book – and it’s something you really want to accomplish – schedule 2 hours on a Saturday each month to work on your book. Edit and export your photos in the first hour and spend the second hour designing the pages. Blocking out the time and not settling for excuses, helps you make small incremental steps toward achieiving your goal.

Now I’d love to hear from you – what keeps you from making a photo book? 

Purge and Prune to set your Photo Book Goals

Happy January! Also known as the month of setting goals!

I’m a planner through and through. I get extremely excited about setting intentions and outlining the strategy to go from concept to reality. I usually get in the goal setting mood in January and also August, as my kids are heading back to school and I’m trying to figure out what I want to accomplish by the end of the year.

January is really the time of reflection and assessment and big goal setting. I love the process of looking at what happened in the previous year as well as dreaming about what I want for the upcoming year. It’s also a time to embrace possibility and expand my horizons for what I hope to accomplish.

As I wrote last year, I’m a big fan of SMART goals. But this only helps what you know you want to focus on. One of the biggest mistakes I see people make – with all goals, but particularly when it comes to photo book goals – is the desire to take on too many projects. And SMART goals won’t help when you’re trying to tackle 5 photo books at one time.

Your should start with the Purge and Prune Method. Inspired by this Marie Forleo video, I’ve created an exercise to help you apply this to your own photo book goals. In fact, I’ve created an entire free workshop – fresh start – to kickstart your 2017 printing goals.

So let’s get started!

Step 1: Purge

This first step is all about the brain dump. I want you to get every project you hope to accomplish out of your head and onto a piece of paper. Include everything. The practical projects, the necessary projects and the wouldn’t it be nice someday projects. Write them all down.

Immediately you should feel some relief.

Step 2: Prune

Now it’s time to look over your list and determine what one project you want to pour your energy into first. The goal is to narrow your project down to a select few and I really recommend honing in on one project that you will start and finish, no matter what.

This does not mean that you will forget about your other projects. It’s merely setting your intentions to see at least one project all the way through.

How to decide what to select? Think about what you know about this project, all the steps it will take to get you from point A to point Z and how much you really want a particular book.

Once you’ve selected your one project, I’ve outlined six other steps to help clarify what comes next. Here’s a quick summary but if you want to go deeper into each topic, I’d love to have you join my free workshop, fresh start, where we’ll tackle all steps in great detail. 

Step 3: Identify what has worked for you in the past and consider why you were successful.

Step 4: List all roadblocks that stand in your way.

Step 5: Determine why you want to print your photos.

Step 6: Find tools, tips and strategies to help you work faster, smarter and easier.

Step 7: Create a game plan for your project.

Step 8: Get started!

Grab my Purge and Prune Worksheet and get started with my free fresh start workshop.