fbq('track', 'PageView');
Photo Books are a Memory Preserver

Photo Books are a Memory Preserver

Recently I listened to a Revisionist History Podcast with Malcolm Gladwell titled “Free Brian Williams”. While the podcast starts off describing the moment in 2013 when David Letterman asked Brian Williams about the helicopter convoy he was on in Iraq ten years earlier. During his answer, he claimed that he was on a helicopter that was shot down….but it turns out, he was actually on a different helicopter that arrived on the scene of the ambush an hour later.

This lead to him eventually being fired from the host of NBC Nightly News and he was excoriated in the media for lying. However, Gladwell’s point in using this as an example, is not that he was lying but illustrates an example of how memory can be contorted over time.

{

We are memory fundamentalists. We think our memory is a camera recording our life in real time with a video time-stamped for later retrieval…[But] everytime we retrieve a memory, there’s a chance it can get contaminated. We hear a new detail somewhere about the event and without realizing it, we just add it in. Memory researchers talk a lot about what they call time slice errors. A couple of things happen in the general timeframe and we get the sequence all jumbled up. 

Malcom Gladwell, Revisionist History, Free Brian Williams

Memory is fallible. Mutable. Imperfect. 

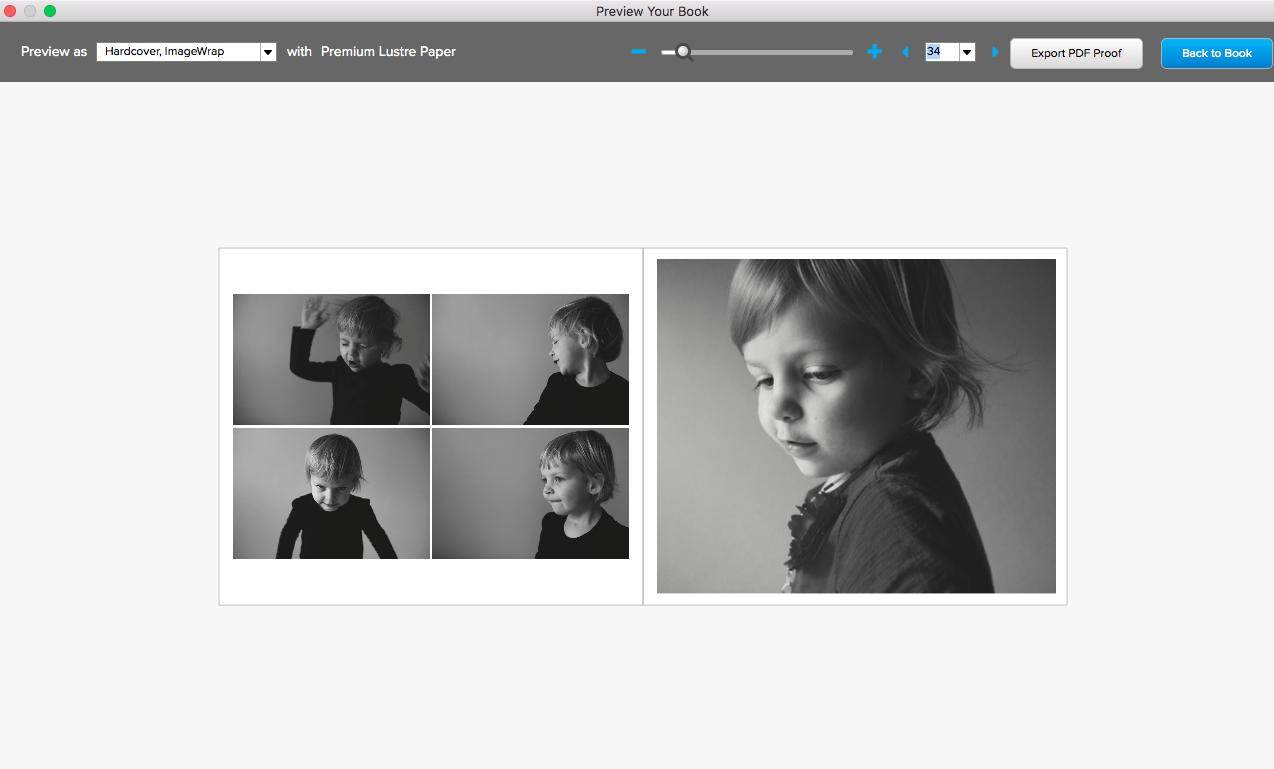
It’s why I take photos and make photo books. Not to capture every single detail; but to capture the essence of my life, year after year.

I take photos to help me remember a moment and while I’m not always successful, I attempt to take photos that remind me of not just what is happening but the emotion surrounding the event.

When I look at photos months or years later, I want to remember the moment and what it felt like to experience it.

And the only way I look back at old photos is through my photo books.

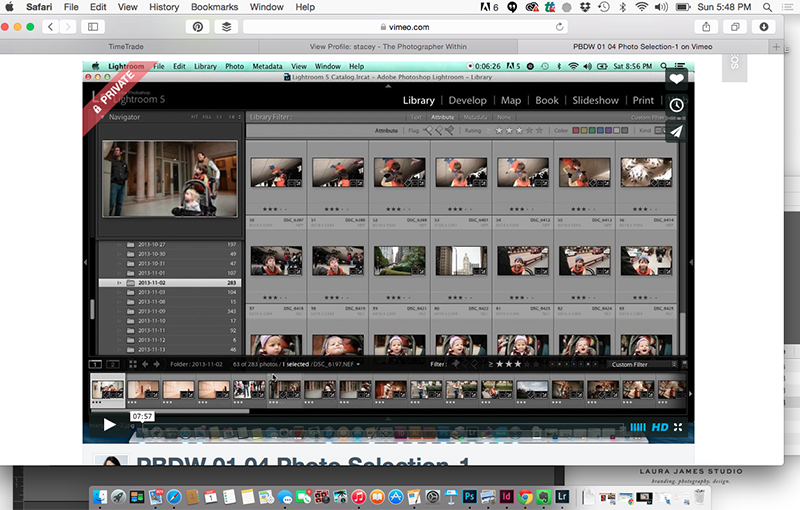
I can’t remember the last time I went back into my photo archives. Due to the sheer number of photos I take, this usually involves an effort to pull out the hard drive, load the digital catalog and sift through the thousands of photos I took that year.

But a photo book transports me immediately.

I just pull the year I want from the shelf, open it up and remember what life was like that year. It’s a collection of my favorite photos, creativity arranged to reflect my artistic voice – similar to my photographic vision.

Take this example a month before my youngest daughter was born.


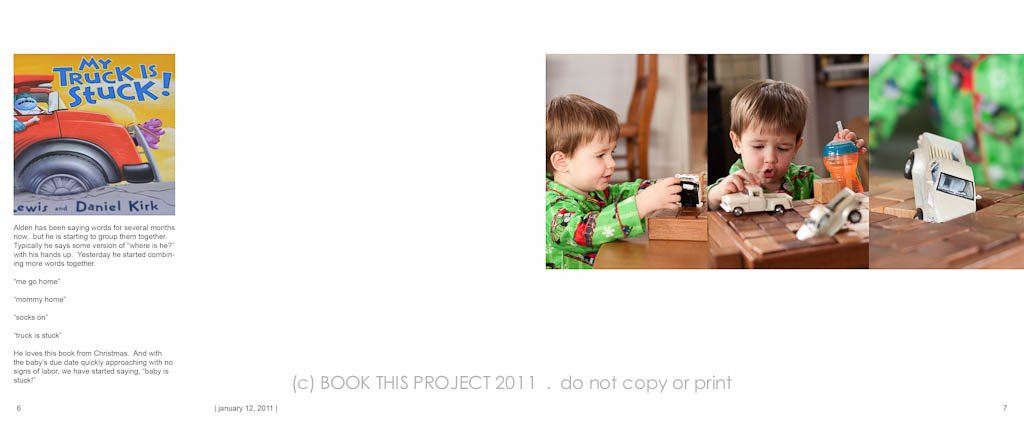
I don’t have to rely on my memory because it is documented in my photo book. When I was nine months pregnant with my daughter, we were preparing for my son to be a big brother. One day we asked him when his little sister was going to get here and he said she was stuck in mommy – because we were reading the picture book, My Truck is Stuck, a lot. It was one of those classic family stories that have been memorialized in a photo book.

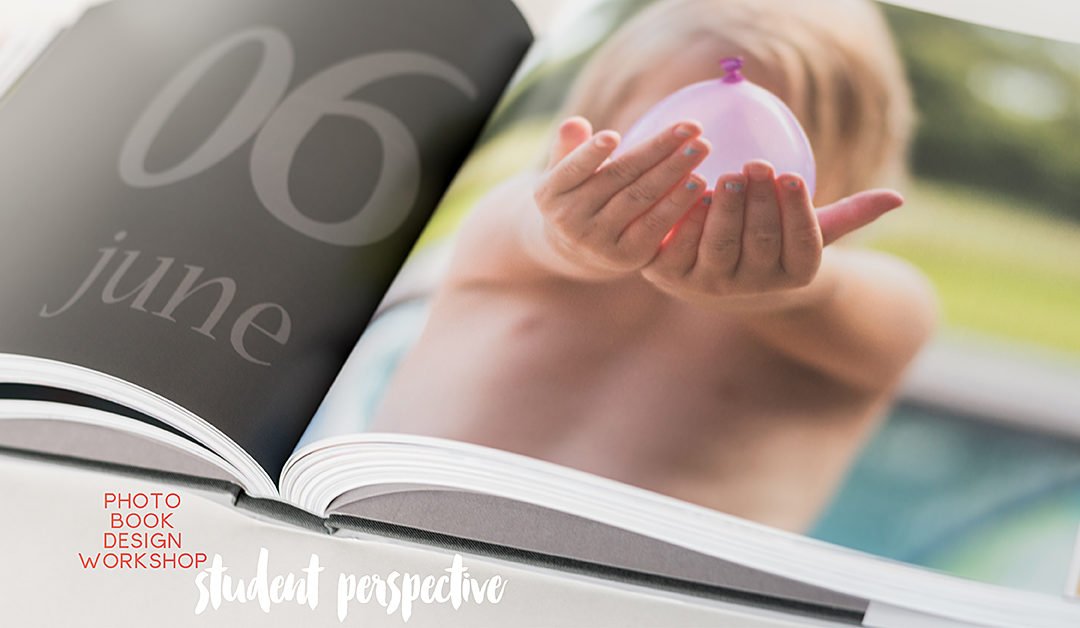
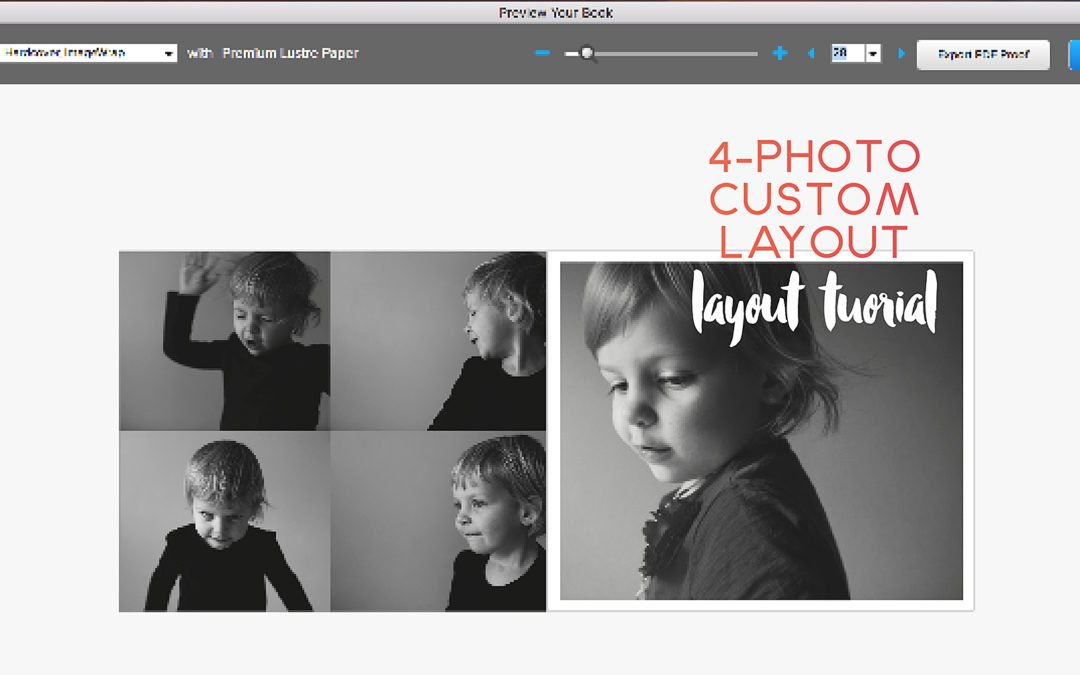
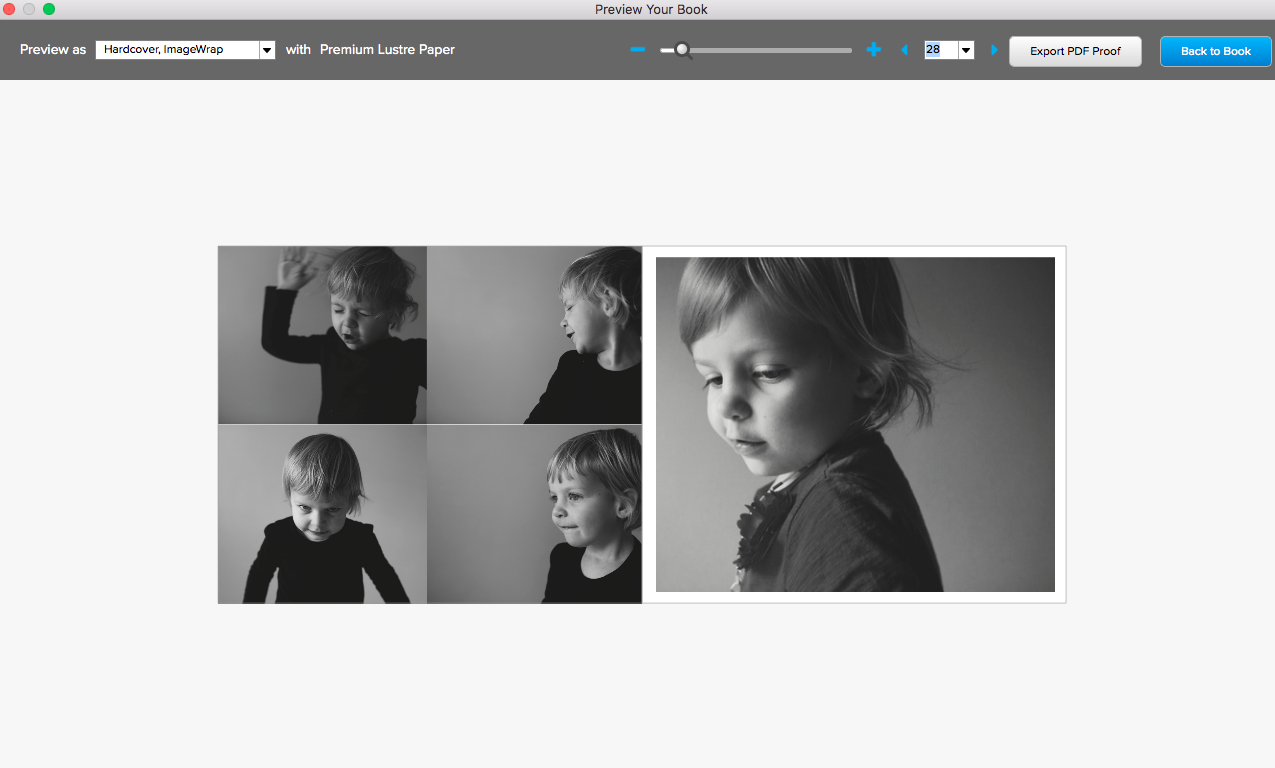
Everything about this layout is specific and intentional. Where I placed the photo, the amount of negative space I included, and the font style, size, and color. All of these small decisions led to a cohesive, sophisticated photo book.

A share my entire thought process, gameplan and inspirational layout and book examples in my workshop, Document Your Year. This e-course walks you through how to define your own vision, use the free Blurb design program to its greatest advantage and design a photo book to show off to your family and friends. 

Ready to make your own photo book this fall?

Sign up for my free video training sharing 5 tips to make a better photo book. In this 40 minute training, you’ll learn the best first step to make, my favorite 3 tools in BookWright and how to change a layout with one word. 

10 Steps to Making a Photo Book This Fall

10 Steps to Making a Photo Book This Fall

If you’re looking to make a photo book this year, now is the time to start thinking about it. The earlier you get started – and start making decisions – the better off you’ll be to actually finish a photo book in time for the holidays.

Imagine spending a little bit of time here and there working on your photo book over the next few weeks so when January 1st rolls around, you’ll be able to place your Christmas through New Year’s Eve photos into layouts and then print your photo book. Sounds nice, right?!?!

All it takes is a having a game plan that you can follow step by step.

Today, I’m sharing ten steps, with relevant resources, to walk you through 10 steps to documenting your favorite family photos from the year into a concise and beautiful photo book your family will treasure for many years to come.


STEP 1

Define what you want.

While it sounds easy, one of the most common steps people overlook is defining what type of photo book before they get started. It’s so important that you know what type of book, how big, what type of cover and what photo book company you want before you even begin looking at photos or thinking about layouts.

First step is to research different photo book companies to understand what kind of photo book will work best for you, your family, and your photos.

If you’re prone to overwhelm at the beginning, I recommend my free workshop that will help you find the insipiration to start, the motivation to keep going, and design ideas to make your book creative.


Target Time Frame: Define what you want for your photo book within one week.  

STEP 2

Get Organized.

Depending on how Type A you are with your photo organization, this first step could take some time. But it’s so crucial and will set the foundation that you’ll appreciate long after you print your photo book.

Before you even get started with selecting photos or laying out your pages, you first must organize your photo library. This means importing all of your photos from the year into one place. All of your photos from your smart phone, dslr, film and any other camera you own should be in one library.

Target Time Frame: Have your photos together and rated by the end of October.

STEP 3

Set up Systems.

If you’re anything like me, life does not provide you with unlimited time to start and finish your goals one at a time. Wouldn’t that be nice? Truth is, we all have multiple projects, family demands, and other commitments competing for our time.

And making a photo book is not easily accomplished within a day or two, unless your photo library is extremely organized (see step 2) and you have a very limited scope such as making a photo book of your favorite summer vacation photos.

To stay with your photo book project through the many starts and stops you’ll experience over the next few weeks/months, I recommend setting up a simple system you can follow.

When I use the term systems, I want you to set up a process for working on your photo book in a logical way that you can track. Being able to track – tell where you left off – is the key part to developing any system.

Refer to this blog post to see how I use one free tool to keep track of my photo book progress.  

Target Time Frame: Define your system by the end of October.

STEP 4

Select Photos.

Selecting photos is without a doubt the hardest step. Our photos are so personal and each photo we keep is for a particular reason. This makes it so difficult to figure out which photos you should actually select for a photo book.

Sometimes it helps to see how and why other people select photos for a photo book. This blog post outlines 2 important factors to consider when selecting photos. If you’re curious to see how / why I selected photos from everyday moments in my life, I’m sharing 4 videos illustrating how I select photos for a particular layout.

While I provide several tips and strategies for selecting photos in my workshops: In 100 Pages and Document Your Year, my main piece of advice for those indecisive photographers (raising my own hand) is to select photos that are the most representative of an event, emotion, or experience.

And don’t dwell on the photo you didn’t select. Years from now you won’t remember the photo you almost selected. Instead, you’ll remember the moment/event because of the photo you did select.

Target Time Frame:  My challenge for you is to select photos for a photo book every single week. Start with photos from one day. You’ll realize, the more you get used to selecting, the faster you’ll get. Promise. 😉

STEP 5

Understand the Program.

If you’ve never made a photo book before – or it’s been several years – I recommend you open up and practice a couple of layouts with the company/design software you’ve selected in Step 1. While most of the free design software is pretty intuitive, it really helps to understand the setup and various tools you can use as you design your pages.

If you plan on using text – either as page titles, captions or page numbers – test this feature as well. You’ll get a sense of how easy it is to add text and your practice will confirm if this is something you actually want to accomplish with this particular photo book.

While practicing a few layouts ahead of time seems like an extra step, it will save you time once you’ve selected photos and are ready to start designing pages.

Target Time Frame:  Open up the software and design a few test pages by Thanksgiving.

STEP 6

Layout Pages.

Once you have a good number of photos selected, it’s time to start designing some layouts! For this step, you don’t have to wait until all of your photos have been selected before you start designing your pages. In fact, starting to layout pages could help you select photos. You’ll start to understand what types of layouts you prefer and what photos work best in those layouts.

Check out this email series for layout design inspiration.

Target Time Frame:  Starting designing layouts in mid-November and continue designing throughout December.

STEP 7

Add a Sense of Style / Design.

If you’re designing a photo book, particularly when you’re customizing your layouts, I recommend adding a sense of style or design intent to your photo book. This can be as simple as adding page numbers, a color, an interesting font or more elaborate design elements such as unusual margins or design graphics. 

For those who want a small bit of interest to their layouts without going overboard, I recommend my photo book template for BookWright: Catalog Collection. This template was designed to give your photos an editorial look that you see in magazine or clothing catalogs. It’s a great way to get started with interesting layouts to showcase your photos. 

Target Time Frame:  Add design elements in December and the beginning of January.

STEP 8

Design a Cover.

I always wait to design my cover until the very end because I like for it to fully represent the entirety of the photo book design. Photo book covers can be simple – such as a family portrait – or more complex with an attention-grabbing design. The goal is for a cover to capture the spirit and vision of a photo book and entices family and friends to pick it up from the coffee table when they are visiting your home.

For photo book cover inspiration, check out my Pinterest board for photo book covers.   

Target Time Frame:  Design your cover at the end of the January.

STEP 9

Review your Photo Book.

Once all of your layouts are finished, it’s time to review your photo book before you upload. I can be pretty obsessive with checking photo books so take my recommendation with a grain of salt, but I recommend checking your layouts several times.

Start with a review of layout in the preview mode. Then I do a spell check of the entire document. In case I spell “their” when I mean “there”, I read through every single caption. Once all of the basic checks are completed, I check one last time in preview mode. 

Target Time Frame:  Finish your review at the beginning of February.

STEP 10

Order your Photo Book.

At last, it’s time to order! After weeks of organizing, selecting, designing and checking, it’s now time to order your photo book.

Target Time Frame:  Order your book at the beginning of February.

While I’ve tried to cover the necessary tips to get you started….I still have more to share!  If you loved this post, you’ll love my self-paced workshop: In One Hundred Pages.

In One Hundred Pages Workshop Review

In One Hundred Pages Workshop Review

All month, we’ve been working on organizing our photo library. It started with getting them all in one location. This meant one folder or catalog for all of your photos. This includes all of your DSLR, mirrorless, film, underwater, and/or smart phone photos. Getting them in one location helps you realize your starting point.

The next step was to go through and delete your unwanted photos. The goal was at least 10% of your total library. Decluttering your library now makes it easier to go through the photos that actually matter.

Finally, it was time to show your photos some love and rate your photos. If you don’t have a rating system in place, now is the time to get one. Most programs have one – even the free ones. So discover your preferred method and start rating the photos you love. If you already have a rating system, it’s time to get caught up and rate photos you may have missed throughout the year.

If you’ve found this helpful, you’ll love my photo book design workshop: In One Hundred Pages.

In this workshop, we’ll go even deeper together to organize your library, select the right photos for a photo book and design pages faster than you’ve ever done. My exact process is broken down into clearly organized action steps to help you succeed. The results: a beautiful photo book you’ll treasure forever.

Sometimes it takes hearing from past participants to know if this workshop will work for you. I want to share a casual conversation I had with an In 100 Pages participant last year who finished her photo book according to the challenges laid out in the workshop. If you can relate to her story in anyway, I know you’ll benefit from this workshop and would love to have you join us.


If you’re ready to print your photos with ease, click here to get started.

Photo Book Design Workshop: Student Perspective

Photo Book Design Workshop: Student Perspective

Being completely honest here…I’m not always the best at describing what I love to do….or how intensely I love helping you print your photos.

Sometimes…..it takes hearing it from others.

A while ago, one of my former PBDW students contacted me that she finally received her photo book and loved it!

Overjoyed could not explain my emotion well enough. I’m absolutely giddy whenever one of my students reports back with photos of their actual book.

Shannon is no exception. And I wanted to share Shannon’s story with you. But first, my Intro Photo Book Design & Advanced Photo Book Design Workshops starts on Monday, March 20, 2017. This is the only time to work directly with me in a workshop setting on your photo book this year.

Now – Here’s what Shannon had to say:

So I took Stacey’s Intro to Photo Book Design Workshop on a whim.

I am a true believer in documenting daily life through photographs and have been a scrapbooker since before my first child was born (I have a 7 year old and 2 year old twins). And even though my life was extremely busy – life in general never seems to slow down – I was determined to take pictures and document our story.

And that’s what I did.

I took several online photography courses to better my skills and was happy with my results. The only thing, I wasn’t printing anything. And what I did end up printing got shoved in a drawer somewhere, a place no one was going to go looking for them.

So when I saw Stacey’s book pop up online one day, I started researching, looked at all her books she had posted on her website and fell in love with the idea of designing my own photo book.

And I’m happy to report hat I have just received my first family yearbook and IT IS AWESOME!

The little details that Stacey teaches makes all the difference in the world (for example Table of Contents, aligning photos from one page to the next, monthly title pages, and I could go on and on).

The things I LOVE about my book are the pages that spread across the entire book…so much impact! I didn’t add much text but what I decided to do was pick a random day out of the month and give a little summary of what was happening.

I couldn’t be happier with the way it came out. I cannot recommend a project like this and Stacey’s PBDW class enough. It is such a great way to see your photos come to life…your story laid out for you in a professional looking book.

Thank you again Stacey for all your great tips and instruction. You were so hands-on and available. You really made the process so interesting and fun. Totally inspired by you and your work. #photobookerforlife

Shannon Belanger

Want to learn more? Sign up for my Photo Book Design Workshops. Registration is open now and workshop starts on March 20, 2017.

Creating a 4-Photo Custom Photo Book Layout

Creating a 4-Photo Custom Photo Book Layout

You may have noticed that Blurb no longer offers BookSmart as part of the free software options. It’s now officially been replaced by BookWright.

While I’ll miss being able to create text styles and having a grid to help with design, there are a few aspects that I love about BookWright:

  • being able to design as a spread (instead of customizing a single page at a time)
  • setting up grid lines to create a custom margins for a photo book
  • a more user-friendly interface

In this month’s tutorial, I’m explaining how you can make a small adjustment to Blurb’s 4-photo layouts to customize it to your photos.

Plus, if you’re starting to get a little frustrated with BookWright and ready to go all in with designing photo books, I’ll share how easy it is to design a 4-photo layout with InDesign.

Out of the box, here are the 4-photo grid layouts included in Blurb’s standard layouts:

It’s true, these layouts are centered and will work for a photo book, however, it’s important to recognize that these boxes don’t fit the standard proportions of a photo – creating more work for you later. You’ll have to adjust your photos if you don’t want them perfectly centered in the photo box.

And for some layouts, you may want more space around the photos without using a square box.

Here’s the finished layout I created in BookWright. It’s still centered but in this layout there is extra space at the top and bottom and the entire photo is shown on the page.

To see how I skipped the standard layouts and created my own 4-photo layout, watch this video:

Want to learn more? Sign up for my Photo Book Design Workshops. Registration is open now and workshop starts on March 20, 2017.