If you’re looking to make a photo book this year, now is the time to start thinking about it. The earlier you get started – and start making decisions – the better off you’ll be to actually finish a photo book in time for the holidays.
Imagine spending a little bit of time here and there working on your photo book over the next few weeks so when January 1st rolls around, you’ll be able to place your Christmas through New Year’s Eve photos into layouts and then print your photo book. Sounds nice, right?!?!
All it takes is a having a game plan that you can follow step by step.
Today, I’m sharing ten steps, with relevant resources, to walk you through 10 steps to documenting your favorite family photos from the year into a concise and beautiful photo book your family will treasure for many years to come.

STEP 1
Define what you want.
While it sounds easy, one of the most common steps people overlook is defining what type of photo book before they get started. It’s so important that you know what type of book, how big, what type of cover and what photo book company you want before you even begin looking at photos or thinking about layouts.
If you’re prone to overwhelm at the beginning, I recommend my free workshop that will help you find the
Target Time Frame: Define what you want for your photo book within one week.
STEP 2
Get Organized.
Depending on how Type A you are with your photo organization, this first step could take some time. But it’s so crucial and will set the foundation that you’ll appreciate long after you print your photo book.
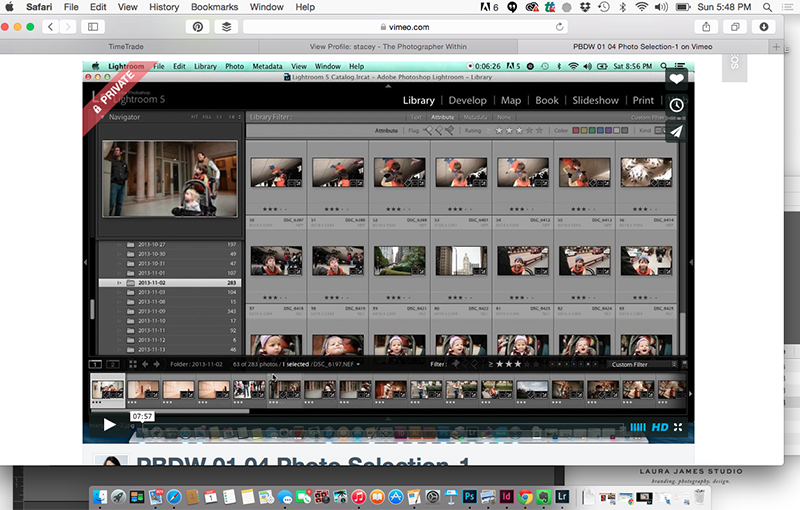
Before you even get started with selecting photos or laying out your pages, you first must organize your photo library. This means importing all of your photos from the year into one place. All of your photos from your
Target Time Frame: Have your photos together and rated by the end of October.
STEP 3
Set up Systems.
If you’re anything like me, life does not provide you with unlimited time to start and finish your goals one at a time. Wouldn’t that be nice? Truth is, we all have multiple projects, family demands, and other commitments competing for our time.
And making a photo book is not easily accomplished within a day or
To stay with your photo book project through the many starts and stops you’ll experience over the next few weeks/months, I recommend setting up a simple system you can follow.
When I use the term systems, I want you to set up a process for working on your photo book in a logical way that you can track. Being able to track – tell where you left off – is the key part to developing any system.
Refer to this blog post to see how I use one free tool to keep track of my photo book progress.
Target Time Frame: Define your system by the end of October.
STEP 4
Select Photos.
Selecting photos is without a doubt the hardest step. Our photos are so personal and each photo we keep is for a particular reason. This makes it so difficult to figure out which photos you should actually select for a photo book.
Sometimes it helps to see how and why other people select photos for a photo book. This blog post outlines 2 important factors to consider when selecting photos. If you’re curious to see how / why I selected photos from everyday moments in my life, I’m sharing 4 videos illustrating how I select photos for a particular layout.
While I provide several tips and strategies for selecting photos in my workshops: In 100 Pages and Document Your Year, my main piece of advice for those indecisive photographers (raising my own hand) is to select photos that are the most representative of an event, emotion, or experience.
And don’t dwell on the photo you didn’t select. Years from now you won’t remember the photo you almost selected. Instead, you’ll remember the moment/event because of the photo you did select.
Target Time Frame: My challenge for you is to select photos for a photo book every single week. Start with photos from one day. You’ll realize, the more you get used to selecting, the faster you’ll get. Promise. 😉
STEP 5
Understand the Program.
If you’ve never made a photo book before – or it’s been several years – I recommend you open up and practice a couple of layouts with the company/design software you’ve selected in Step 1. While most of the free design software is pretty intuitive, it really helps to understand the setup and various tools you can use as you design your pages.
If you plan on using text – either as page titles, captions or page numbers – test this feature as well. You’ll get a sense of how easy it is to add text and your practice will confirm if this is something you actually want to accomplish with this particular photo book.
While practicing a few layouts ahead of time seems like an extra step, it will save you time once you’ve selected photos and are ready to start designing pages.
Target Time Frame: Open up the software and design a few test pages by Thanksgiving.
STEP 6
Layout Pages.
Once you have a good number of photos selected, it’s time to start designing some layouts! For this step, you don’t have to wait until all of your photos have been selected before you start designing your pages. In fact, starting to layout pages could help you select photos. You’ll start to understand what types of layouts you prefer and what photos work best in those layouts.
Check out this email series for layout design inspiration.
Target Time Frame: Starting designing layouts in mid-November and continue designing throughout December.
STEP 7
Add a Sense of Style / Design.
If you’re designing a photo book, particularly when you’re customizing your layouts, I recommend adding a sense of style or design intent to your photo book. This can be as simple as adding page numbers, a color, an interesting font or more elaborate design elements such as unusual margins or design graphics.
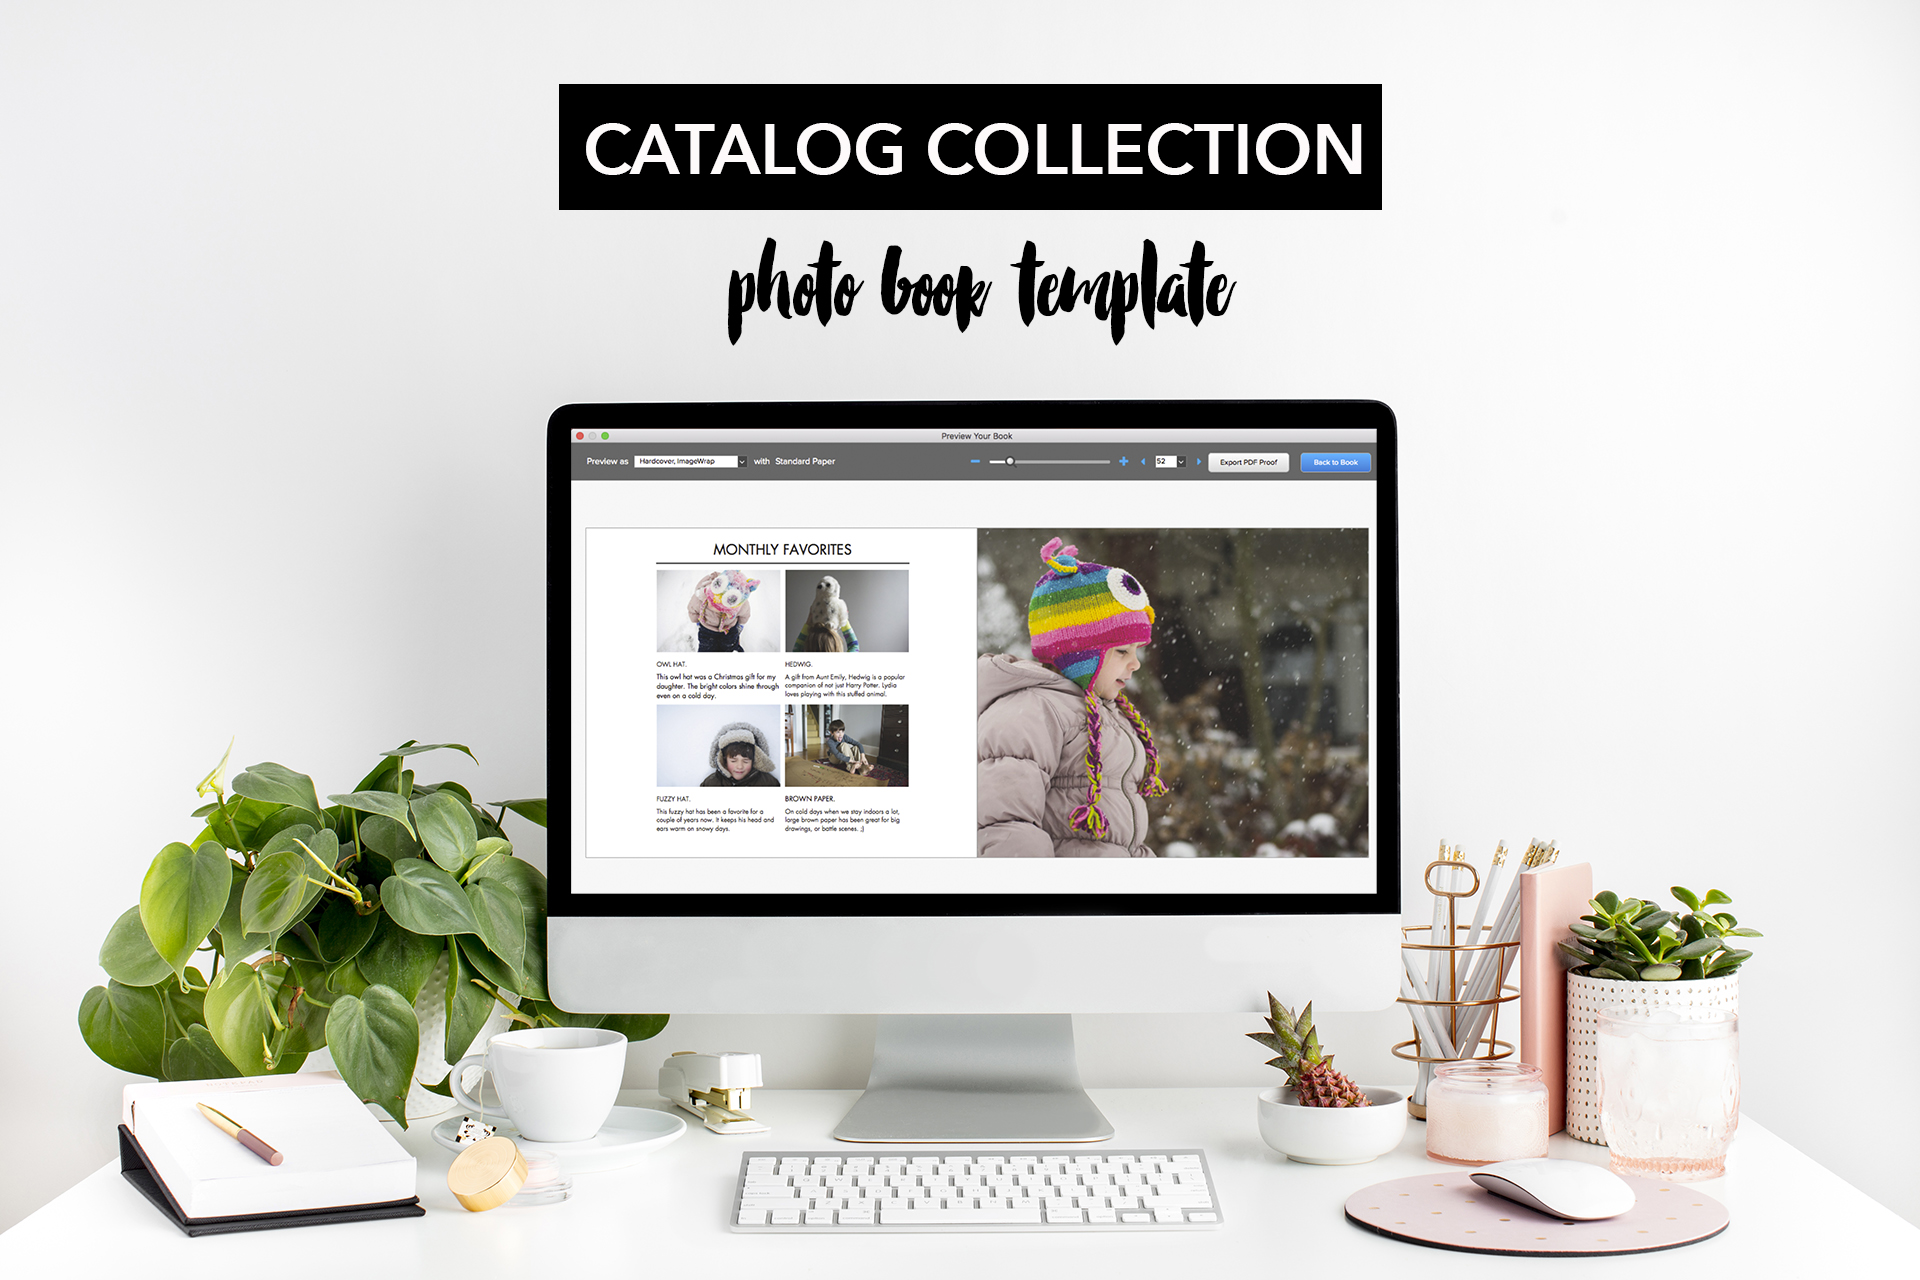
For those who want a small bit of interest to their layouts without going overboard, I recommend my photo book template for BookWright: Catalog Collection. This template was designed to give your photos an editorial look that you see in magazine or clothing catalogs. It’s a great way to get started with interesting layouts to showcase your photos.
Target Time Frame: Add design elements in December and the beginning of January.
STEP 8
Design a Cover.
I always wait to design my cover until the very end because I like for it to fully represent the entirety of the photo book design.
For
Target Time Frame: Design your cover at the end of the January.
STEP 9
Review your Photo Book.
Once all of your layouts are finished, it’s time to review your photo book before you upload. I can be pretty obsessive with checking photo books so take my recommendation with a grain of salt, but I recommend checking your layouts several times.
Start with a review of
Target Time Frame: Finish your review at the beginning of February.
STEP 10
Order your Photo Book.
At last, it’s time to order! After weeks of organizing, selecting, designing and checking, it’s now time to order your photo book.
Target Time Frame: Order your book at the beginning of February.
While I’ve tried to cover the necessary tips to get you started….I still have more to share! If you loved this post, you’ll love my self-paced workshop: In One Hundred Pages.


