Usually, if I’m going to add text to my photo book, it’s going to be as a title on the page or a caption to a photo. But that doesn’t work for everyone. Some people want to incorporate longer pieces of text – such as long-form journal entries – combined with photos into a photo book. Recently, a reader reached out to me asking how to accomplish this using BookWright. While it can definitely be finicky, BookWright does have an autoflow text feature.
What exactly is autoflow text?
It means that there is one text that can be sub-divided into various text boxes throughout your entire photo book. And this isn’t accomplished by copying/pasting different sentences into each box. Instead, if you want to edit the text, you’re editing one text file – even though it appears in several boxes and pages, throughout your book.
This allows you to consistently edit the features of your text at once yet customize how much of the text you want to appear on a particular page.
So let me walk through how to incorporate a larger piece of text into your photo book.
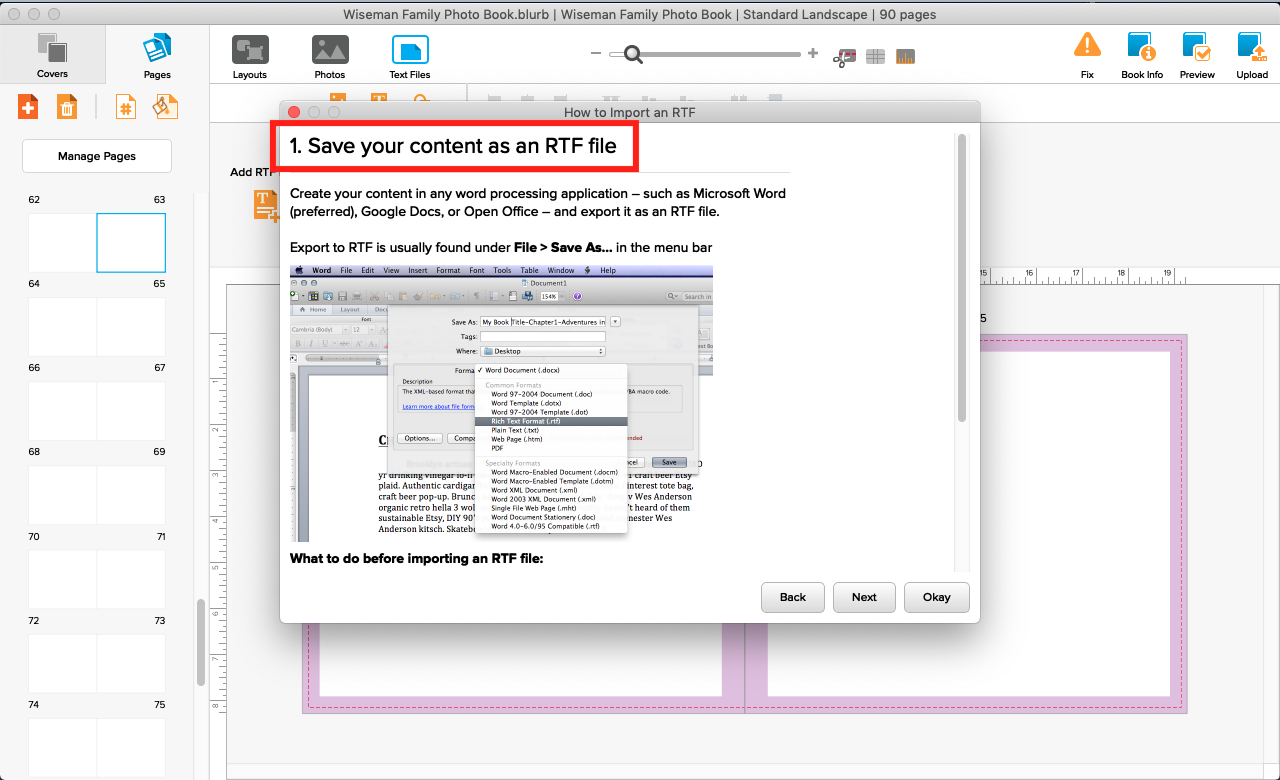
STEP 01: SAVE YOUR TEXT AS AN RTF FILE.
The first step is to convert your text file into an RTF file that can be read / used within BookWright.
For this example, I’m using a text file I created for one of my recent emails, which is a Google Doc file.
To transform this google doc file into something BookWright can use, simply head to the File menu and select “Download As” then select “Rich Text Format (.rtf).” This will automatically download your text into your Downloads folder.
Follow a similar process if you are using Microsoft Word or Apple Pages.

Important Tip:
I recommend writing, reviewing and editing your entire text before converting it into
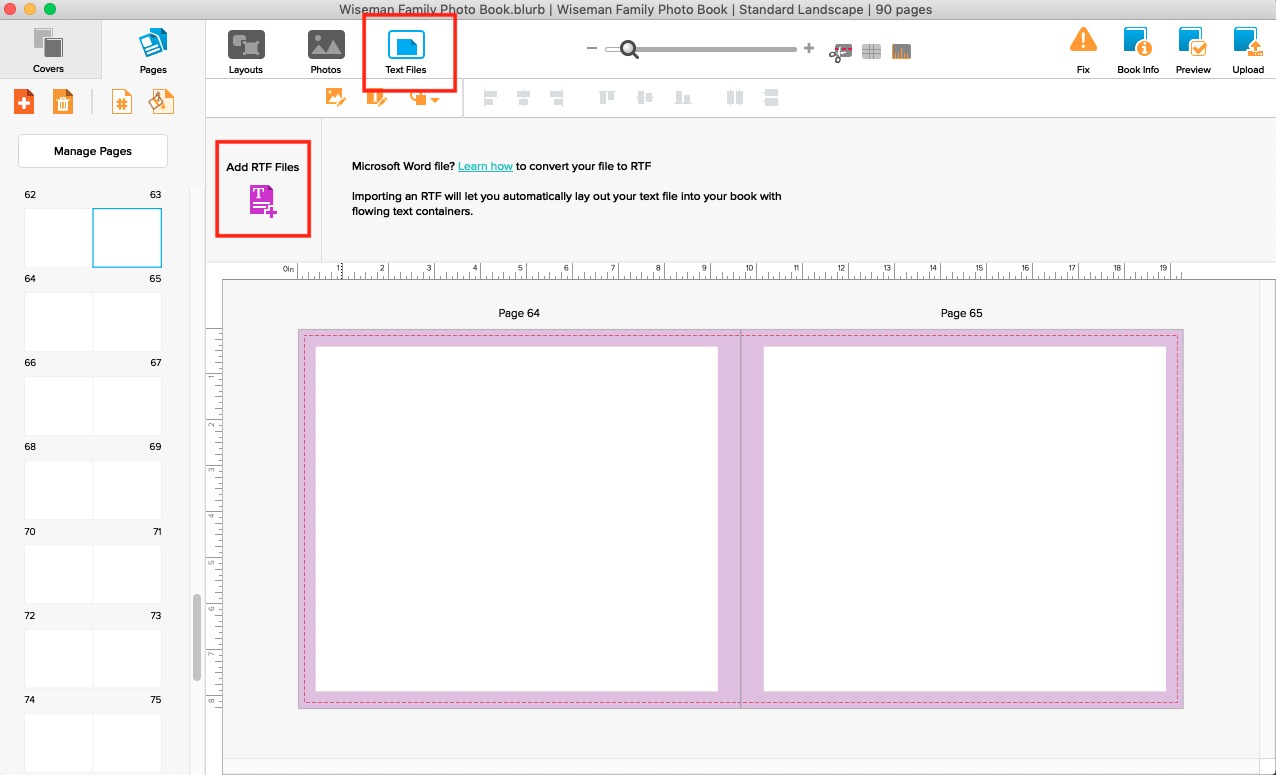
STEP 02: IMPORT YOUR TEXT INTO BOOKWRIGHT
The next step is to import this text file into BookWright. You’ll want to make sure that you are in the Text Files tab of the program.
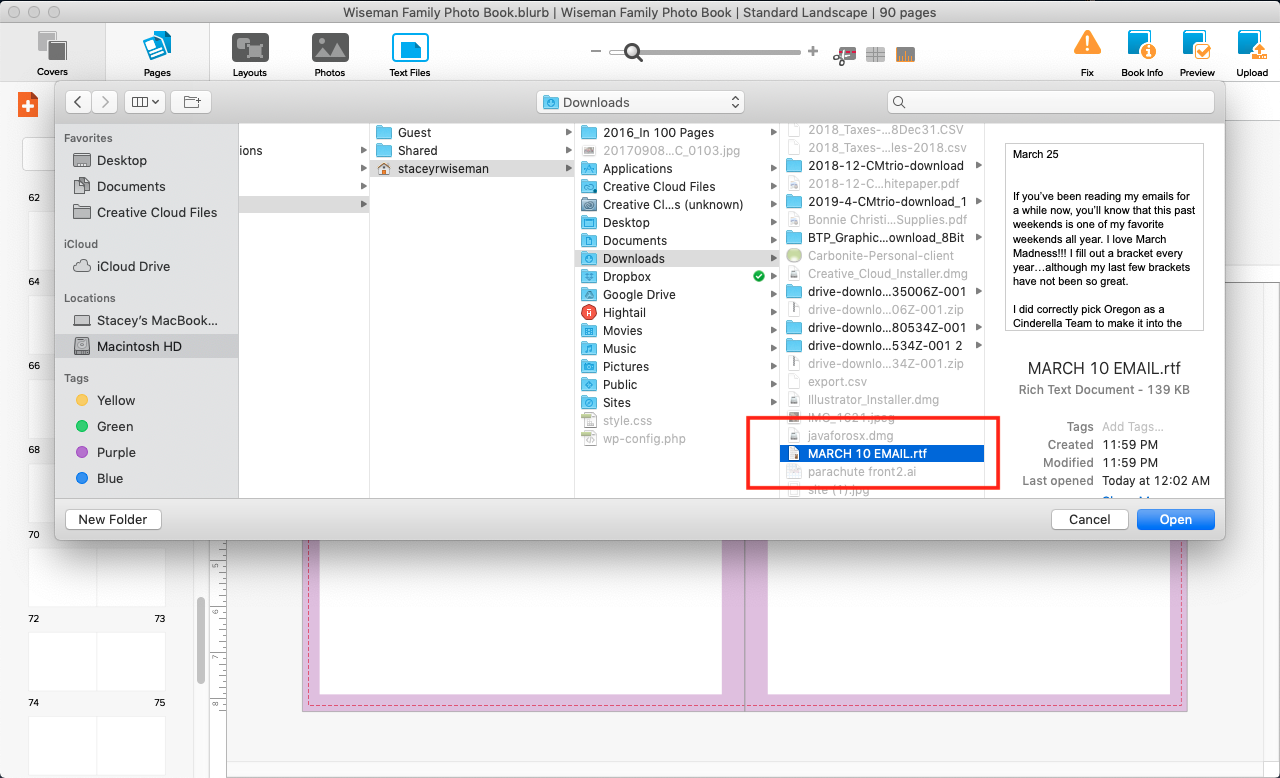
Once you’re here, select “Import RTF Files” and then locate the file in your Downloads folder, or wherever you saved your text file.
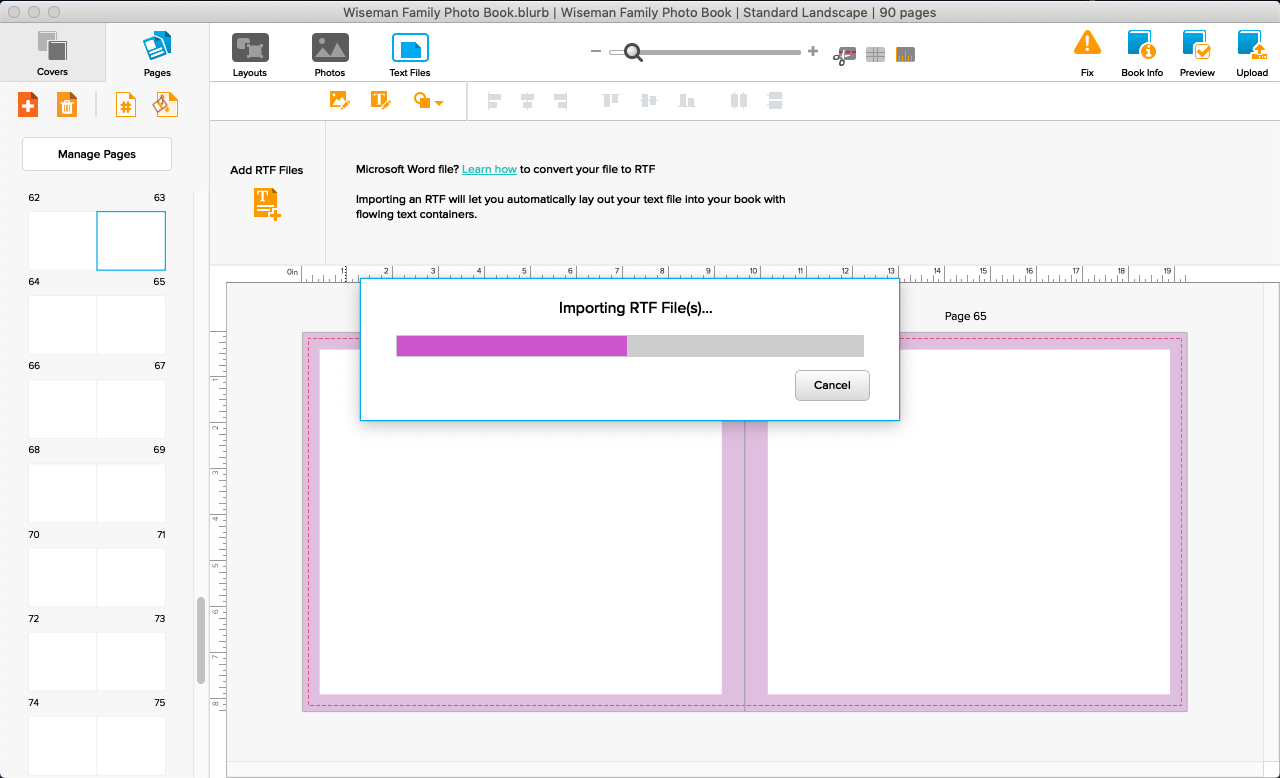
Once the file has been imported, you’ll see the text file here (rectangle), just as you would with photos (in the photos tab).

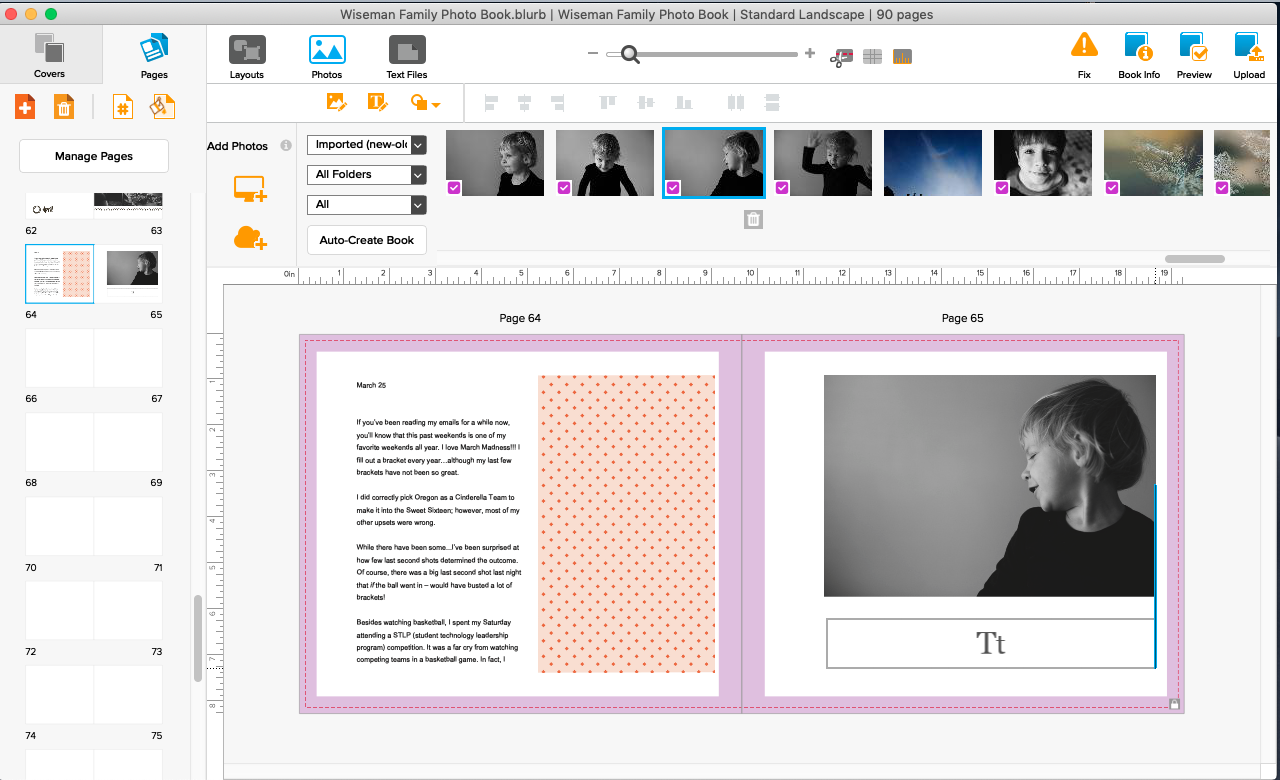
To insert the text into a text box on the page, all you have to do is drag and drop the file onto the page you want.
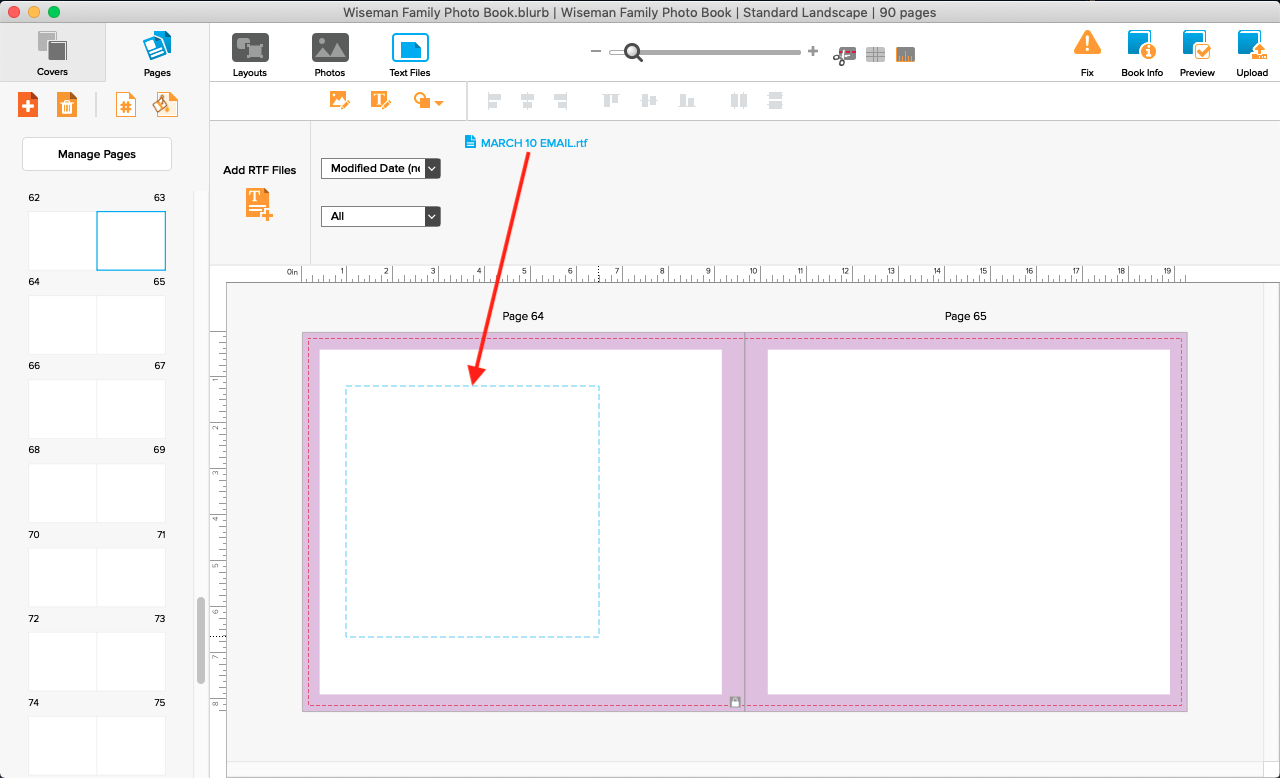
A dialogue box will appear asking what type of layout to insert the text file into. I select the standard one text box per page.
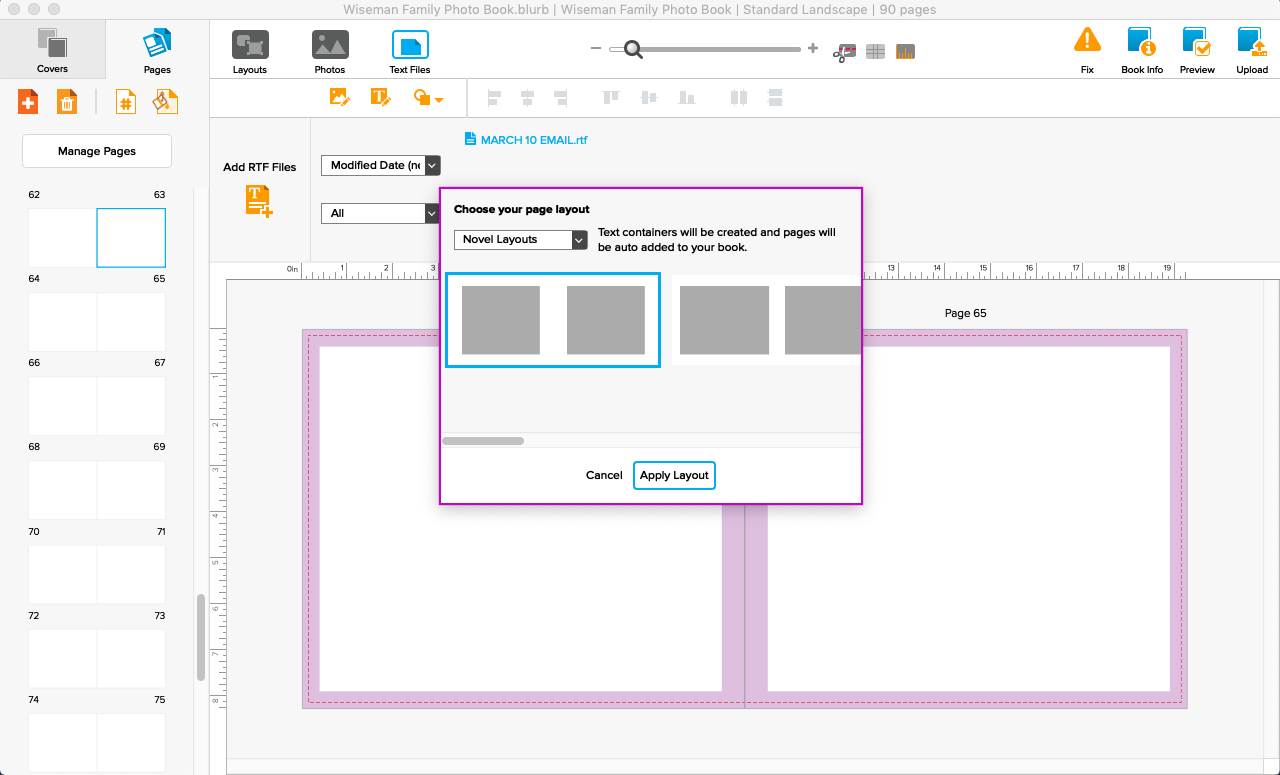
Once the text is placed, you can always adjust the size and location of the text box. This initial layout is just to get you started on the page.
Important Tip:
Since each file you import shows up as a separate entity, one thing you can do is create multiple files for the text you want to include in your photo book. This allows you to finish a text completely and add it to your book before the full text is finished. For example, if you wanted to include a journal entry (2-4 pages of text) for each month, treat each of the entries as separate rtf file.
STEP 03: ADJUST THE TEXT BOXES.
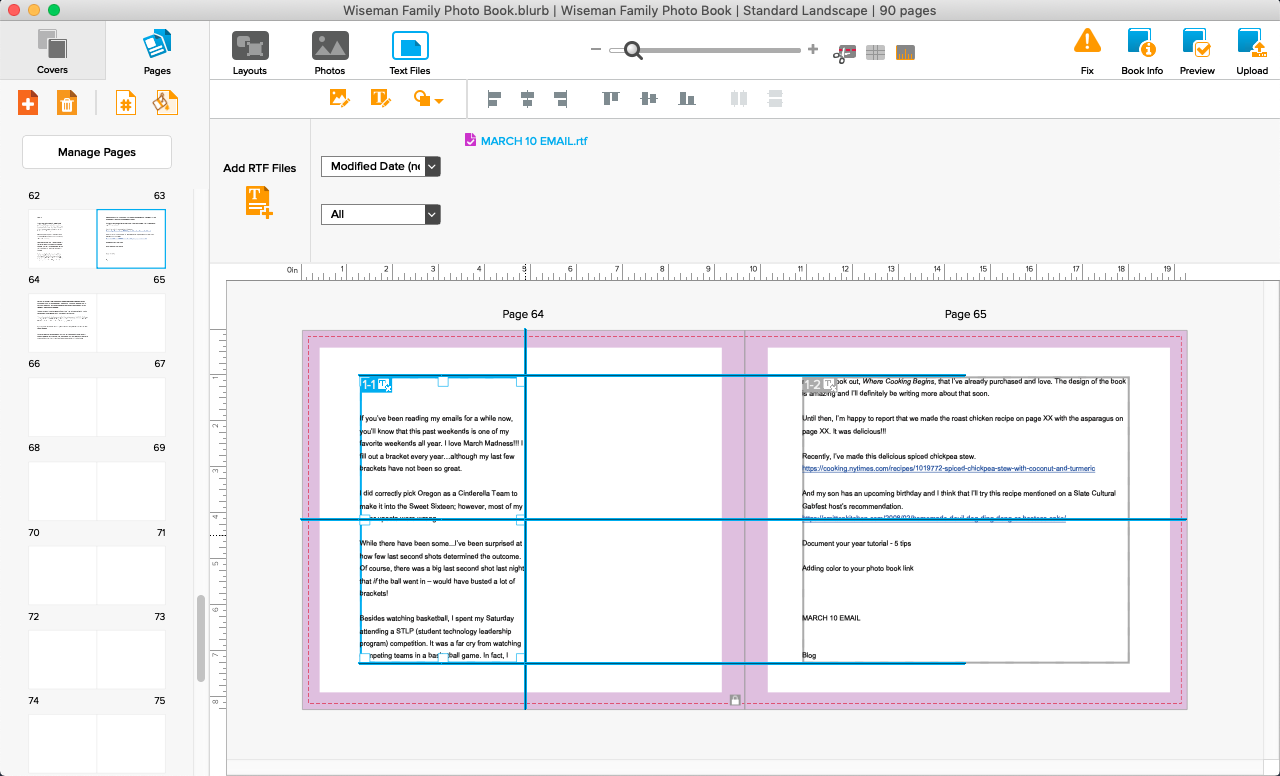
The text is initially placed as two large photo boxes on the page. Usually, my first step is to delete the text box on the right page (unless I know I want two full pages of text). Once that text box is deleted, I have more control about how and where I want my text to flow.
Now, deleting text boxes can be finicky in this program. If you click on the text box, even around the border, it will open up the text styles/editing box….which is not what you want.
To delete a text box, you have to move you cursor outside of the text box boundary, click and hold down on the mouse, and then drag to the opposite corner of the text box. This will select the text box without bringing up the text window.
Then hit the delete key.
This removes the text from the box but will keep the actual text box. In order to delete the box, you have to click delete a second time or you can click on the trashcan icon of the text box (lower right corner).
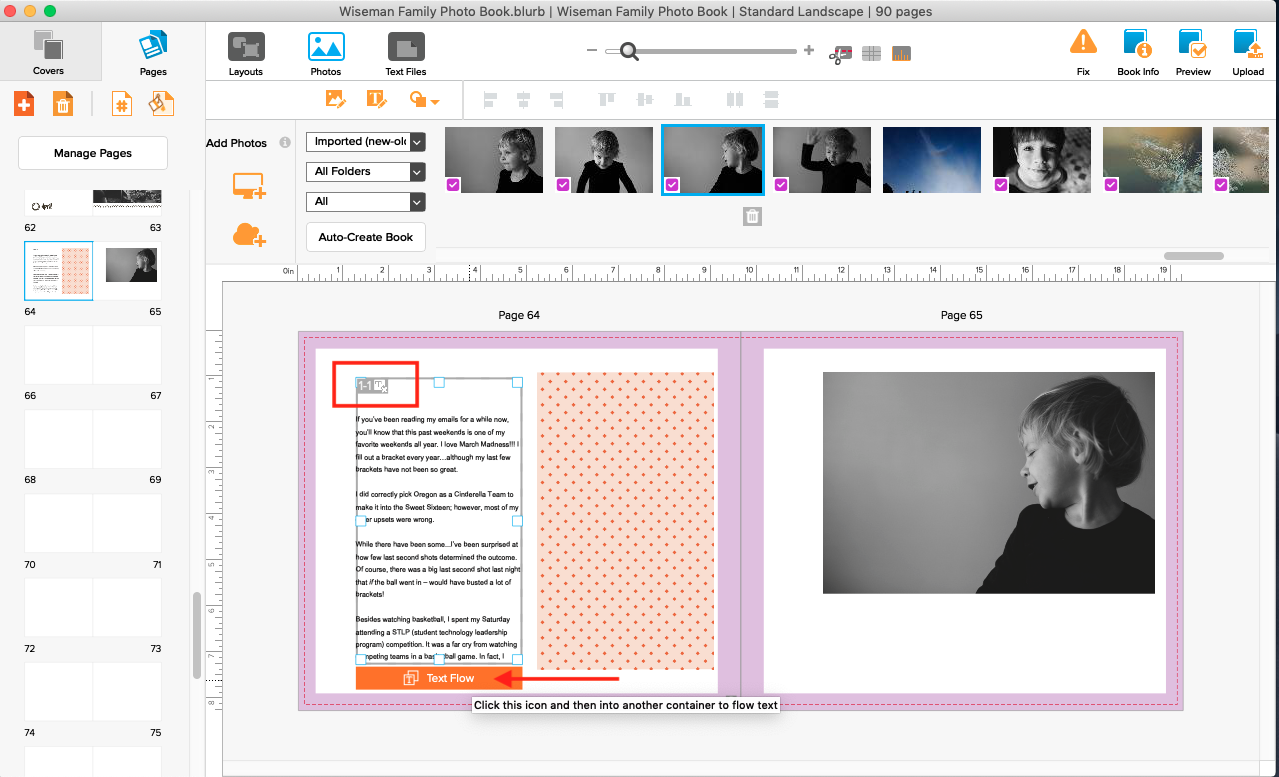
When you are ready to continue your text into another text box, even if it’s on another page, you’ll select the text box and at the bottom there is an orange “Text Flow” button.
Click it and your cursor will change – allowing you to create a new text box. At this point, find the location you want for the text to continue and drag your cursor to form the approximate shape of the box you want. You can always adjust this later.
You’ll notice in the upper left-hand corner of any text flow box, it tells you where the text fits in the overall number of text boxes. For example, if you’ve placed 4 text boxes for a particular journal entry, you can click on a box to discover that a particular box is 2 (second) of the total 4 text boxes. This comes in handy in you have multiple boxes forming your text.
Important Tip:
Form text boxes that align with the photos on the page. Don’t forget to use the align tools that come with BookWright to make everything on the page look intentional.
STEP 04: ADJUST TEXT STYLES.
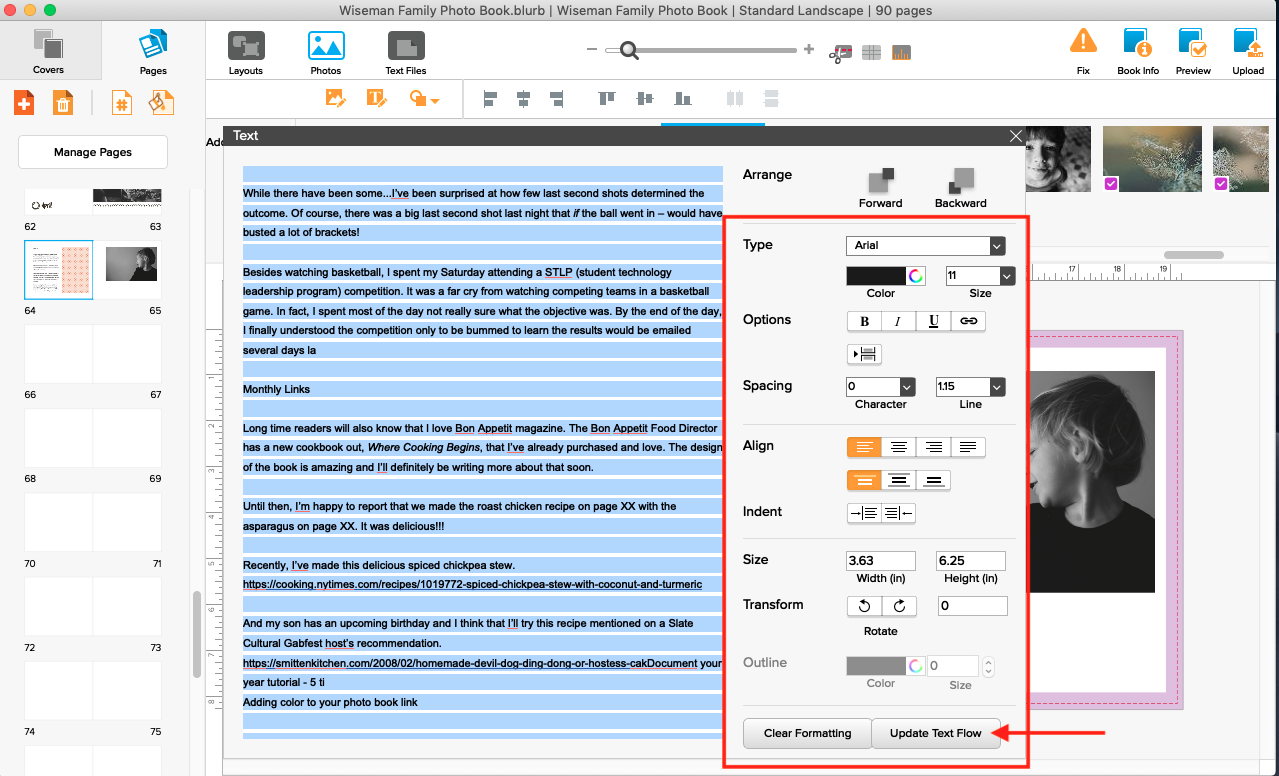
One benefit to using the autoflow feature is that you can can adjust the text – from any text box – in the one text style/editing dialogue box. If you decide you want to delete a sentence or change a word, it is done through this window. In other words, text edits are never made on the actual page.
You can adjust the style of the text from this window as well. To change the font style, size, alignment, etc., click on the actual text (left side of the box) then hit control (or open apple) + A to select all of the text. Once selected, make the adjustments you want.
Then click “Update Text Flow” for the changes to appear in your layouts. Keep in mind, this may affect how much of the text is visible within the text box. I recommend you make any major style changes at the beginning, before you spend too much time adjusting the actual shape and location of the text box.
Important Tip:
Since all of the text is edited through this one dialogue box, I recommend you keep the actual text used in multiple boxes (autoflow text) as primarily the body copy of your text. You can always make certain words/phrases bold or italic, if needed. However, you’ll want to minimize the special features you define within this text style/editing box. With that in mind, I also recommend that you remove titles and photo captions from this file and make them separate stand-alone text boxes (not autoflow text) within your photo book.
I hope that helped to see how to incorporate a larger amount of text into your photo book. If you want to go deeper and learn how to fully use Blurb’s free software program, BookWright, check out my do-it-yourself workshop – Document Your Year.


