by Stacey Wiseman | Oct 21, 2017 | Description, Design Series, Motivation
Last week, I wanted you to organize your photos into one location. How’d you do?
My goal was to send out 2 rolls of film and import photos from my smart phone. Being completely honest, I didn’t import my phone photos until last night and shipped my rolls of film off about two hours ago. But you know what? This is the reason I put a date to finish my tasks. It may have been under the wire….but I did it!
Now, it’s important to see all of the photos you’ve collected in your 2017 catalog and figure out how many photos you’re starting with. My number is: 4,769 photos.
What’s yours?
This week, your challenge is to start deleting your unwanted photos.
Unless you’re incredibly diligent, chances are you have a number of easy photos to remove from your catalog. I’m sure you know the ones I’m talking about. Photos of your kids with half-closed eyes, missed focus because they occasionally move as you’re pressing the shutter or all the times you took 20 photos that all turned out to really be the same shot (yes, I’m guilty of taking plenty of those).
Let’s clear out the clutter in your photo library.
My goal for you is to delete about 10% of your 2017 photo catalog.
For me, I’m starting the week with 4,679 photos. So my goal is to delete 477 photos by the end of the week. Or 68-70 photos per day.
See how far you can get this week!
by Stacey Wiseman | Sep 25, 2017 | Description, Design Series, Inspiration, Motivation
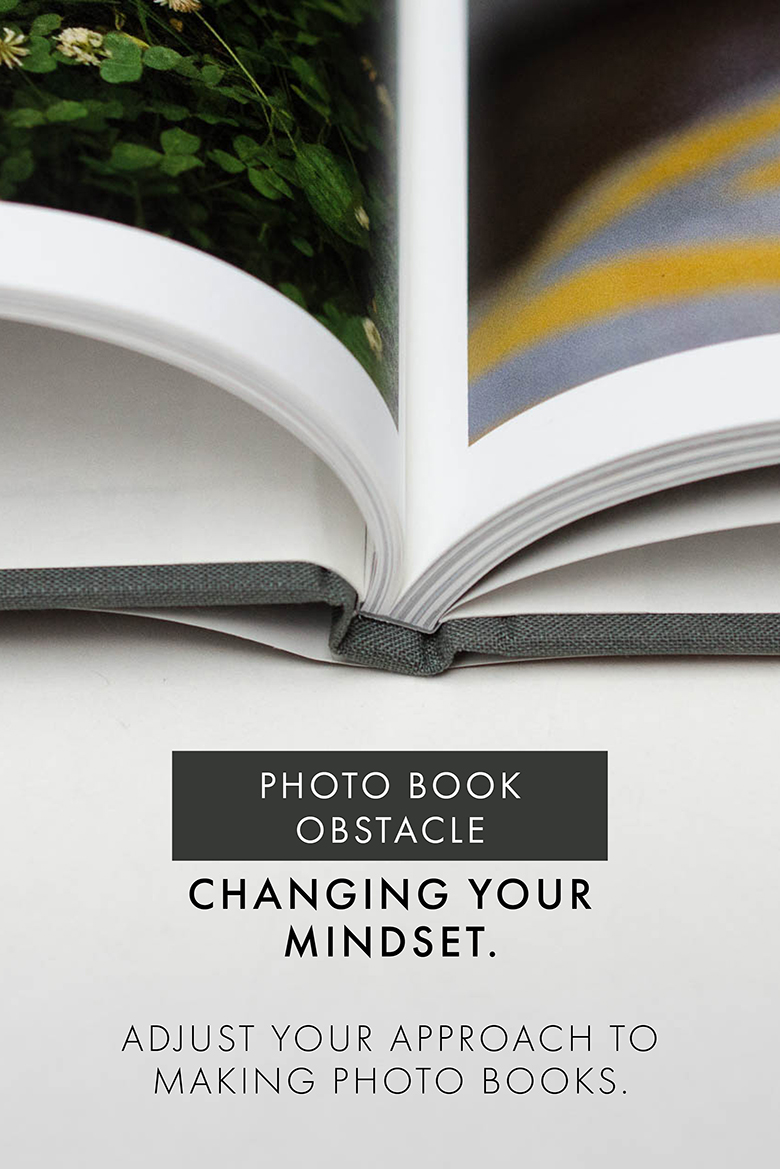
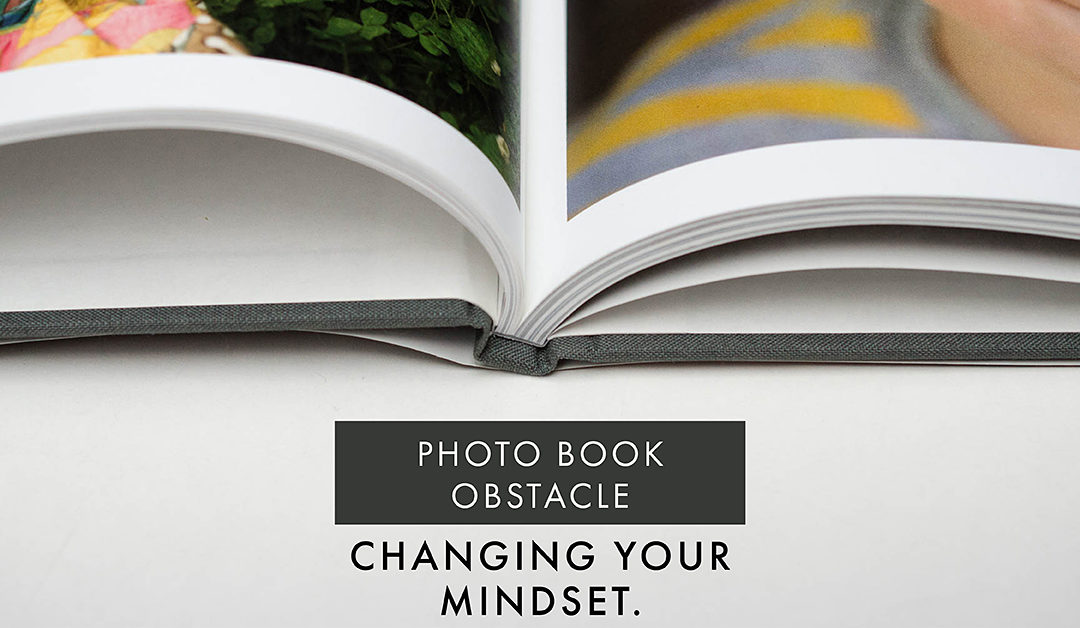
When you’re organizing your photos or making a photo book, do you ever have a small voice in your head playing negative thoughts? Something like: You’re never going to be able to go through all of these photos? Or you’re never going to finish this project? Or this is hopeless?
This is your mindset around printing your photos in a photo book. I want to spend time today addressing and adjusting your current mindset to make sure it’s helping you achieve your goals.
Now, maybe you are familiar with mindset…but if you’re not, here’s a story to illustrate. It’s been several years since we’ve gone through potty training in our house. However, we still go through times where we have to consistently work with our kids to be……well…..regular.
Recently, we were going through a dry spell 😉 and after several days of my daughter telling me she couldn’t go, I told her that she needs to change what she’s saying and to say “I can” instead of “I can’t”. I reinforced that she needed the confidence to believe in words “I can”. Sure enough the next day, she was able to go!
She was so excited to realize that changing her attitude could help her accomplish something. Simply by approaching the situation with a different mindset led to her success.
It’s this exact shift in thinking that you need if you keep talking yourself out of making a photo book.
Start paying attention to what you think about your ability to print your photos in a photo book.
Do you tell yourself that you have too many photos to ever get organized to print them?
Do you make excuses about why can’t finish a photo book project?
Do you immediately tell yourself you don’t have the time it will take?
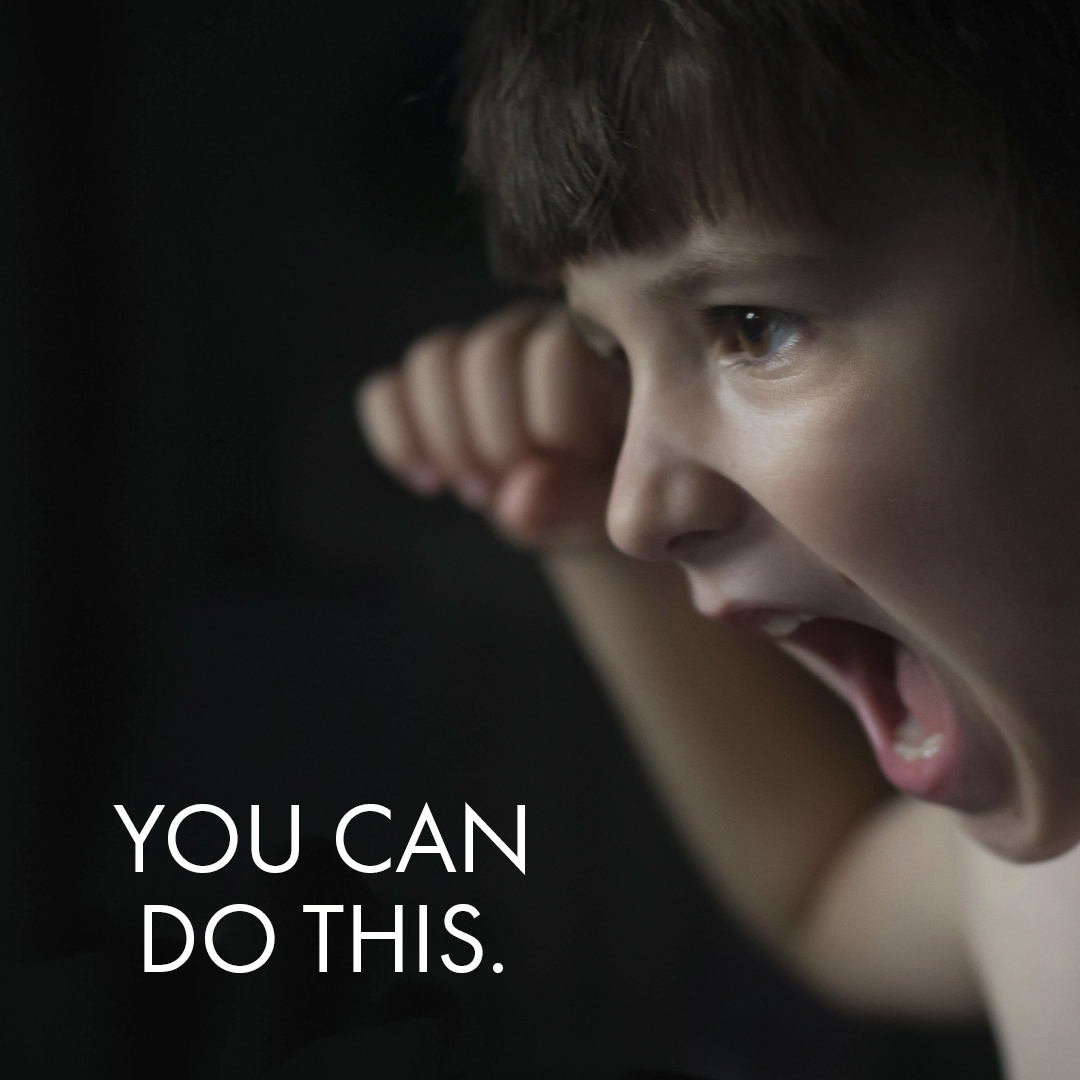
Once you notice the thoughts you have, I want you to shift the language to be positive; to reinforce that you can make a photo book. Finally, I want you to have the confidence in the words. This voice should stay with you throughout the entire process. You can do this!
As I’m sure you already know, it’s not enough to simply say you can do something. You have to have the action to back it up.
If you need help with the action or implementation, I developed a workshop, In One Hundred Pages, to help. This workshop covers what you need to easily and simply start -and finish- a photo book.
Now is the time to get organized and make a photo book with your favorite photos from the year. Trust me, it doesn't have to be overwhelming or stressful. With my workshop In One Hundred Pages, I describe my entire streamlined process so you can make a photo book in less time and with less stress.
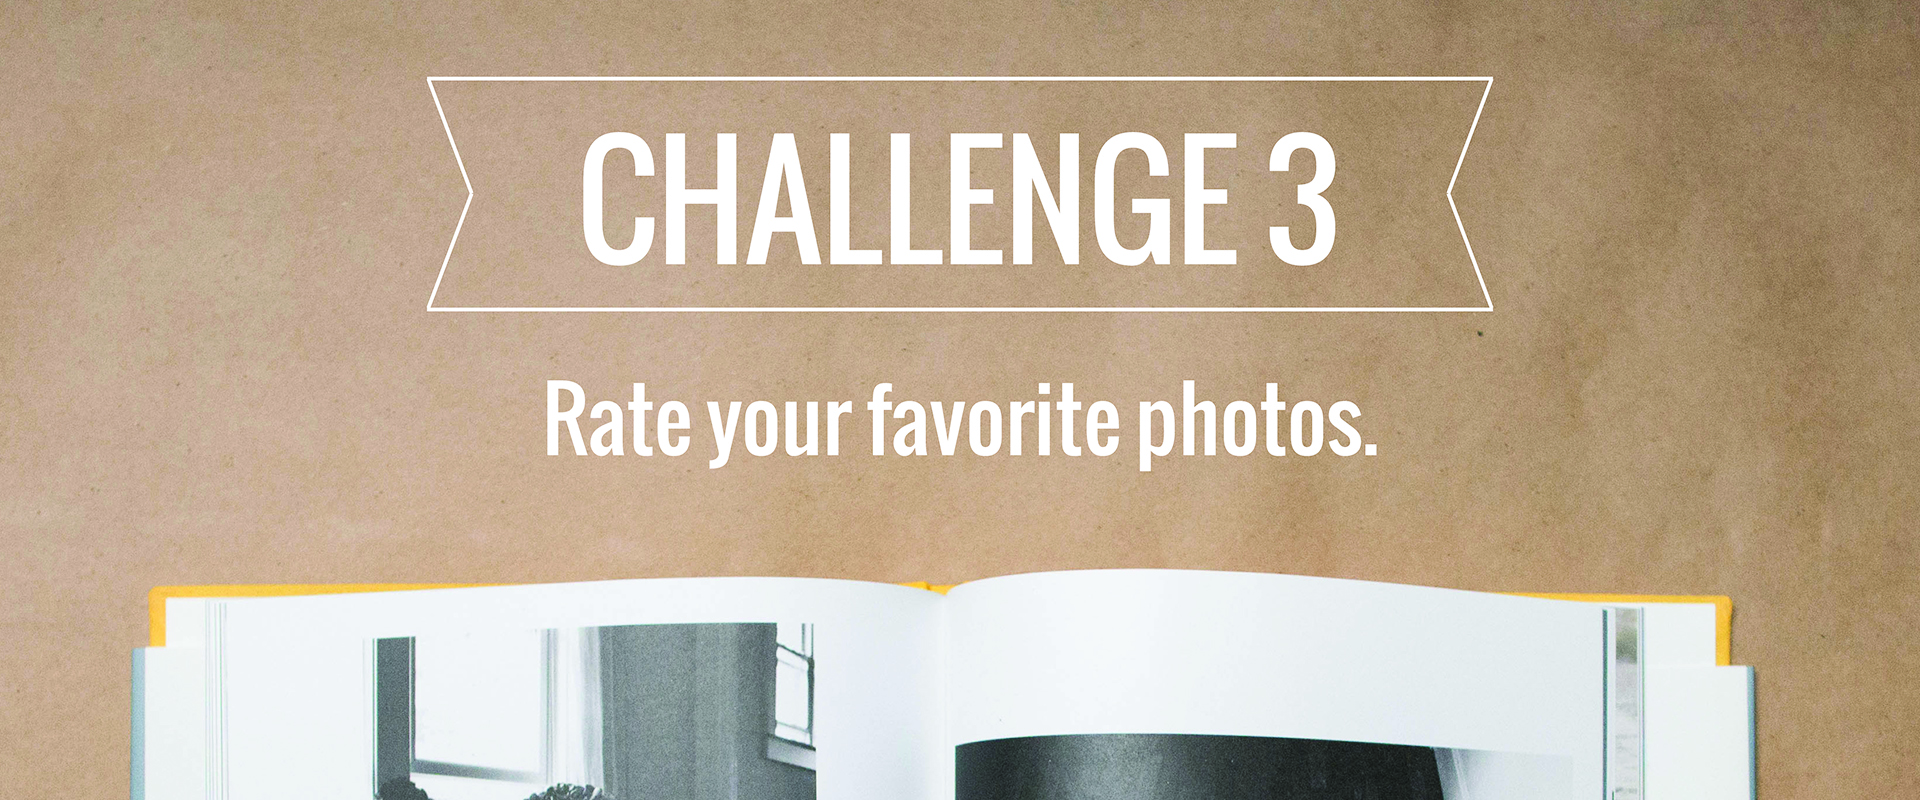
by Stacey Wiseman | Oct 19, 2015 | Description, Design Series
How’s your library looking?
As you know, we are getting our photo libraries in shape for an end of the year photo book.
Then we went on a
delete-spree – deleting 10% of the total photos.
Now it’s time to pick your favorites. For Challenge #3, go through your entire catalog and give your absolute favorite photos from the year a 5-star rating.
These are most likely the photos that you have already edited or shared on your blog, Facebook or Instagram.
We’re not going for photo you like……we’re going for photos you love. Spend the next 10 nights going through your library and rating your favorites!
And I’d love to see one of your favorite photos.
Share on Instagram tag @bookthisproject #organizeyourphotos Select with love!
Want to meet with me? You’ll get a chance to ask questions and see how I organize my photo library in preparation for a photo book. Plus a chance to grab a discount (my only one available) and purchase my In One Hundred Pages mini-workshop a couple of days early.
Date: October 27, 2015 at 9:00pm EST. (I’ll do my best to record it for those who can’t attend live.)
by Stacey Wiseman | Feb 27, 2015 | Description, Promotions, Uncategorized
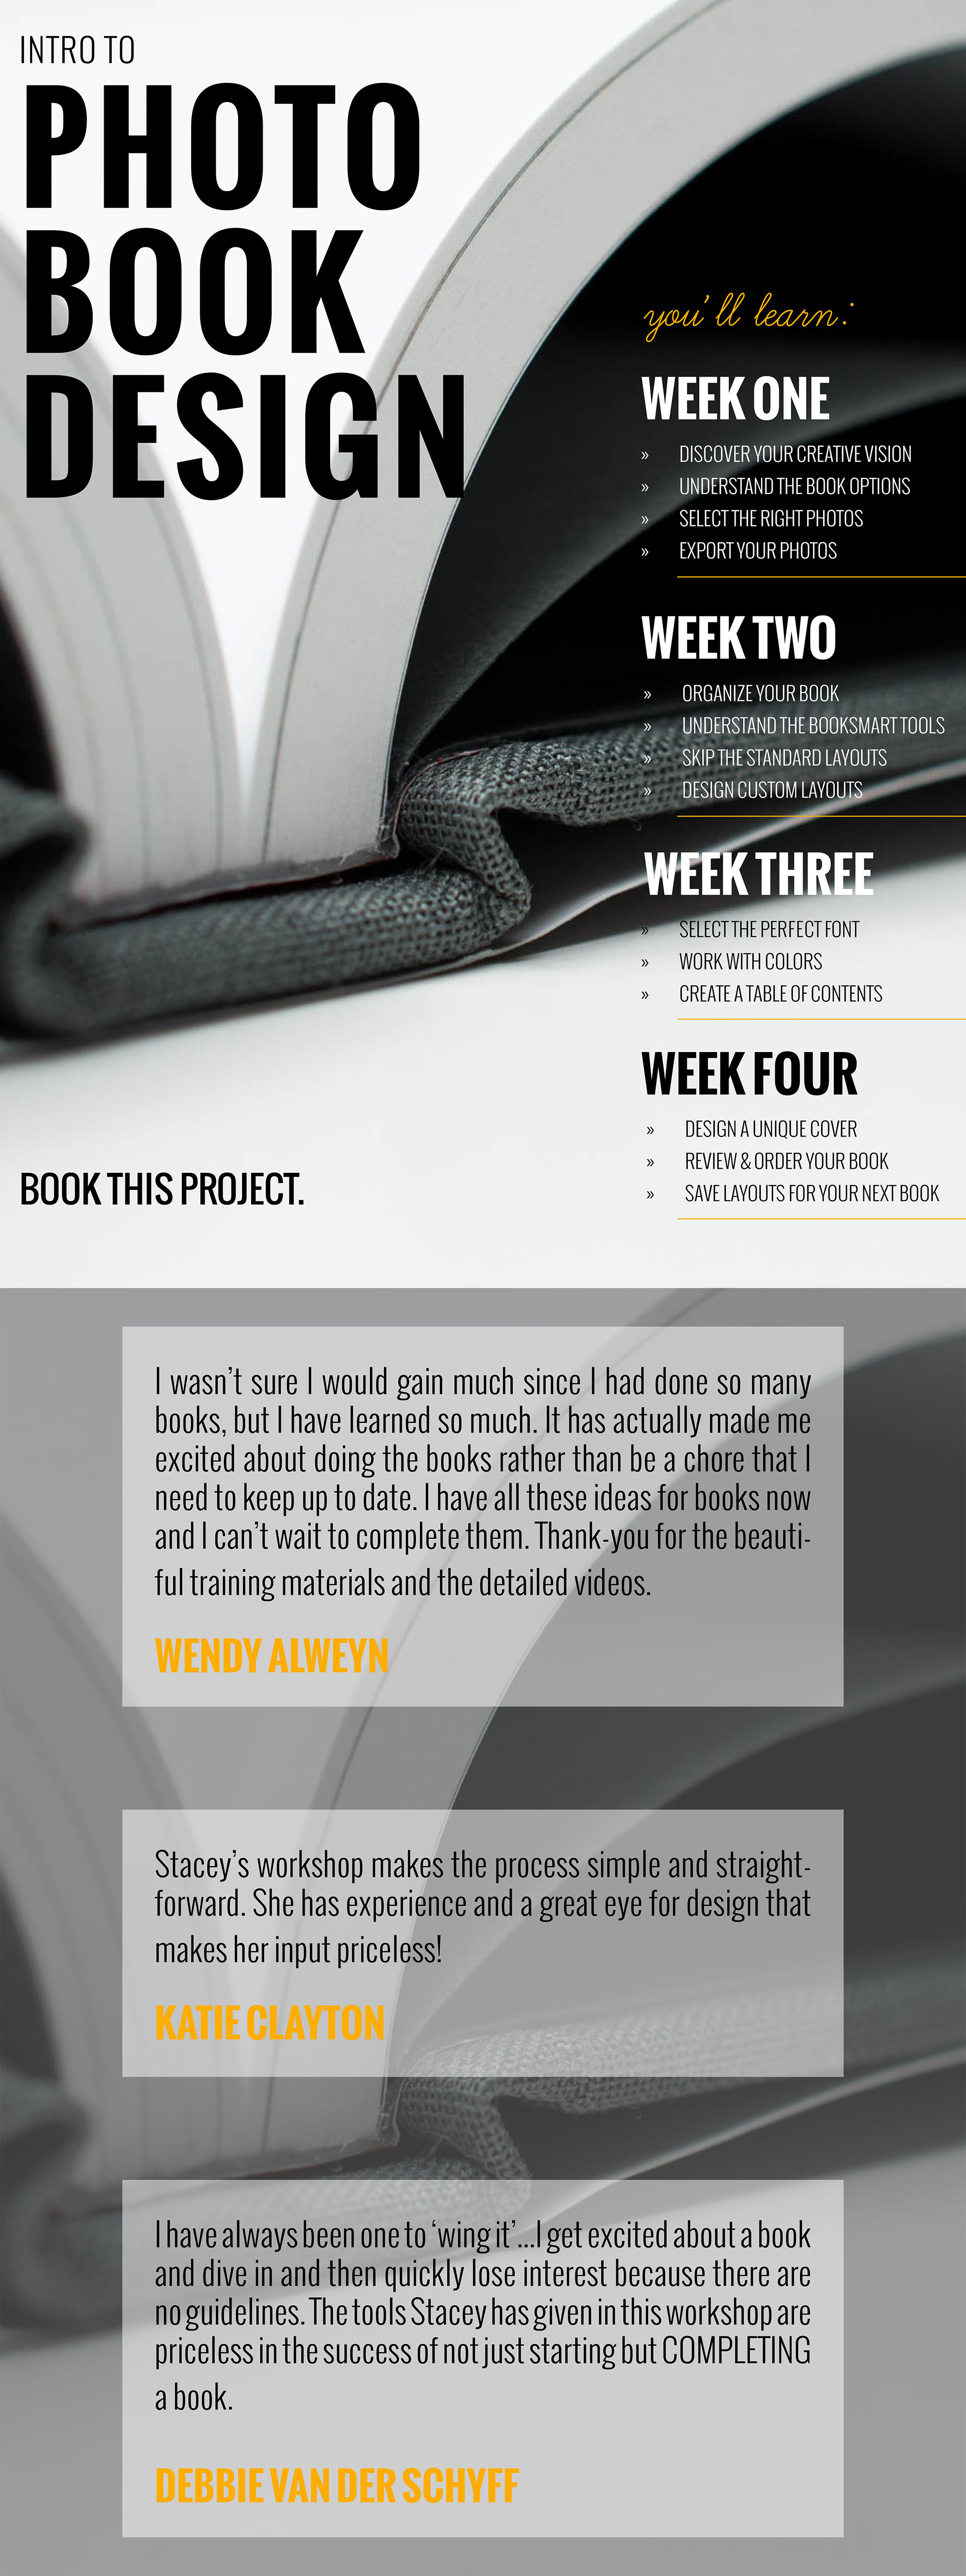
This week, I released my Photo Book Design Workshop pre-lesson and everyone is diving in and defining their vision.
This Monday, the workshop kicks off and I want to make sure you don’t miss out.
So, how do you know if this workshop is right for you?
I’ve got 10 great reasons below.
1. Sequence
I’ve organized all of my insights, advice and recommendations into a tested and specific order so you know what to do and when to do it. I’m not just telling you how you make a photo book, I’m outlining a process, an efficient workflow, that you can apply to any book project.
2. Results
With every workshop, I create an encouraging environment for you to make progress, and hopefully finish your photo book.
3. Convenience
You don’t have to endlessly search on the internet for advice or inspiration. I’ve packaged all of the pertinent information in one convenient location.
4. Overwhelm
Making a photo book can be overwhelming. With my guidance, I’ll provide clear strategies so you can be decisive and feel empowered (not overwhelmed) by the process.
5. Missing Pieces
Sometimes you don’t even know what to ask. Or what exactly you’re looking for. I promise to share insights and tools that will help you save time and improve your book. Yes, even for people who have made plenty of photo books before… they still walked away with valuable insights.
6. Accountability
By participating in a workshop, you’re making a commitment to yourself to learn and accomplish something you’ve previously struggled with. There are 4 ways my workshop holds you accountable: my actionable lessons, being motivated by your fellow participants, the ability to ask me any questions and receiving feedback on your work.
7. Me
This one is a little weird for me to share, but it’s true – participating in my workshop provides you with unprecedented access to my thought process and workflow. You’ll see how I work plus get views of entire photo books I’ve designed.
8. PDF Design
I don’t just type out the lessons and add photos. I spend a lot of time focusing on the design of my material and love to make small tweaks every year to make sure the lesson is easy to read, organized and beautiful.
9. Facebook Group
After participating in the workshop, you’ll have access to my Mastermind Group, which includes a private Facebook group of others working on their books. Participating in this group will help you stay focused and finish your book project….or start a new one!
10. Upcoming Projects
Every summer, I like to come up with a fun project to stretch your creativity – with your photos and designing a photo book. However, these projects are not instructional. To participate in this project, you’ll want to already know how to make a book using the BookSmart (or BookWright) software.
Plus, as of right now, this is my only scheduled 2016 run of the Photo Book Design Workshop – so now is your chance to learn!
It’s also important to know if this workshop is not for you. This Photo Book Design Workshop is probably not right for you if…
You take less than 500 photos a year.
You prefer to print your photos as 4×6 prints.
You have absolutely no extra time to devote to learning a new task.
You are completely satisfied in your ability to design photo books.
You have an efficient workflow to stay on top of your culling, editing, and designing.
You love the standard layouts or designs in these photo books.
You’d rather have me design your photo books for you.
You already use InDesign to design your photo books.
I’ve got more information here but if you’re ready to sign up you can head over here.
The workshop kicks off this Monday, March 20, 2017!
Here’s a preview of the Pre-Workshop Lesson that has already been posted.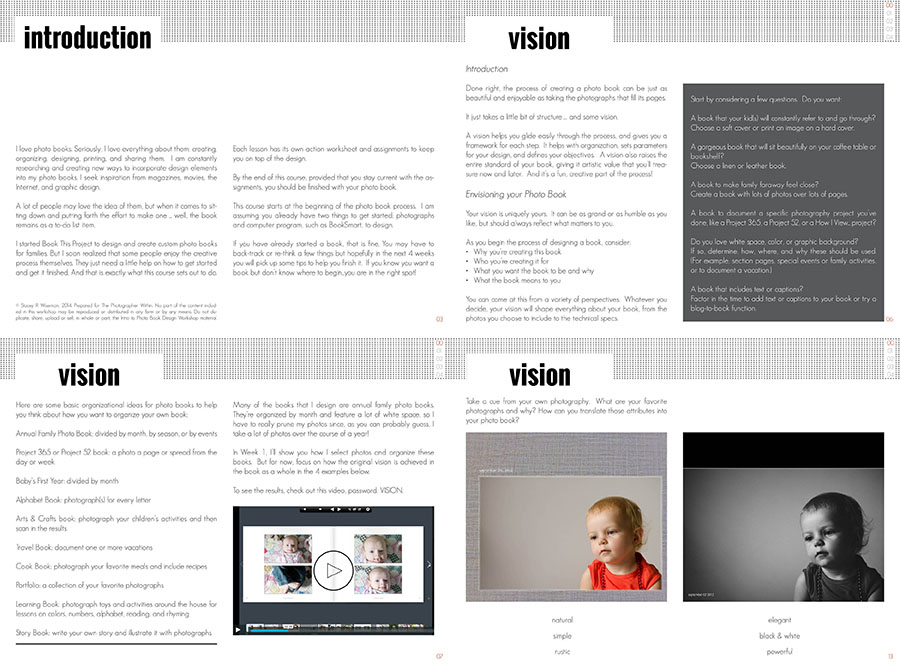

by Stacey Wiseman | Jan 22, 2015 | Description, Family Photographs, Photo Book Design Layout, Promotions, Uncategorized
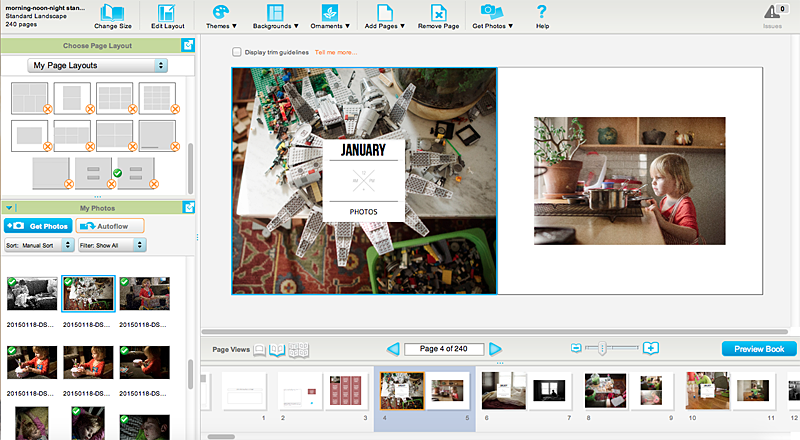
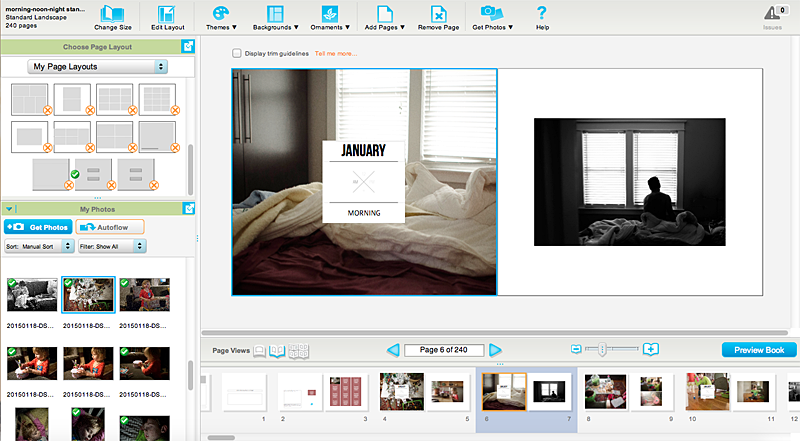
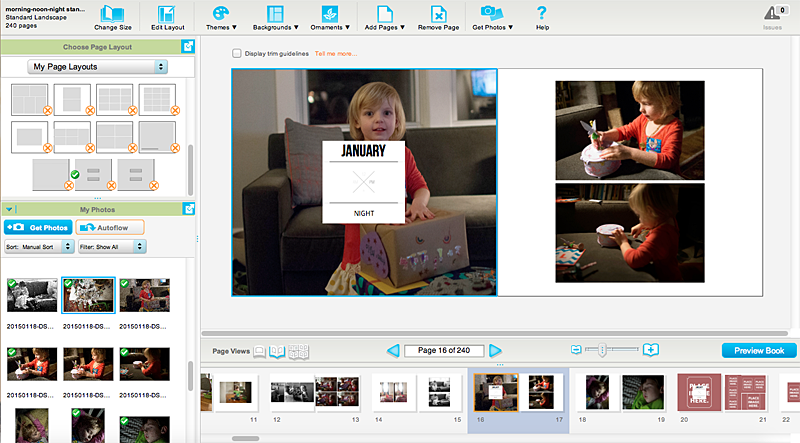
Last weekend, I photographed my morning, noon and night. It’s so great to capture the everyday moments to see how they remain the same and how they change. It’s an easy way to document your life without the huge commitment of taking photos every hour.
This removes the overwhelm from the selection, editing and design process. In fact, for my January submission, I shot 162 photos and selected 29 to edit. I ended up using 24 of those photos. With that simple process, I’m well on my way to design an annual book.
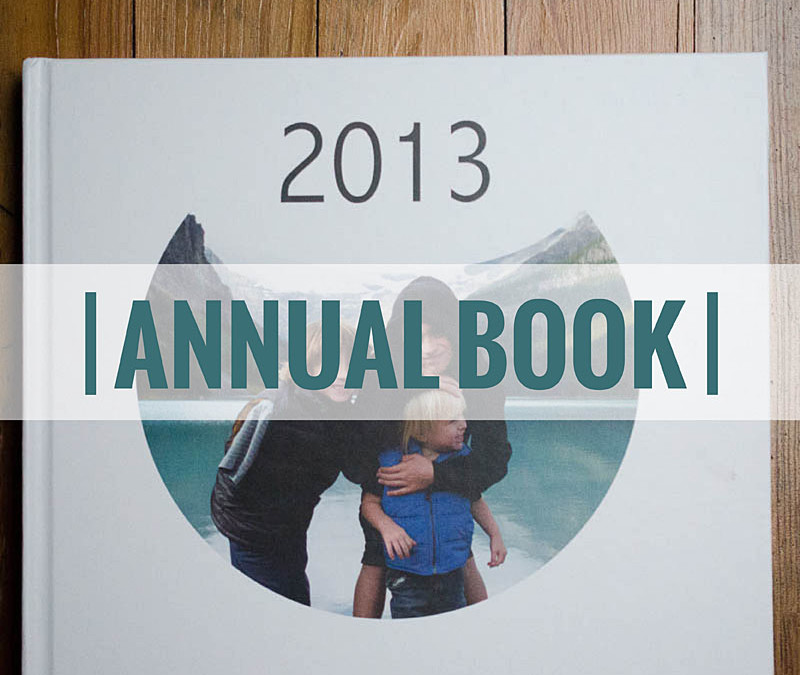
Of course, this book may not include all of the details (chances are….I’m going to design that book too!), but if this is the only photo book you think you’ll make all year, it’s a great one to touch on the details that make up your life.
Morning

Noon
Night

The best part is, I’m working on my book each month as I shoot. Here are a few of my pages.
Want to join along?
by Stacey Wiseman | Jan 20, 2015 | Description, Family Photographs, Photo Book Design Layout
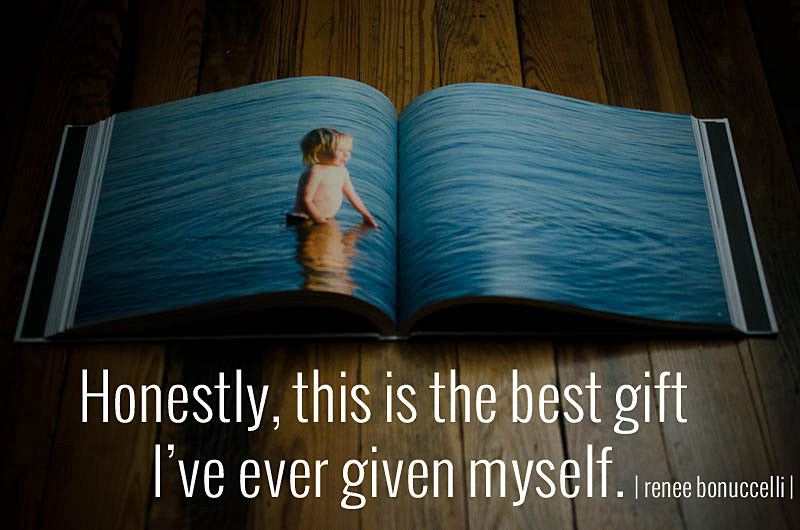
There’s something so magical about being able to design a family’s photo book year after year. This past year, I finished my second photo book for the B Family in Canada and I’m getting ready to start their third book. I’ve documented birthdays, amazing family vacations and even the birth of the fourth child.
The bond of this family is truly remarkable. They’re active, funny, kind-hearted and loving. And yes, I can tell all of this by her photos. I’ve seen silly antics, scattered legos, messy artwork and hockey games. I’ve also seen charity events and immense brotherly love.
One of the reasons I love working on their photo books, my client includes photos of their daily life but also abstract, macro and flower photography as well. This provides a tremendous amount of flexibility to the layouts and ultimately the flow of the book. In their 2013 book, I used these photographs as a full spread bleed layout. Using these layouts, I’m able to make a big impact to the start of each month with bright, vibrant photos.

I’m so thrilled to design her photo books! Beyond my love of designing, I know how much her family appreciates these family heirlooms – which adds to my excitement to design her next book!
All book photos in this post are copyright protected by Renee Bonuccelli, 2014. All Rights Reserved.
by Stacey Wiseman | Sep 18, 2014 | Description, FREE!
As a mom of a kindergartner, one of the things I’ve been completely surprised with is the amount of papers! When I read this recent article in Apartment Therapy, I could completely relate.
Every night, we are getting 5-10 pieces of paper. Some are results of his school practice. Some include important school information. And some are program announcements, book offers, and general advice.
Already, we’ve accumulated a huge stack of paperwork.

There is a definite need to separate out the parent action items with his practice papers to keep and then recycle the rest.
But…what to do with all of his school papers that I keep?
A photo book, of course.
I’ve decided to photograph 10-12 papers each month and will photograph them and place them in my photo book.
Scanning is one option or you can set up a space on your table or a wall to photograph them in order to get a jpeg for your book.

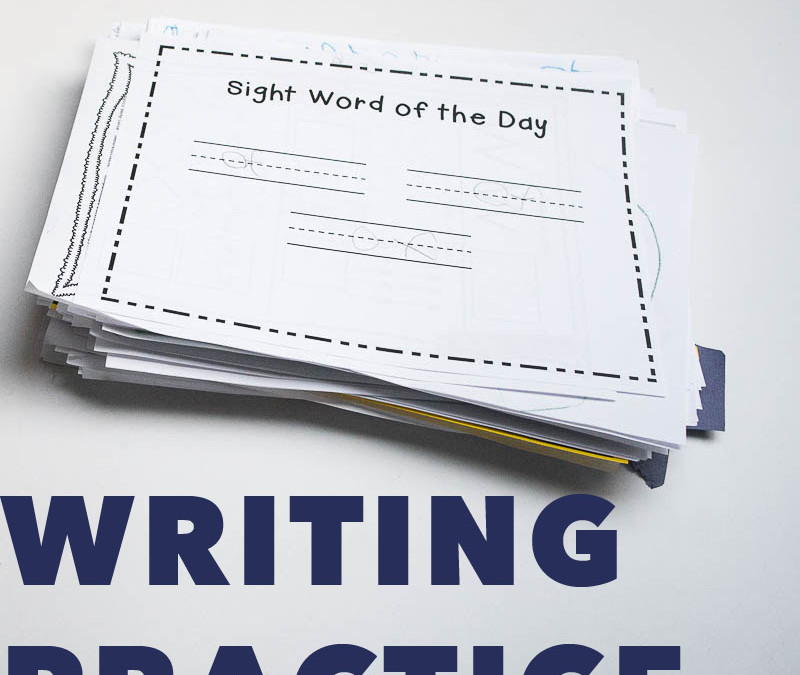
One thing I noticed with his schoolwork is the need to practice writing. As a new writer, he is struggling with how to use the lines to create his letters.
So I created a guide with the kindergarten sight words that fade out so he can practice.
If you want the 10 page practice guide for your child, click here.

And if you enjoyed my strategy for weeding out school paperwork, you’ll love my tips on how to narrow down your family photos. That’s coming soon!
by Stacey Wiseman | Sep 1, 2014 | Description, Photograph, Photography Tip
It’s the last weekend of summer! Are heading out to the pool this weekend? Or perhaps trying to editing your vacation photos?
Recently, I told you about my love of taking underwater photos. While I’m definitely not the expert or take stellar underwater photos, I still love documenting them.
But editing them?!?! I was lost.
Until I read through Lynne Rigby’s Splash! Getting Started in Underwater Photography and Editing with Presets. Right now, this is available for FREE through The Photographer Within for about one more week. After that, it will be up in the store for purchase.
Lynne’s PDF walks you through her gear, steps, and process. She includes an editing video so you can see how she edits her underwater photos. Plus, she provides some presets she created.
This PDF was immensely helpful for me…as you will soon see! I thought it would be fun to share my before and after.
Let’s start with this one:
BEFORE.

AFTER.

Look at how much better the skin tones are!!! This is using Lynne’s Nevis Preset.
Here’s another example using the Barbados preset.
BEFORE.

AFTER.

BEFORE.

AFTER.

And I thought I would end on a selfie with my son. I used the Barbados preset and did absolutely nothing else. I seriously was never able to get right skin tones until I read this PDF! Definitely worth my membership with this one download!
BEFORE.

AFTER.

by Stacey Wiseman | Jun 18, 2014 | Description, Tutorial
Recently, I wrote about Blurb hosting a photo book contest to design a book for your favorite person. This was right up my alley so I used it as an opportunity to design a book for my husband.
Now I’ve never designed a book specifically for one person so I knew it would be a challenge – and ultimately a learning experience. And you know me, I’m always up for sharing what I’ve learned!
Here are my 6 key takeaways from my most recent book.
1 | Define the book concept.
I spent more time developing and defining my book concept than I did actually working on my book. It may sound a little strange, but I spent over a month visualizing my book. I thought about the overall look but also about the details – graphics, page numbers, titles.
This process allowed me to quickly execute the book once I was ready with the photos and text.
One crucial element to the entire book process was to select a very particular theme. This helped tremendously with selecting my photos and determining how the book would be organized.
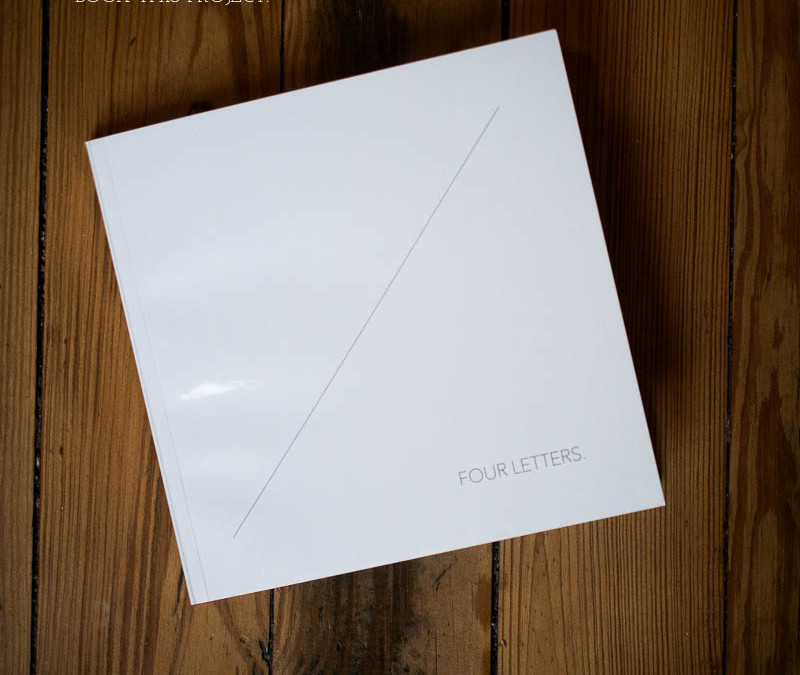
My book concept: four letters. I divided the book into four sections – all around the theme of a (nice) four letter word that describes my husband. Then I wrote a small letter to go with each theme. My themes were:
Draw.
Bike.
Cook.
Kids.

2 | Select photos with a clear concept.
With a clearly defined theme, selecting the photos was a breeze. First of all, I could easily narrow the photos because they were centered around my husband as a subject. Plus, I don’t have massive amounts of photos of him.
If I was completely organized, I would tag the person in the photos immediately upon import. But alas, I’m not THAT organized! So I went through the last four years of photos, scanned for my husband and if it fit a particular four letter word it got a special keyword.
3 | Let go of perfect editing.
Once I finally selected my photos, the deadline to submit the photo book was quickly approaching. I didn’t have the time to go back though each and every photo before I exported them. I went with them.
This tells me two important things. 1) It helps if you do minimal white balance and basic edits when you import. And 2) If you didn’t get to editing, don’t worry about it. If the photo means something to you, it doesn’t matter if it’s edited or not, it’s preserving the memory and needs to go in your book!
4 | Write text ahead of time.
For this book, I wanted a short description to start each section. This way I didn’t worry about captioning photos or how to explain the photos. Before I even started with the book layouts, I wrote what I wanted to say in a word document file. I could easily edit, check spelling and for this book. I even did a word count to make sure my descriptions were pretty even in length so they would look comparable on each section page.

5 | Design a simple layout with one distinct move.
It was part of my design concept to keep this book simple and modern with a lot of white space. This suits my husband’s style but it also makes it possible to design a book in a short amount of time.
But I also knew I didn’t want the book to be boring. So I included a thin graphic line on a diagonal to add some interest. This graphic then defined the margins for the book which established how the photos were positioned on the page. I carried this look even down to the page numbers.

6 | Work toward a hard deadline.
This book would probably never have been completed if I wasn’t working toward a hard deadline. A deadline that couldn’t budge. I’m a huge deadline advocate. If I don’t schedule something with a firm and real date, it’s most likely not going to get done.
Find whatever way you can to give yourself a deadline to finish your book. Using a coupon code is one way to work toward a specific deadline. Social accountability is another great way to stick to a date. I do this with my accountability group every month….but here is your opportunity to get in on the action.

Leave a comment below with your type of book and when you want to finish it.
I will follow up with you to make sure you finish it!
One great example is finishing your vacation book within one month of when you return. Are you willing to commit to that this summer? If so, make sure you leave me a comment below!
by Stacey Wiseman | May 1, 2014 | Description, Inspiration, Uncategorized
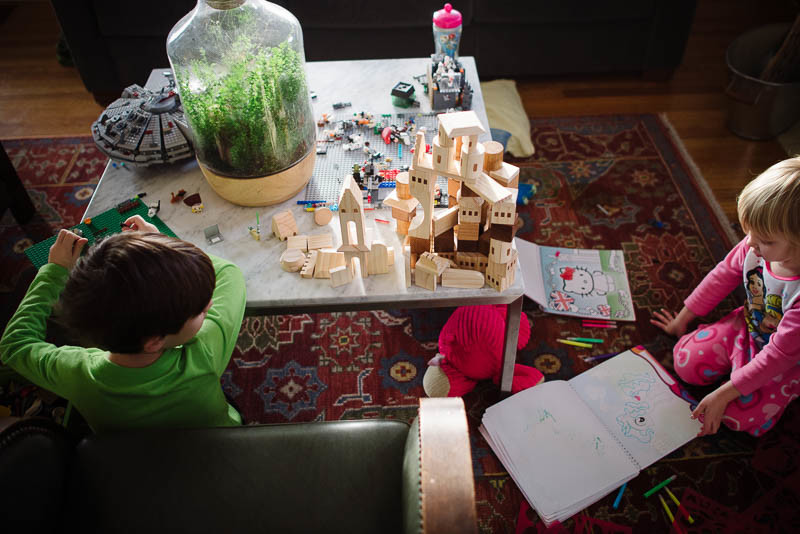
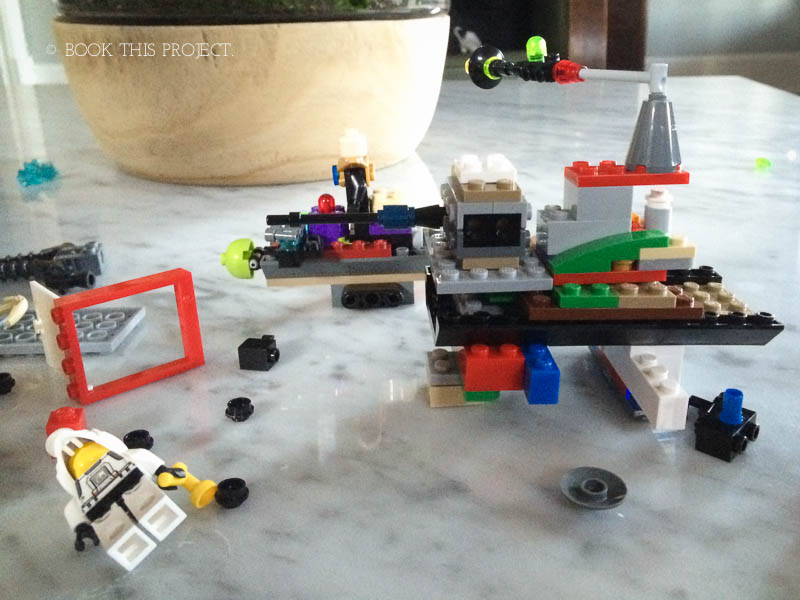
Right now my son is obsessed – no wait – OBSESSED with all things legos. It’s the first thing he does in the morning and last thing he does at night before bed. When we force him to break from lego building and do something vital, like eat or go the bathroom, he takes along the lego instruction manual to study the pieces, the characters and the steps.
Yes, we’ve seen the lego movie and even read the chapter book. (He could surprisingly remember what would happen next as we were reading!) What I loved about the movie is how it dissected lego builders into two types: those who go by the instructions and those who don’t.
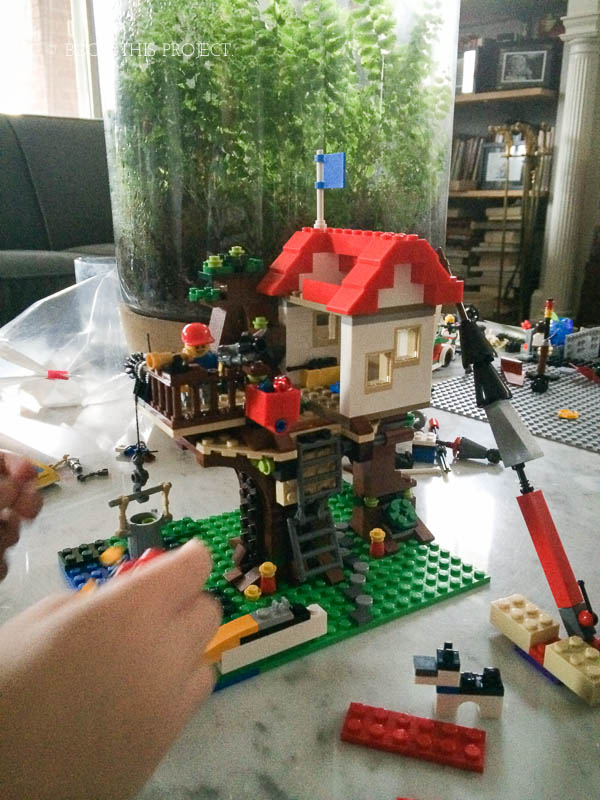
Of course there is no right and wrong answer here. It’s the beauty of the toy. Either way, legos require a lot of imagination to build and play with. A skill I’m very happy to foster with my 5 year-old….who is a make-up his own invention kind-of boy!
This got me thinking about my own design inspiration when it comes to photo books. Often I start with an image off-the-box – either from a website, a physical book, or a product around our house. Pinterest and magazines provide an endless source of inspiration. At this point I’ll adjust the elements to suit my tastes.
Occasionally, I’ll stick pretty close to a given design – particularly when I’m testing out something and want to see how it looks with my photos or preferred font style. This often describes my photo book cover design explorations.
But most of the time, I like to take something I see and adjust and tweak to fit my own unique personal style and vision.
For this, I’ll use beautiful moleskin notebooks to collect ideas, thoughts, diagrams, and to-do lists on the photo books I want to create and how I’ll set out to accomplish them. With this method, I close down all websites and put away the magazines in order to think through how it is I want to use design elements into a project.

My particular style and strength is developed around a simple design move that is executed primarily through organization. So a lot of times, I’ll use the notebooks to write out how I want to structure an idea which informs how I organize my photos and how I want to graphically convey the structure.
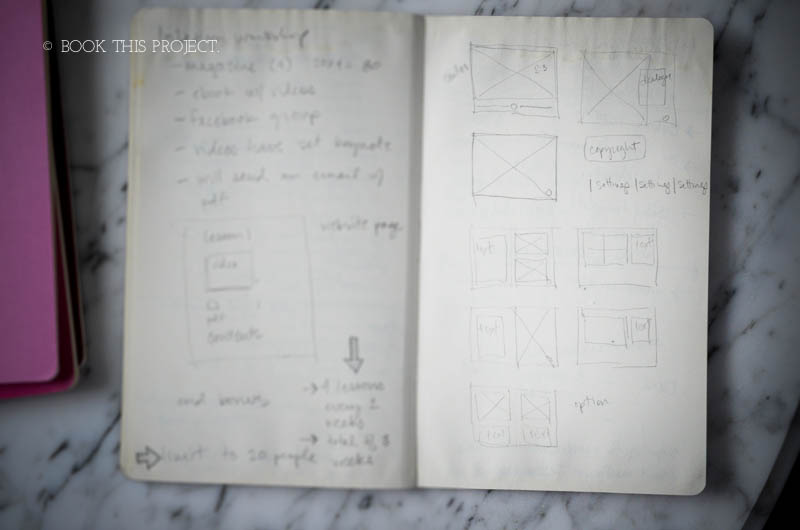
In the end, there are a lot of design concepts frequently used with great success (for example, adding a line under a large title or a bold number in a circle). We should never look to copy directly but understand why the design element works and how it can be applied to your project.
Whether you are starting with something you’ve seen or really thinking out-of-the-box with your design, it’s best to develop a style that is consistent, cohesive and executed with confidence to your vision.
I’d love to hear what’s your design inspiration when taking photos and designing books. Do you start with a visual or do you love to create free from distractions?