Do you have hundreds of your kid’s paintings laying around? You love them all but no sure what to do with them. You don’t really need to keep them all…but you hate to throw them away.
How about putting them in your photo book!
This is a great way to document and preserve them but not have them physically around. It makes your conscience feel a little better throwing them away to know that they will be in your photo book at the end of the year.
Of course you could frame a couple of your favorites but putting them in a book allows several to be on a spread every month so you can have variety and color all in one place.
Here are a couple of tips for including paintings, drawings or crafts in your photo book.
– 1 – Taking the Photos
When turning artwork into jpegs, the important thing is to standardize. Scanning is obviously the easiest way to achieve this because you can line up the artwork on the scanning guides. And it flattens the work while it scans.
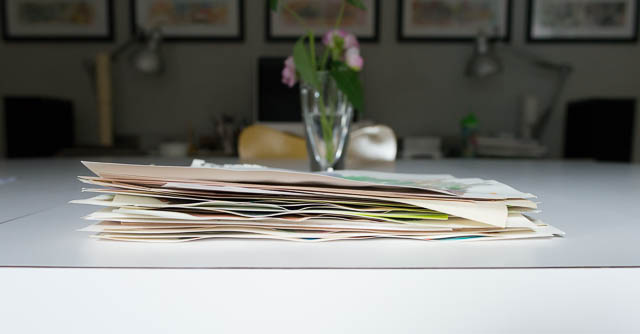
If your scanner is not as accessible (as mine is) or the artwork is larger than the glass (again, my case here), then taking photos of the artwork is the next best option. Wait until you have a stack of artwork and set up an area to take the photos one by one.
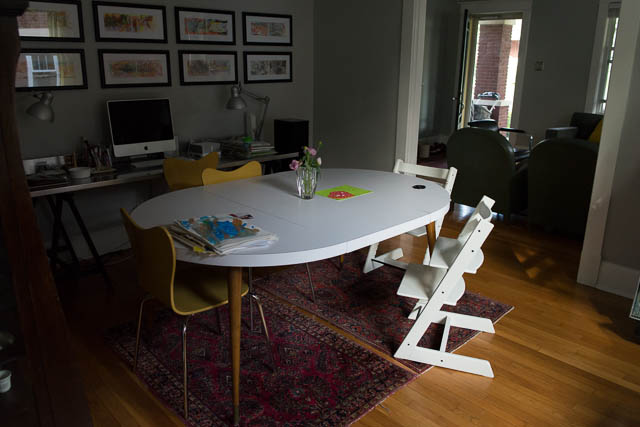
In this example, I used our dining room table. Although it’s not terribly bright, there was a nice gentle light in which to photograph. Setting up a tripod, in this case, setting it on the table, would help to standardize the process – every frame would be exactly the same.
 For this example, I decided to use a wall surface to photograph the work. Obviously the clipboard and the wall would be in each photo, but that could also add a design element to the layout. If you don’t want the clipboard showing, you could always use tape (adds a bit of time). Shooting on the wall is helpful because you can minimize the shadow created by the artwork itself.
– 2 – Editing the Photos
Next, you should import your photos using the method you typically do for sorting and editing. I use Lightroom, so I created a separate special collection with a keywork “artwork.” This helps to keep all of my kid’s artwork in one place in my catalog.
Then I added a noise reduction, slight increase in exposure and vibrance, and lifted the shadows a touch in my tone curve. I created my own preset to save time in the future.
Finally, I exported the photos at 300 dpi to the approximate image size in my photo book.
– 3 – Layouts
There are several different options for using artwork in your book.
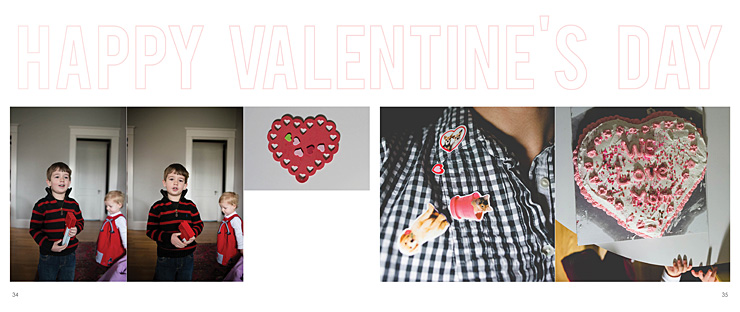
In this example, the craft is added directly to the layout with photographs.
[divider]
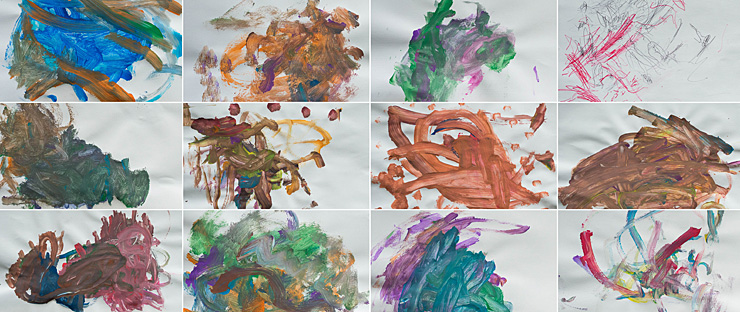
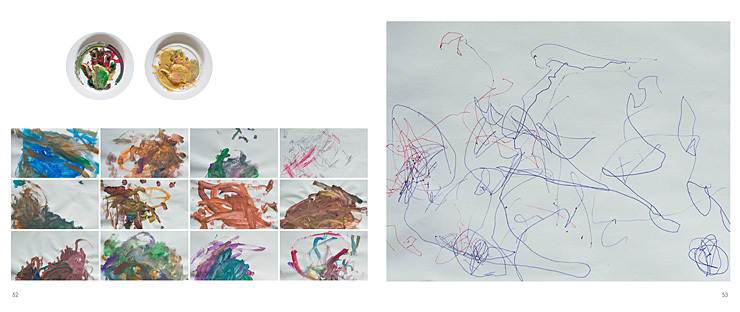
This example features a grid of the paintings on one spread.
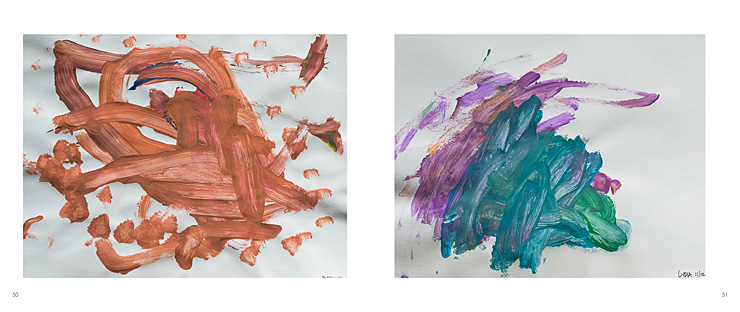
Here is how it would look with individual artwork from each of my kids.
Finally, here is a combination of the above. I have individual works from my kids (their handprints), a small grid of paintings, and a large drawing on the right hand side.
Here is a video providing a little more detail into how I took, edited and placed my kid’s artwork into a photo book.
Leave a comment below telling me your favorite option or what you do to preserve your kid’s artwork!


