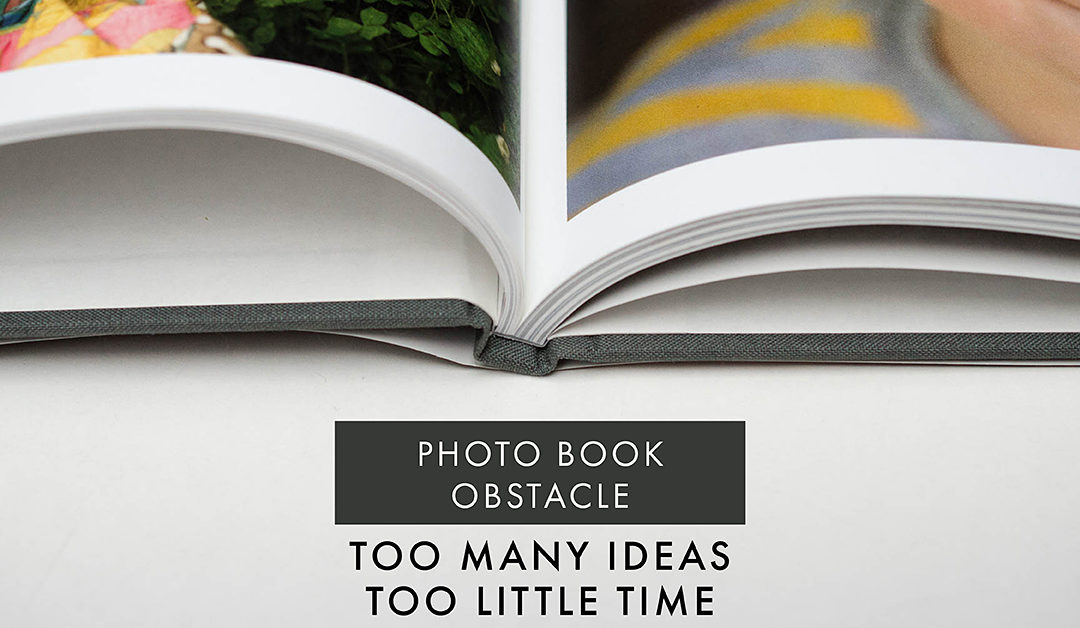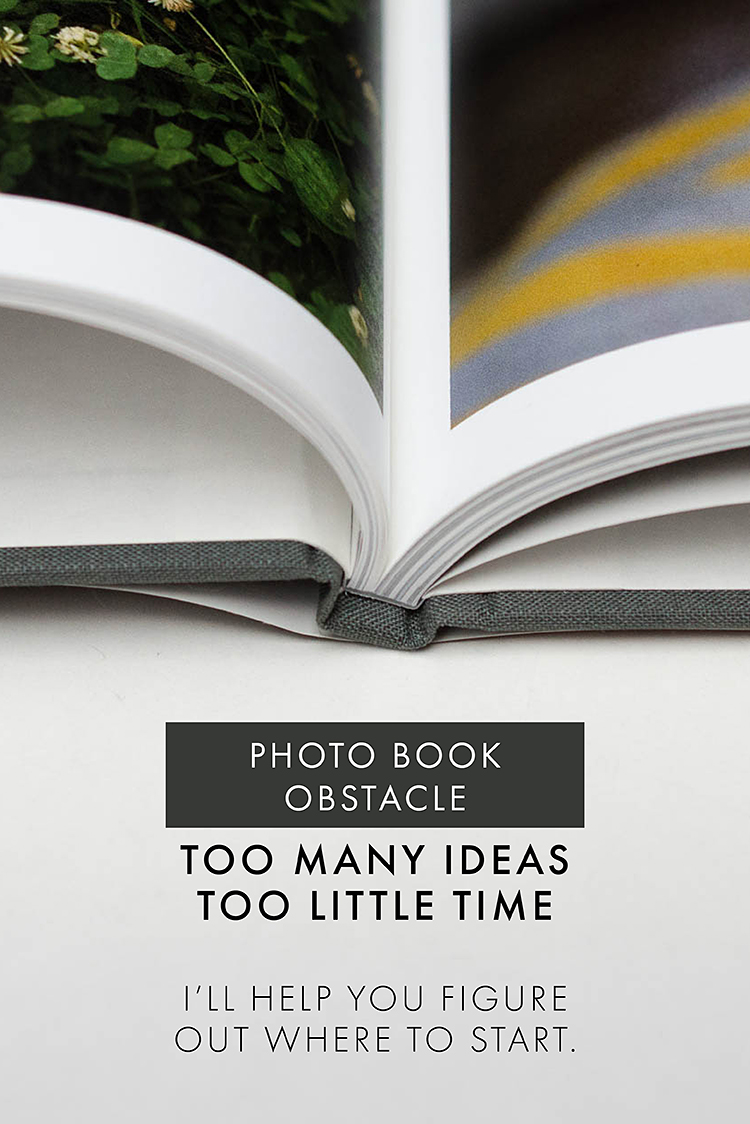
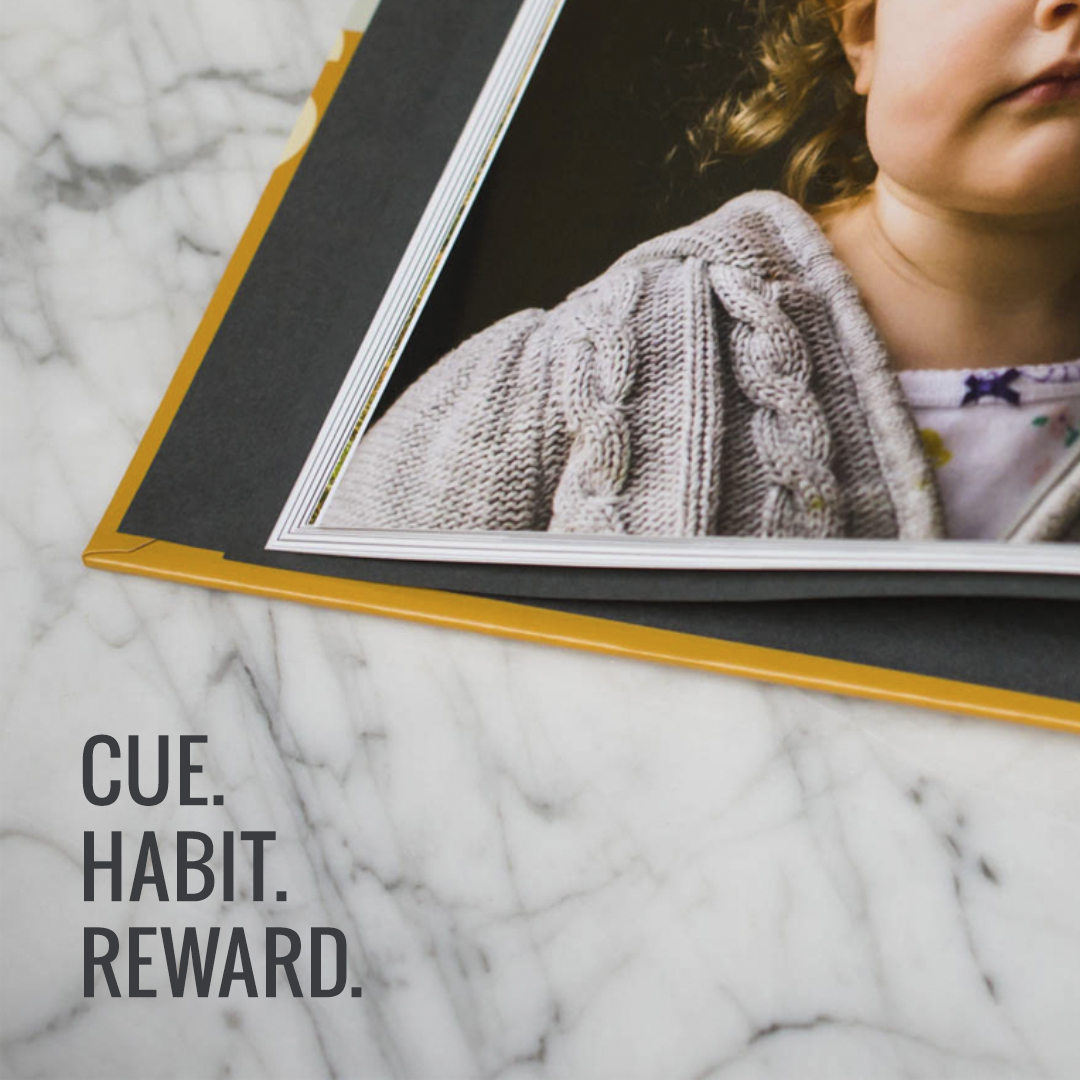
Creating a Photo Book Habit

Consistently making a photo book comes down to creating and reinforcing habits. For those who can never seem to make a photo book, it’s because it hasn’t become habitual for you yet. So in today’s email, I want to help you figure out how to make printing your photos a habit.
One method I learned from Charles Duhigg’s book, The Power of Habit, is to pair a habit you want to create with a habit or action that already exists. Then you need a reward for whenever you successfully complete the behavior you want. This is summed up as:
To illustrate how this works, I want to focus on a habit I’ve recently created in my life: consistently working out. Even with the best of intentions, it’s always a challenge for me to incorporate working out into my daily routine. So….I thought I would test out the Cue – Habit – Reward process.
Every morning, I look forward to my cappuccino. And every morning, we have the craziness of getting the kids ready and out the door for school. Right away, I have a reward (cappuccino) and something that is already being done (getting the kids ready for school). So I sandwiched the habit I wanted to create (working out) in between.
Once my kids are out the door, I start strength training exercises I can easily do from home. After I’ve gotten my heart rate up and finished a few push-ups and lunges, I drink a tall glass of water. Now, I’m ready for my cappuccino! The best part is, I’ve finished the action I’m most likely to put off, before 8am.
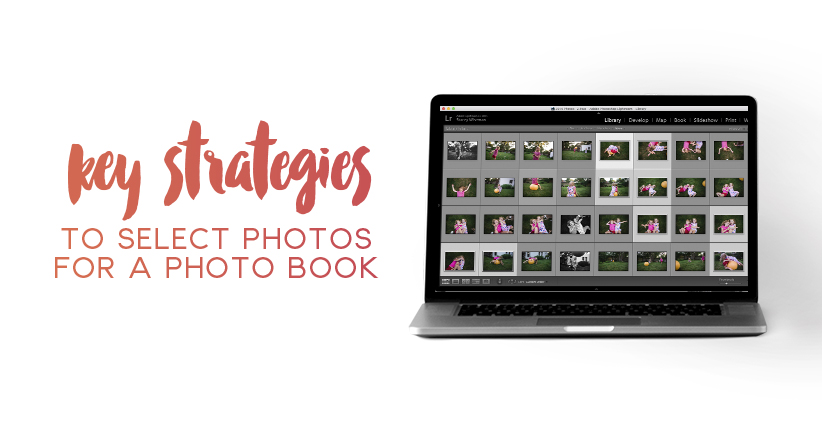
Now let’s look at how this could work for making a photo book. As you know the trick to a faster photo book is to keep your library organized with photos tagged (or rated) and edited. So for this habit, I’m focusing on organizing my photo library.
Cue:
Select a time or existing habit already present in your life. Try to pick an activity that is consistent (recurs weekly or monthly) and has some flex time associated with it (either before, during or after).
One example in my life at the moment: my daughter’s ballet class on late Saturday morning. While she’s in her lesson, I have about 75 minutes of free time. In this example the cue is when my daughter heads into her ballet practice room.
Habit:
Organize your photos with the purpose of printing in mind – tagging/rating/editing.
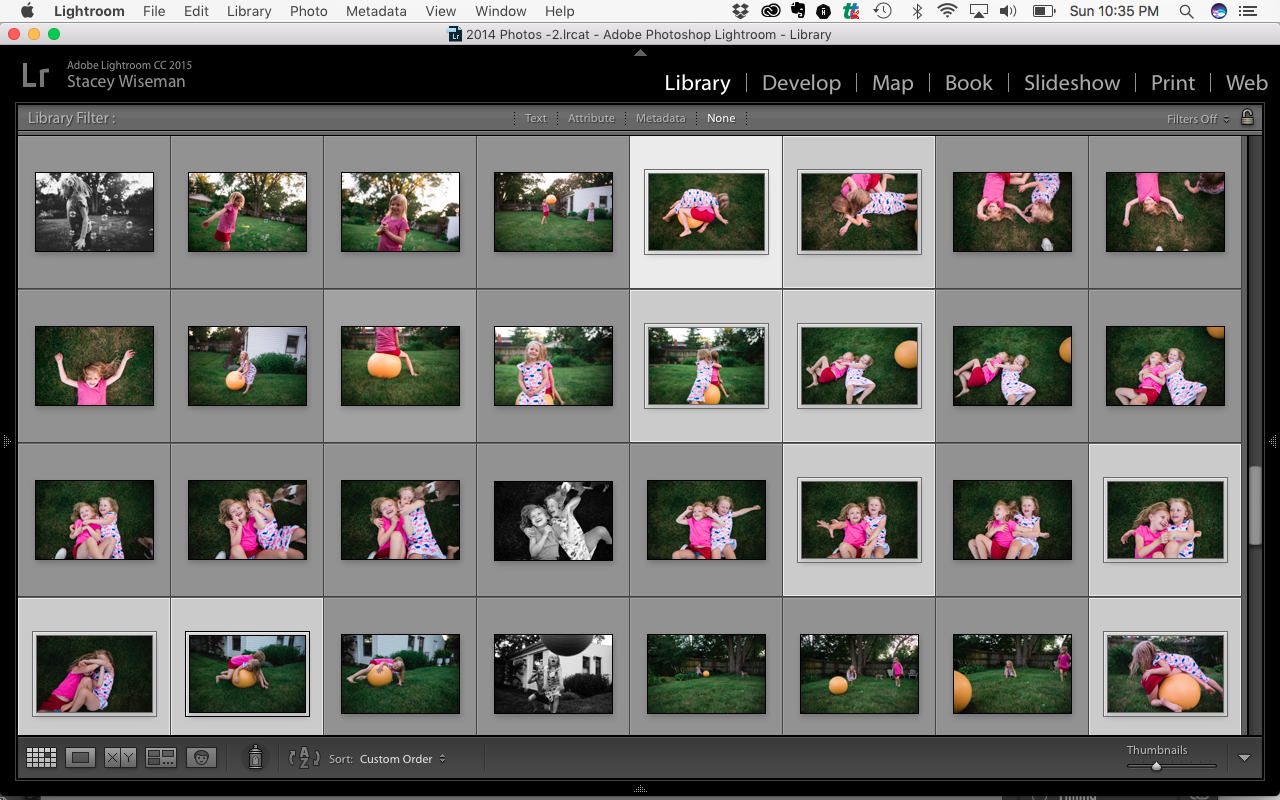
While my daughter is working on her positions, I open up Lightroom and go through my library. I delete, rate, and/or tag photos in the Library module. Then I filter the photos I want to print in the Develop module and go through my quick edit process.
Reward:
Once you’ve spent time organizing your library, make sure to reward yourself. The key is to make sure this happens right after you finish the habit.
After ballet class, I take my daughter out to a girls’ lunch to celebrate.
Here are some other examples of creating a Cue-Habit-Reward process for organizing your photos.
Cue: The opening screen of Lightroom (or your preferred photo organizing/editing program of choice).
Habit: Spend at least the first 5 minutes tagging/rating/editing the photos that you want to print.
Reward: Once you finish working on the photos you want to print, then you can go back to the reason you opened Lightroom.
Cue: Inserting and importing photos from your camera.
Habit: Immediately delete unwanted photos. Tag/Rate photos you want to print. Edit only those photos.
Reward: A small piece of dark chocolate. (Or pick any other treat you keep around the house.) A good trick is to only have this reward when you import photos and immediately prep them for printing.
The key is to find something that will fit into your routine, your lifestyle. Use this example as inspiration to brainstorm potential cues and rewards that you can use to create a photo organizing habit.
To make this habit work, you need to really focus on the cue – habit – reward for at least the first 30 days. I know….it takes mental effort; however, the more you can pay attention to it in the beginning, the more likely you’ll create a habit that will stick for the long term.
Now I’d like to hear from you! What Cue-Habit-Reward are you planning to try for at least 30 days?
Now is the time to get organized and make a photo book with your favorite photos from the year. Trust me, it doesn't have to be overwhelming or stressful. With my workshop In One Hundred Pages, I describe my entire streamlined process so you can make a photo book in less time and with less stress.