by Stacey Wiseman | Feb 9, 2016 | Design Series, Inspiration, Photo Book Design Layout, Tutorial, Uncategorized
All too often, I hear people who want to make a photo book. They know it’s important to print their photos and set a goal to make this year – the year – they actually make one. Yet, most people don’t follow through.
Why?
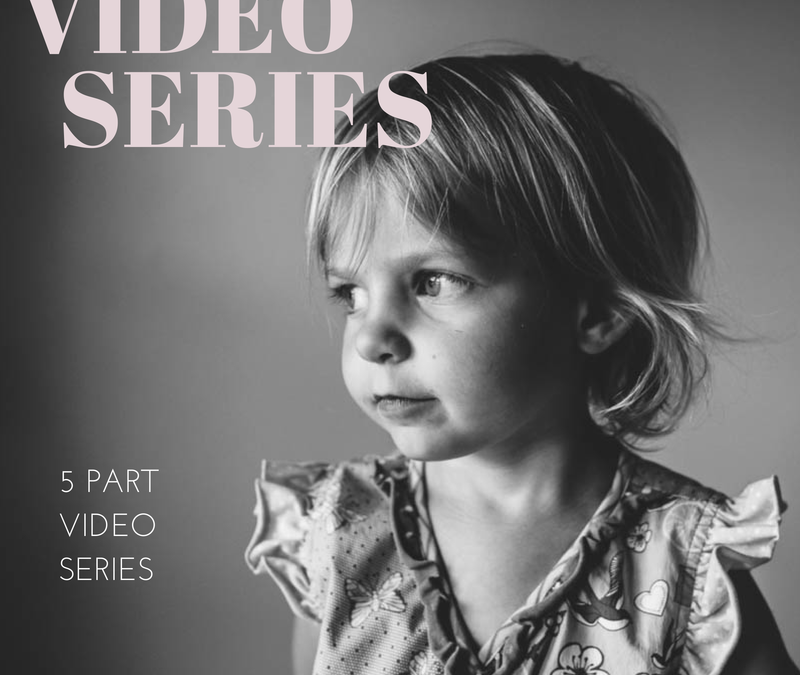
Their goal isn’t stated in a way to set them up for success. It’s not specific or action-oriented. Instead it’s a generic, bland statement without any steps. If you want to make a photo book this year, my recommendation is to define a SMART goal. In a recent post, I explained the core principles but if you want to hear how I reverse engineer my goal into action steps watch this video:
I share the full video, including my specific design vision, in my mastermind program.
Set Your Photo Book Goals in this FREE Workshop.
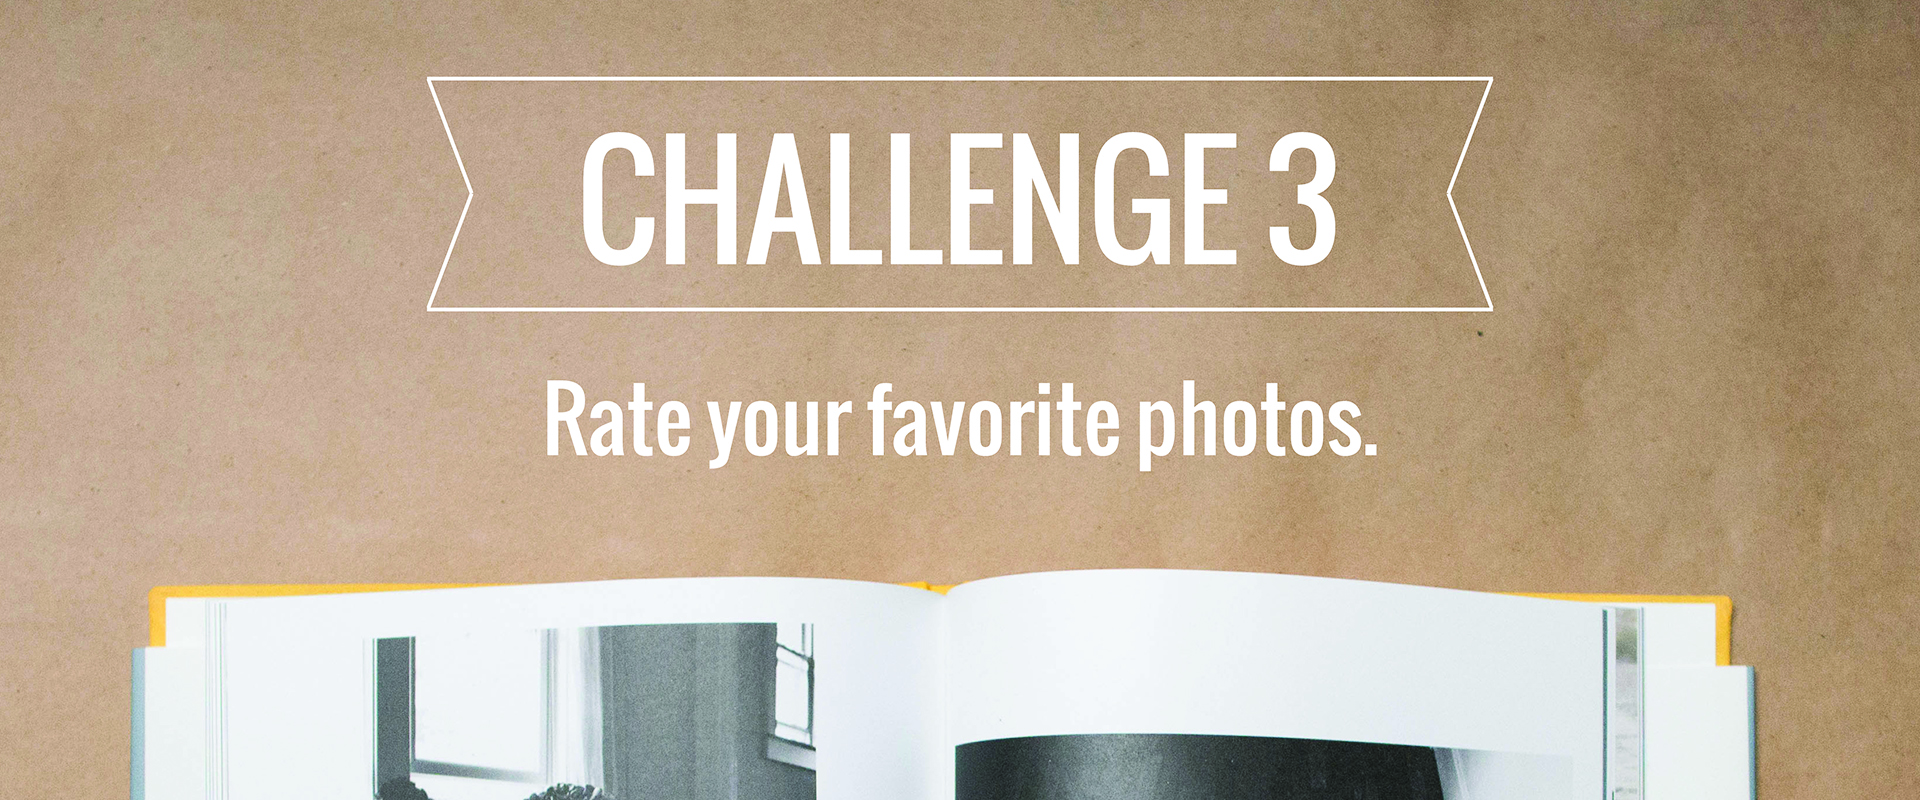
by Stacey Wiseman | Oct 19, 2015 | Description, Design Series
How’s your library looking?
As you know, we are getting our photo libraries in shape for an end of the year photo book.
Then we went on a
delete-spree – deleting 10% of the total photos.
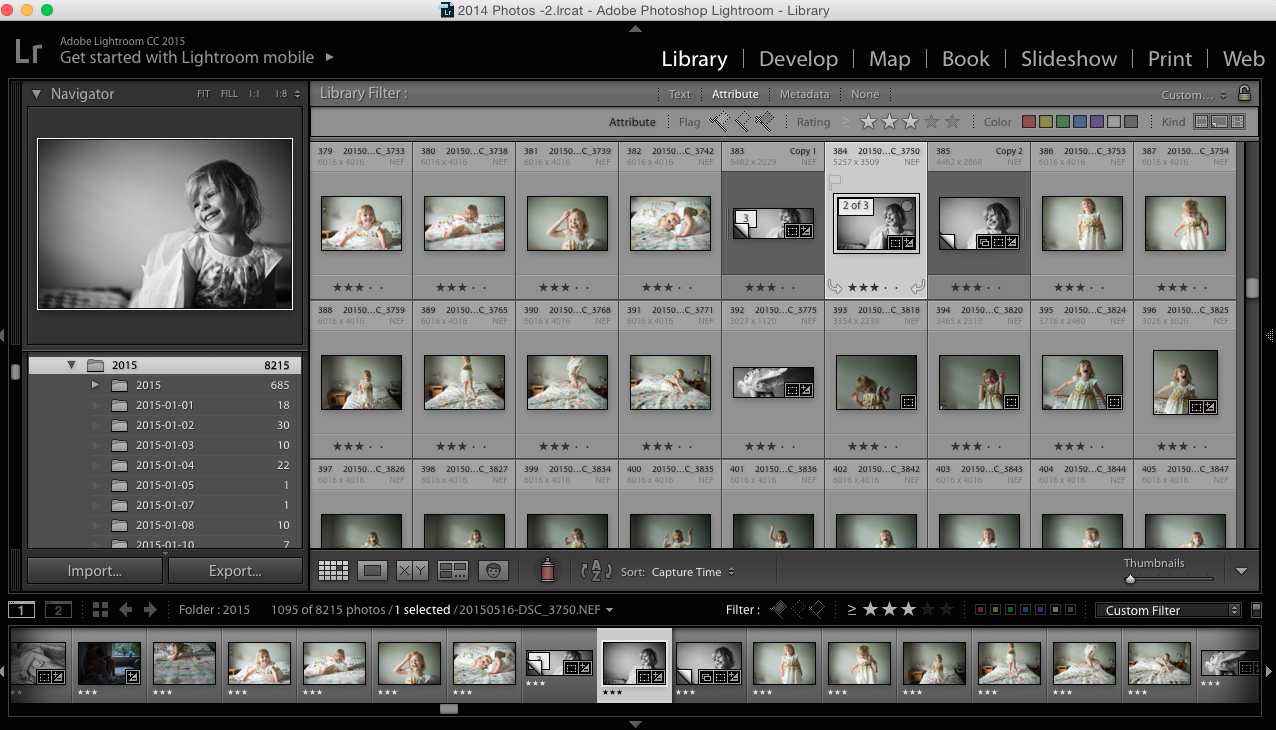
Now it’s time to pick your favorites. For Challenge #3, go through your entire catalog and give your absolute favorite photos from the year a 5-star rating.
These are most likely the photos that you have already edited or shared on your blog, Facebook or Instagram.
We’re not going for photo you like……we’re going for photos you love. Spend the next 10 nights going through your library and rating your favorites!
And I’d love to see one of your favorite photos.
Share on Instagram tag @bookthisproject #organizeyourphotos Select with love!
Want to meet with me? You’ll get a chance to ask questions and see how I organize my photo library in preparation for a photo book. Plus a chance to grab a discount (my only one available) and purchase my In One Hundred Pages mini-workshop a couple of days early.
Date: October 27, 2015 at 9:00pm EST. (I’ll do my best to record it for those who can’t attend live.)
by Stacey Wiseman | Oct 10, 2015 | Design Series
Are you a photo hoarder?
Is it hard for you to delete photos from your library?
If so, you are not alone. As much as I love organizing and developing systems….I also love things. And quite honestly, I’m scared to throw away (or delete) items that mean – or could mean – something.
With my photos, I keep way more photos in my library than I need. Photos that I’ll never get around to editing, sharing, or printing. Why? Maybe because I hope to someday have time to carefully go through each photo and edit or use in a project. But chances are….that day will never arrive.
In my first Organize Your 2015 Photos Challenge, we placed all of our photos in one program. Whether it is iPhoto, Windows Picture Viewer, Bridge or Lightroom – the important thing is to find one program and get your 2015 photos all together. Once your photos are in one place, you know how many photos you’ve taken this year. This is your starting point. Although it’s my goal to delete photos throughout the year….it doesn’t always happen. So when it’s the end of the year, I have quite a few photos that I’ll never print or share and frankly, just don’t need sitting in my library. This is exactly our next challenge. Delete those unwanted photos.
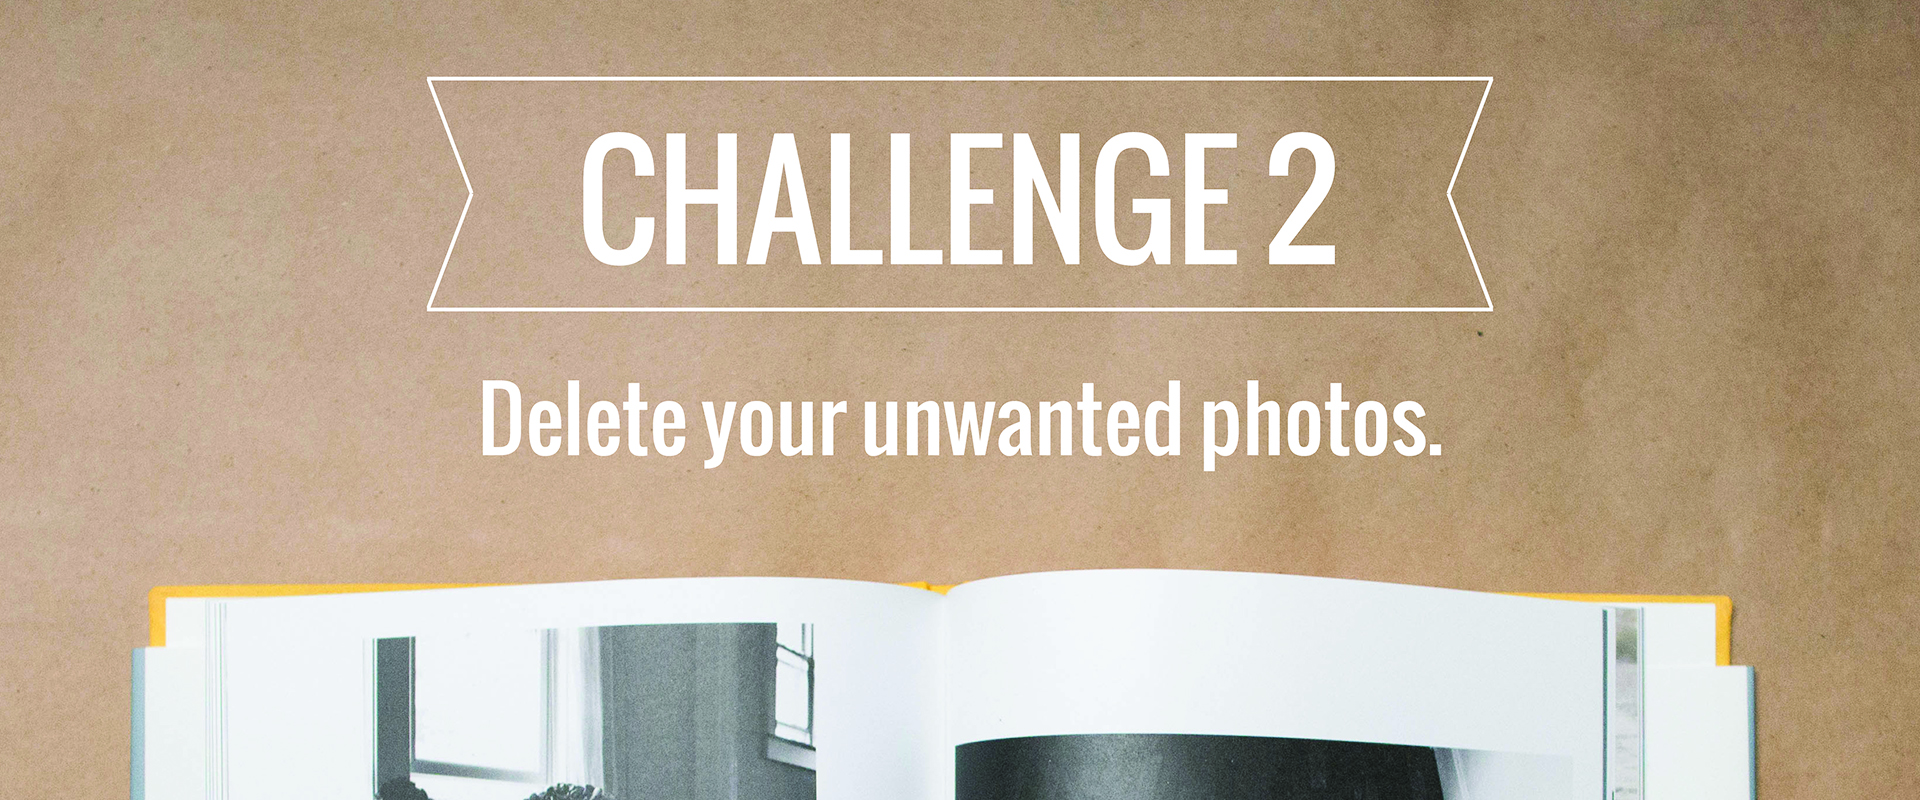
CHALLENGE #2: Take your total number of 2015 photos and multiply by .1 (10% of your photos). This is how many photos I want you delete over the next 10 days.
For me, I started with 9,230 photos. My goal was to delete around 900 photos. Over the last 10 days, after my kids have gone to bed, I went through Lightroom and deleted photos while watching TV with my husband. I got my library below 8,300!!! If I can do it, you can do it!!!
Now, if you want to read 10 ideas that can help you delete photos plus see some of my deleted photos this week, make sure to sign up for my emails.
Share below how many photos you want to delete over the next 10 days!
by Stacey Wiseman | Sep 30, 2015 | Design Series
I’m really excited to kick off a new free series all about organizing your photo library.
If you are anything like me, you take thousands of photos every year. And staying on top of your library, well, it’s not always as organized as you want it to be.
At the end of the year, I love making a smaller, very specific annual photo book. But before I even think about getting started, I spend a few weeks getting my library organized and streamlined which saves me time in selecting photos and making a book.
For my next 3 blog posts, I’ll share how I organize my library. At the end of this series, I hope you’ll have a more organized library and take part, with me, as I design one of my favorite books of the year.
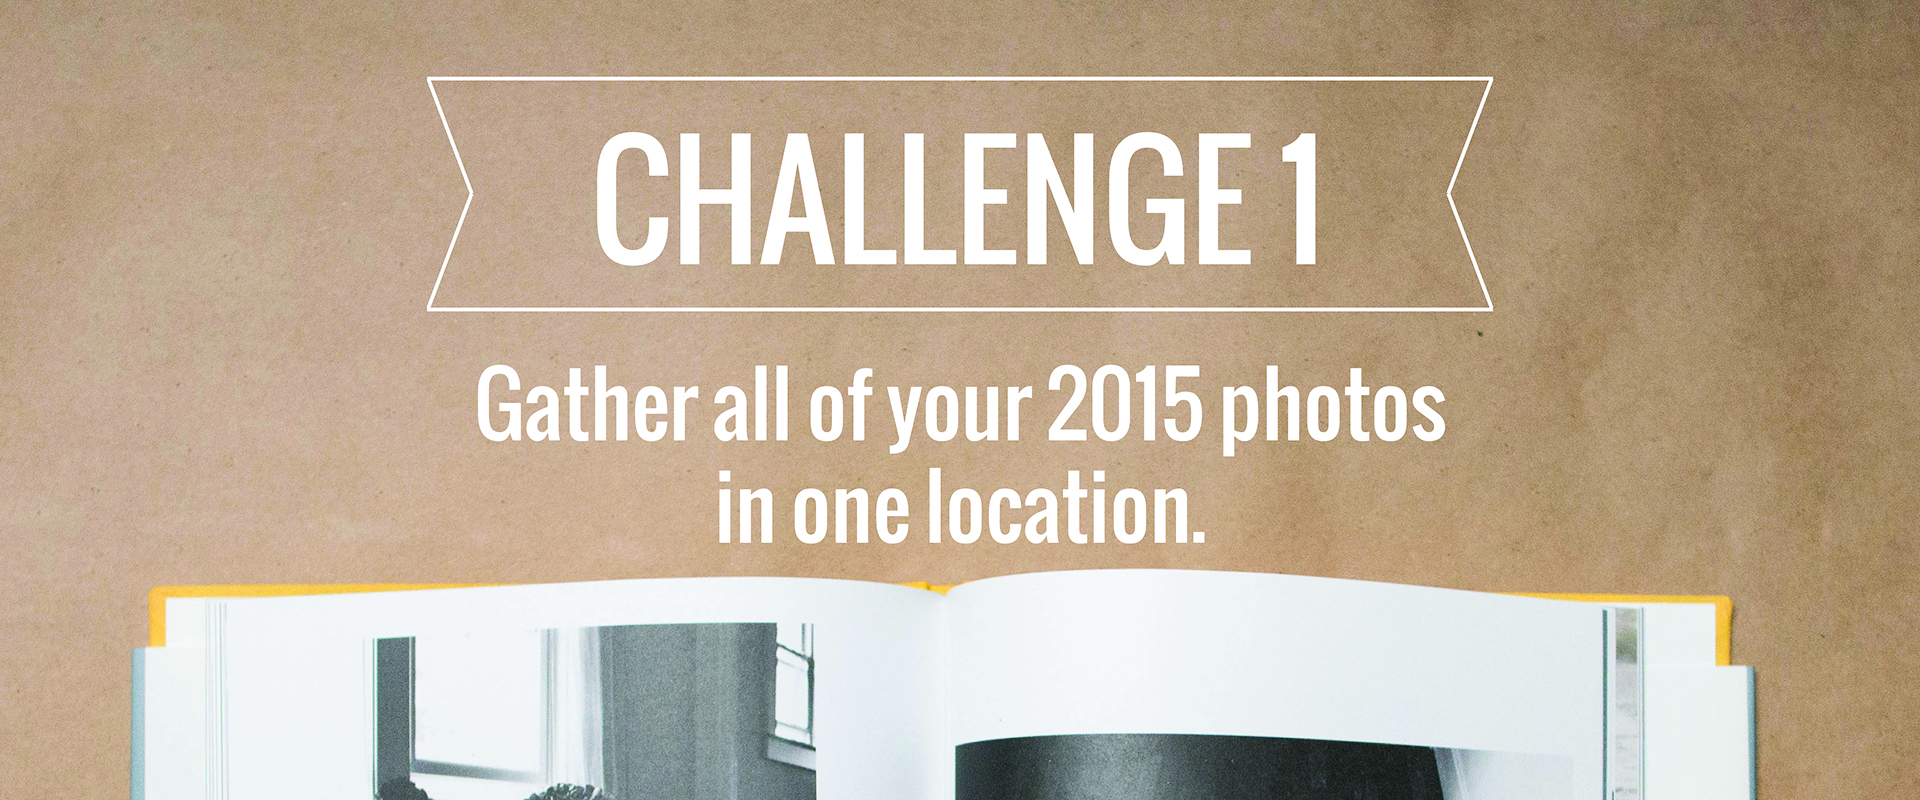
The first challenge is to gather all of your 2015 photos in one place.
If you take photos with your dslr, a film camera, a mirrorless, and/or your phone, take the time this week to make sure they are all in the same program, catalog, library, or digital album.
My favorite way to organize my photos is with Adobe Lightroom. I can import my photos, organize them, rate them, edit them and export them. All in one place.
But it doesn’t matter what program you use. The important thing is that you have a program – a place – to see all of your photos together.
Once you’ve organized your 2015 photos in one place, leave a comment on this post with the number of 2015 photos you’ve taken this year. And I’m only focusing on this year only. Don’t worry – no number is too low or high. It’s just important that you see where you stand today. 😉
Right now my 2015 library includes 9,230 photos. What’s your number? Leave a comment with your number.
Want to participate in my free challenge? Make sure to sign up for my emails.
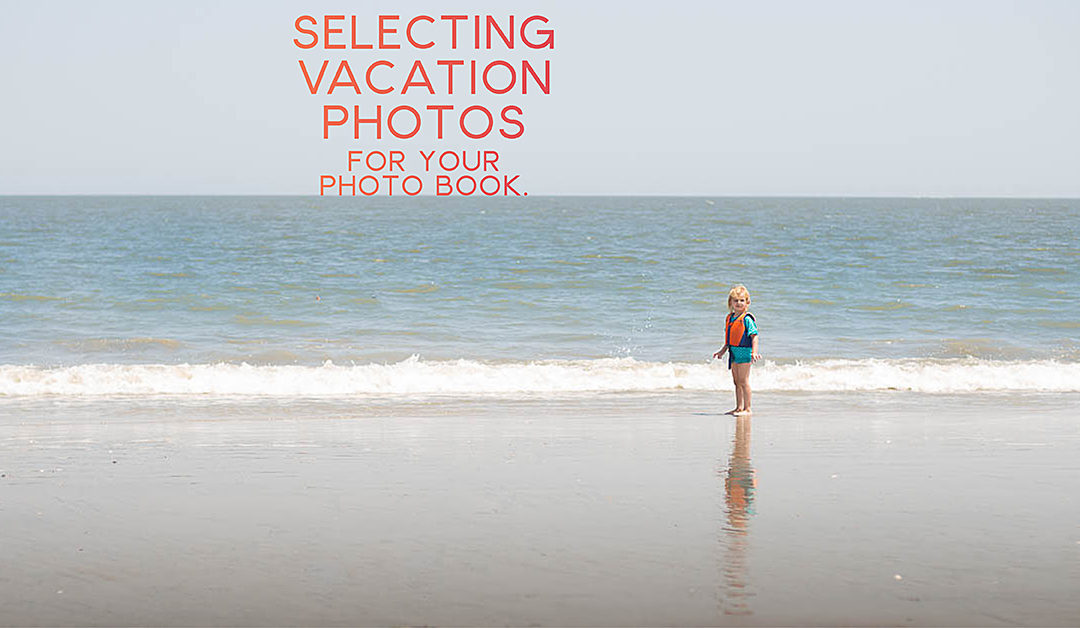
by Stacey Wiseman | Jun 21, 2015 | Design Series, Inspiration, Photo Book Design Layout, Uncategorized
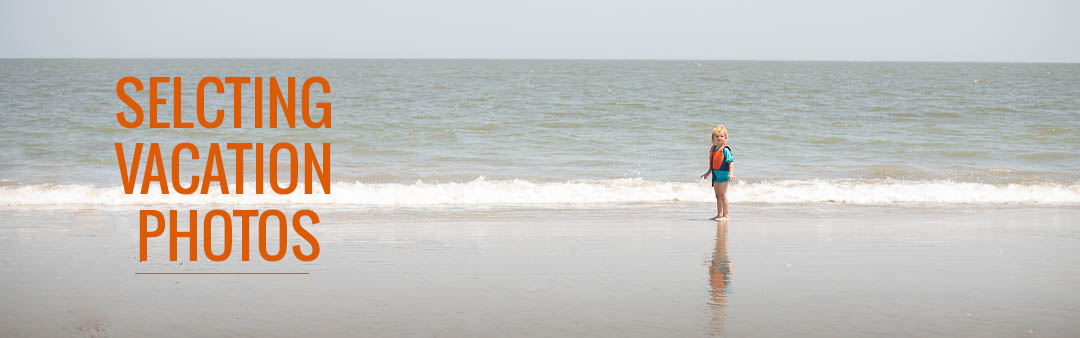
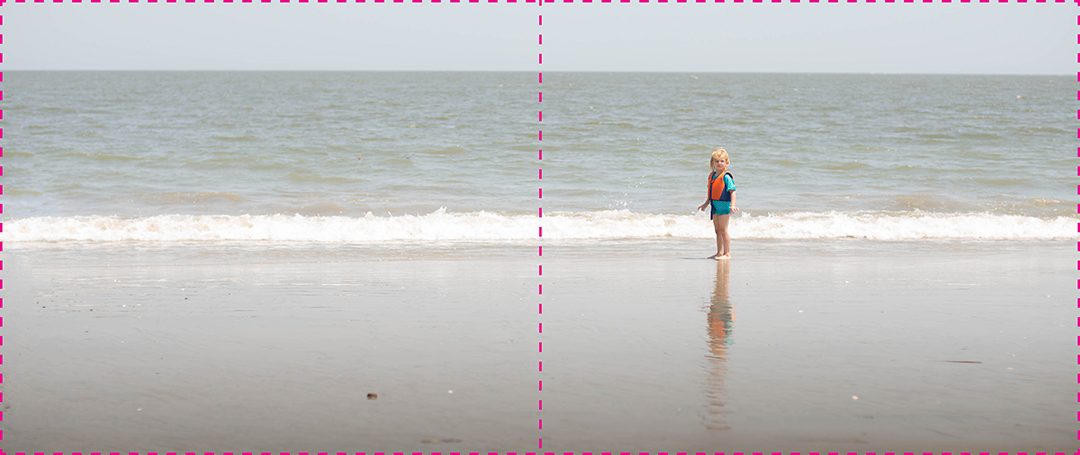
When you go on vacation, chances are you take your camera and capture a lot of photos.
Although I spend quite a bit of time enjoying the activities with my family (without the camera in my hand), it’s true that I end up taking more photos over the course of the week than when I’m home.
Primarily, this is because most of the things we do on vacation are momentous, out-of-the-ordinary activities that I want to document. I want to capture the building of a fragile sand castle and finding the perfect seashell as it’s the most likely the only time it will happen this year.
Recently, we returned from a fun and relaxing trip from the beach. Over the course of the week, I took over 900 photos. And I’ll have to find a way to narrow these 900 down and select about 20-25 for my annual photo book.
How do I select vacation photos for a photo book?
Selecting photos is often the hardest part of making a photo book.
The first step in selecting photos is to pay attention to the context. Notice how I said “…for my annual book” above? Already, I’m defining the context in which I’m selecting photos. If I was selecting for a vacation book, the number of photos and the criteria of photos would be different.
Once I know the parameter, I can then start the specific selection process. I’m sharing my main strategy for selecting photos in my next video tutorial. (Access is for my email subscribers. Sign up or check your emails for your access code.)
In Part Two of my free video tutorial series, I show the rule I followed to narrow these photos:
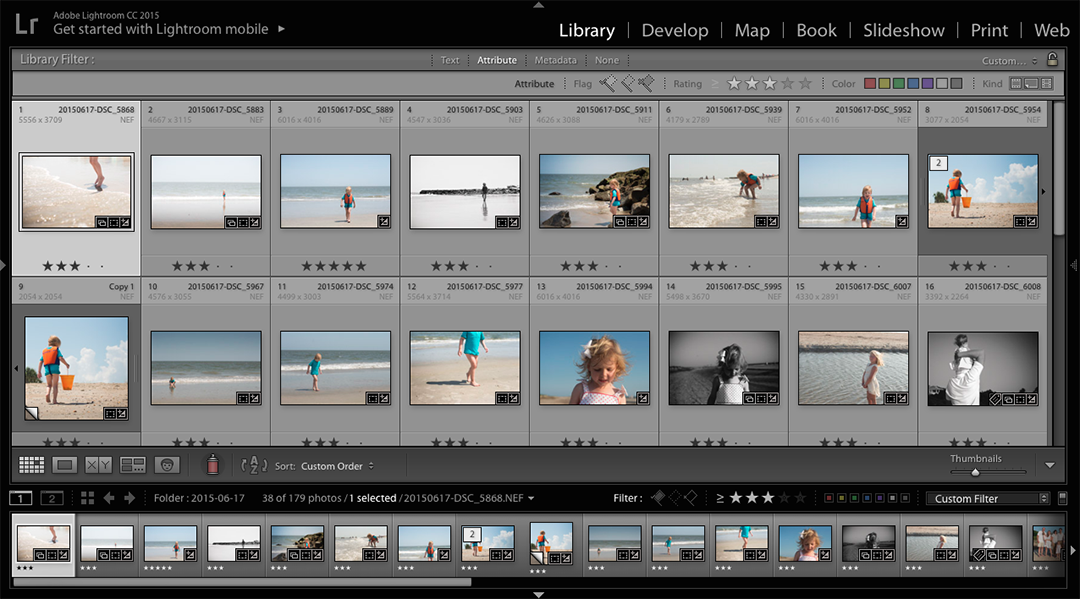
To see my free video tutorial on how – and why – I selected only 1 photo
from 180 photos for a layout, sign up for my free video tutorials below.
by Stacey Wiseman | Jun 9, 2015 | Design Series, Motivation, Photo Book Design Layout, Tutorial
You’ve taken the photos and you have the desire to print them. In all honesty, you understand that’s the point. But in reality…it’s hard to find the time to actually complete a photo book.
I completely understand. We are all so busy. Keeping up with chores, errands, dinner, appointments. It’s difficult to find time for anything miscellaneous.
But printing your photos makes your memories tangible.
So what’s the road block?
One reason could be indecision. You don’t know where to start. What type of book? Which photos to select? To add text or not?
There are a lot of small decisions to make when it comes to making a photo book. And if you are not used to making them, it’s easier to not make them. To put it off. To wait until next month to tackle all of the answers.
But here’s the thing: when you wait, it only becomes harder to accomplish.
Today I want to share three easy strategies in getting started with printing your photos.
1) Limit your choices.
It’s been mentioned by researchers like Malcolm Gladwell – too many choices makes it too hard to decide. It’s much easier to decide between two options compared to ten. It’s as true for toothpaste as it is for designing books. So limit your options – for everything from which company to use or what type of book to design.
2) Take quick action.
When I’m feeling indecisive, it’s usually because I’m dwelling (well, agonizing) over the right decision. Should it be this way…or that way? And I could go on and on forever. To move past this point, I remind myself to make quick decisions. I rely on my gut reaction. Being perfectly honest, I make faster decisions when I’m under the pressure of a deadline. If you recognize this trait, give yourself a deadline to help you decide faster.
3) No second guessing.
There are no wrong answers when it comes to designing a photo book. Once you make a decision, don’t look backward; only forward. Keep the momentum going.
To see how I recommend starting your book – and how a Friends’ episode relates to designing photo books – sign up for my 4 free video tutorials.
by Stacey Wiseman | Dec 5, 2014 | Design Series, Photo Book Design Layout
Once you have the photos into a specified layout, what to do! One way to elevate a layout is to add details or elements of design. Revise the page to include a color or add text to document the event.
Color is one way to add personality or style to the page. You can add a neutral color, like a tan or gray, or you can add a bold color that complements the photograph. As for the text, this can be anything from a title, a quote, a descriptive caption or a lengthy journal entry.
Not sure how to use color or text in Blurb’s BookSmart? Check out this video:
Want to catch up with the previous videos in the series? Check them out here.
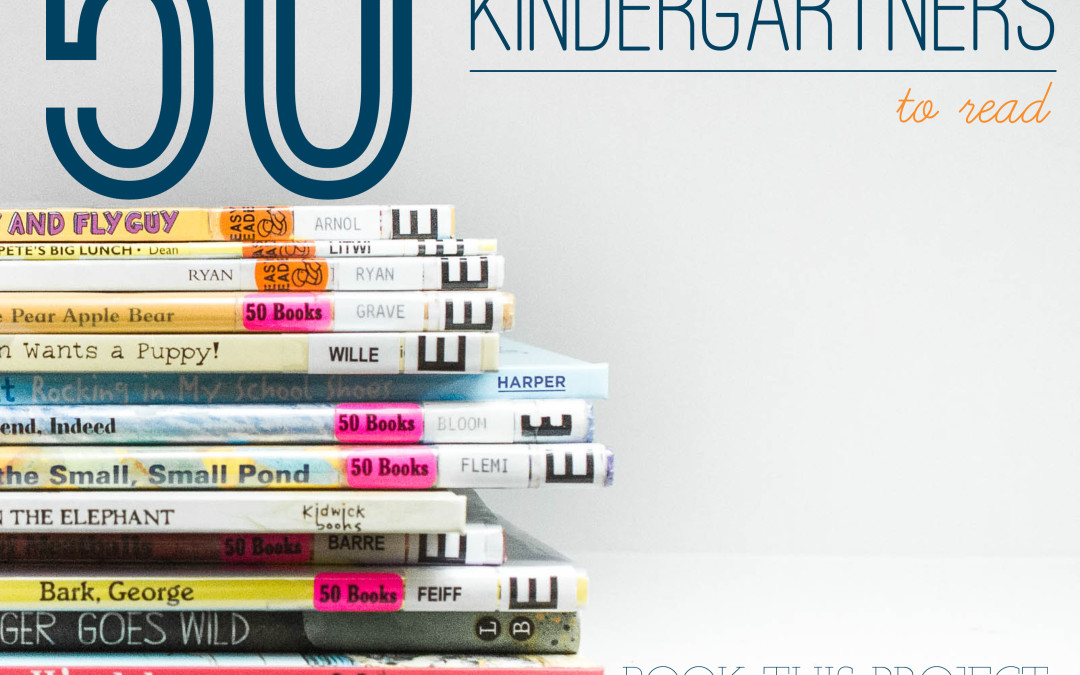
by Stacey Wiseman | Nov 10, 2014 | 50 Children's Book Design Tips, Design Series
This is an old-school book but it’s still a great one! My son was hanging on every word to find out what happened at the end. Would Mike and Mary Ann be able to complete the foundational hole in time?
Even my daughter was glued.
Mike Mulligan and his Steam Shovel by Virginia Lee Burton


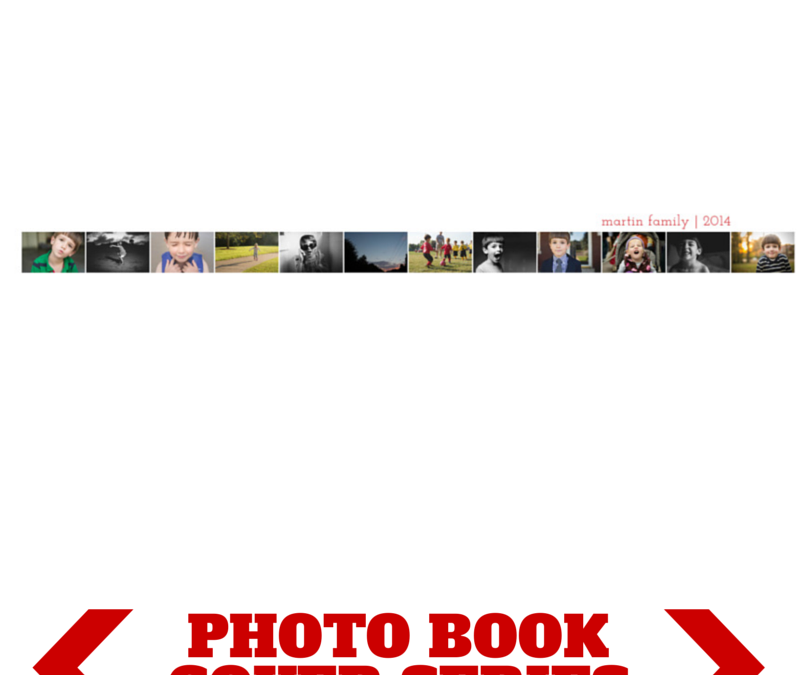
by Stacey Wiseman | Nov 1, 2014 | Cover Series, Design Series
If you’re struggling to find that one perfect photo for your photo book cover, I get it! It can be pretty stressful to determine which one photo should define your entire book.
Here’s one example of how to incorporate a variety of photos for your cover. I’ve included one photo for each month, yet instead of composing it in a grid, the photos are in a line. The other distinguishing factor for this cover is the scale. The photos are at a smaller scale in order to emphasize white space. This is a good option if you design books with a lot of space on the page.
A side effect from the cover design, is how the text stands out. Even though the size is small, the color adds the punch it needs.

by Stacey Wiseman | Oct 28, 2014 | 50 Children's Book Design Tips, Design Series
I can not express my love for the Pigeon series of books by Mo Willems. These books are so fun and interactive for the kids. They love talking and answering the book as I read it out loud.
The illustrations are simple but specific. It’s crisp and dynamic without using bold colors.
Plus, the book designer really knows how to space out the pages with the illustrations and text. It doesn’t feel crowded or forced. Everything is exactly where it needs to be to deliver the content. It’s really a fantastic book, not only to read, but also to learn some design principles.
Don’t Let the Pigeon Drive the Bus by Mo Willems.