fbq('track', 'PageView');
Show your photos some love

Show your photos some love

Previously, our mission was to delete unwanted photos from our photo library. I was able to delete some photos here and there throughout the week and then spent the time during my daughter’s ballet lesson to delete 215 photos in about 45 minutes!

I shared my process on instagram stories. Make sure to follow me to see more insta stories as I work on printing my photos this fall.

After my full week of focusing on deleting the clutter, I was able to delete 595 photos from my library, exceeding my goal of 477 photos. How’d you do? Even if you didn’t quite meet your goal, any progress is progress you should celebrate.

Now that we’ve deleted the clutter, it’s time to show some love.

I want you to go back through your photo library and rate the photos you love. If you don’t yet have a system for noting your favorites, now is the time. Use stars, hearts, colors or tags to mark the photos that mean something to you.

My preferred rating system is to start by giving photos I love 3 stars. This week, I’m going to through my library and making sure the photos I’ve edited and or want to edit have this 3-star rating. And I’ll be sharing some of my faves on instagram.

Why does this matter? Rating the photos you love, makes it easier to know which photos you want to print when you’re ready.

To make this extremely actionable, my goal for you is to find 1 hour in your week and rate the photos you love.

Any progress you make in this 1 hour will help you immensely in the long run.

Cool? You’ve got this! Trust me when I tell you that these small actions will help you print the precious photos of your family.

It’s time to clear the clutter in your photo library

It’s time to clear the clutter in your photo library

Last week, I wanted you to organize your photos into one location. How’d you do?

My goal was to send out 2 rolls of film and import photos from my smart phone. Being completely honest, I didn’t import my phone photos until last night and shipped my rolls of film off about two hours ago. But you know what? This is the reason I put a date to finish my tasks. It may have been under the wire….but I did it!

Now, it’s important to see all of the photos you’ve collected in your 2017 catalog and figure out how many photos you’re starting with. My number is: 4,769 photos.

What’s yours?

This week, your challenge is to start deleting your unwanted photos.

Unless you’re incredibly diligent, chances are you have a number of easy photos to remove from your catalog. I’m sure you know the ones I’m talking about. Photos of your kids with half-closed eyes, missed focus because they occasionally move as you’re pressing the shutter or all the times you took 20 photos that all turned out to really be the same shot (yes, I’m guilty of taking plenty of those).

Let’s clear out the clutter in your photo library.

My goal for you is to delete about 10% of your 2017 photo catalog.

For me, I’m starting the week with 4,679 photos. So my goal is to delete 477 photos by the end of the week. Or 68-70 photos per day.

See how far you can get this week!

The essential first step to an organized photo library

The essential first step to an organized photo library

The last few weeks, I’ve been sharing how to move past common photo book obstacles. Most obstacles we face when it comes to starting a photo book are mental. Once you’re clear you want to make a photo book and you figure out how to fold it into your workflow, it’s time to get tactical. And that’s exactly where we are heading for the next three weeks.

If you’ve been a BTP reader for a while, you probably already know my favorite first step to organizing your library. But whether you’re familiar or not, it’s important to follow these steps year after year. The more you can make it consistent, the more likely it will become part of your process and feel less like a chore.

Your first action step is to get all of your photos from the year in one place.

It’s time to make sure you have every single photo taken in 2017 all in one photo library catalog.

The software program doesn’t matter. The point is that your photos are not scattered in multiple folders, programs, or computers.

Once you have all of your photos in one place, note the total number of photos you’ve collected so far in 2017. This is your starting point. And it will come in handy for your task next week.

While this task seems simple, it’s oh-so-important to do. And we all need simple tasks to easily complete to build momentum. 😉

My specific tasks for the week are to finally develop the two rolls of film from our summer vacation and to import my iPhone photos into my main LR catalog.

Even though I’ve been putting off these tasks for several months, it should only take about 30 minutes of effort – 20min to fill out the film development form and mail it to the developer and 10min to import my iPhone photos. I can definitely fit that into my schedule.

I’d love to hear from you in the comments below – what task do you need to put on your weekly to-do list based on this email? And how much time do you think it will take to finish this task?

I’ll see you next week with your next action step!

5 Tips to Make a Photo Book Even When Life Gets in the Way

5 Tips to Make a Photo Book Even When Life Gets in the Way

Over the past three weeks, I’ve shared some common obstacles keeping you from making a photo book. All to often, you know you want a photo book of your favorite photos….yet it seems impossible to actually make a photo book.  

You may have too many photo book ideas and not enough time. If so, you need to select one project that will be the easiest to complete or mean the most to you. Stay committed to this one goal and don’t let another enter your mind until you finish this first project.

Or, making a photo book may feel too much like a chore and not yet a habit. I suggested that you find a cue, a behavior that you are already doing (working in Lightroom), and then combine the habit you want to create (making a photo book). When you successfully combine the habit with the cue, make sure to reward yourself.

Or, you constantly have an inner voice telling you will never be able to finish a photo book. If this sounds like you, then you need to re-frame your mindset. Establish a positive voice that motivates you to finish your goal instead of preventing you. Turn the “I can’t….” or “I don’t have time….” into “I will make a photo book.” or “I want to find the time to print my photos.” This simple mindset switch is extremely powerful.

However, I also recognize that life is busy. It doesn’t just stop to let you work on something you want.

It is a constant battle for me to find small pockets of time to address my priority of printing my photos, especially among all of the other priorities competing for my time. And of course, making a photo book isn’t my only priority. It’s not even in the top five.

Yet, it’s still something that I want to get accomplished every year.  So somehow, I have to find a way to make it happen alongside all of the other interests and tasks going on in my life. Over the years, I’ve discovered how to make a quick, easy and beautiful annual photo book.

My full process is outlined in my workshop, In One Hundred Pages. It covers everything from getting organized to making a book, and yes, making sure it happens during one of the busiest times of the year.  


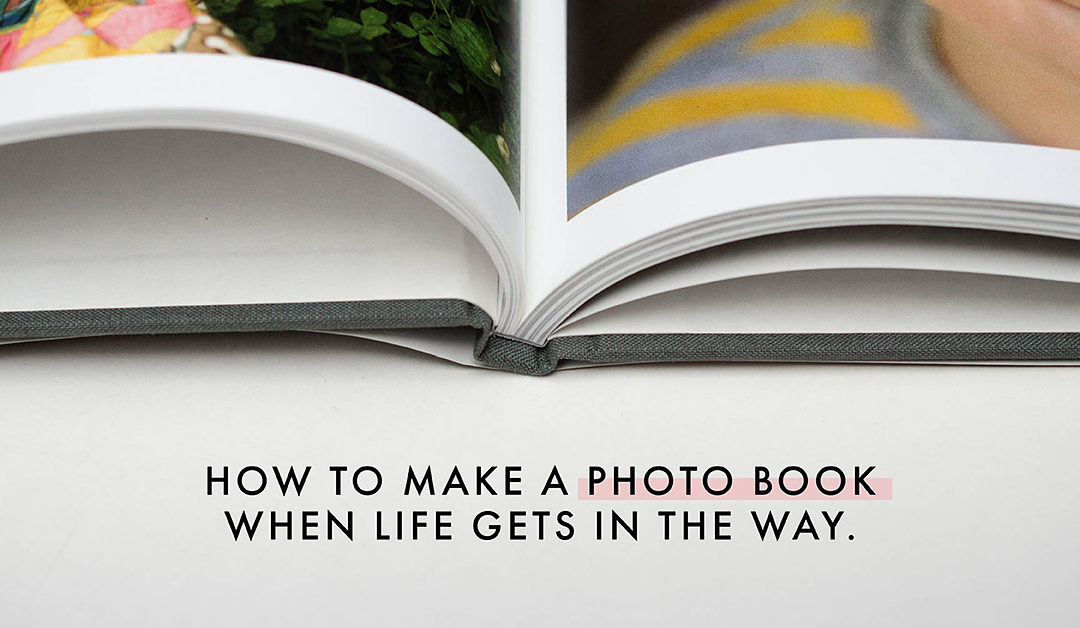
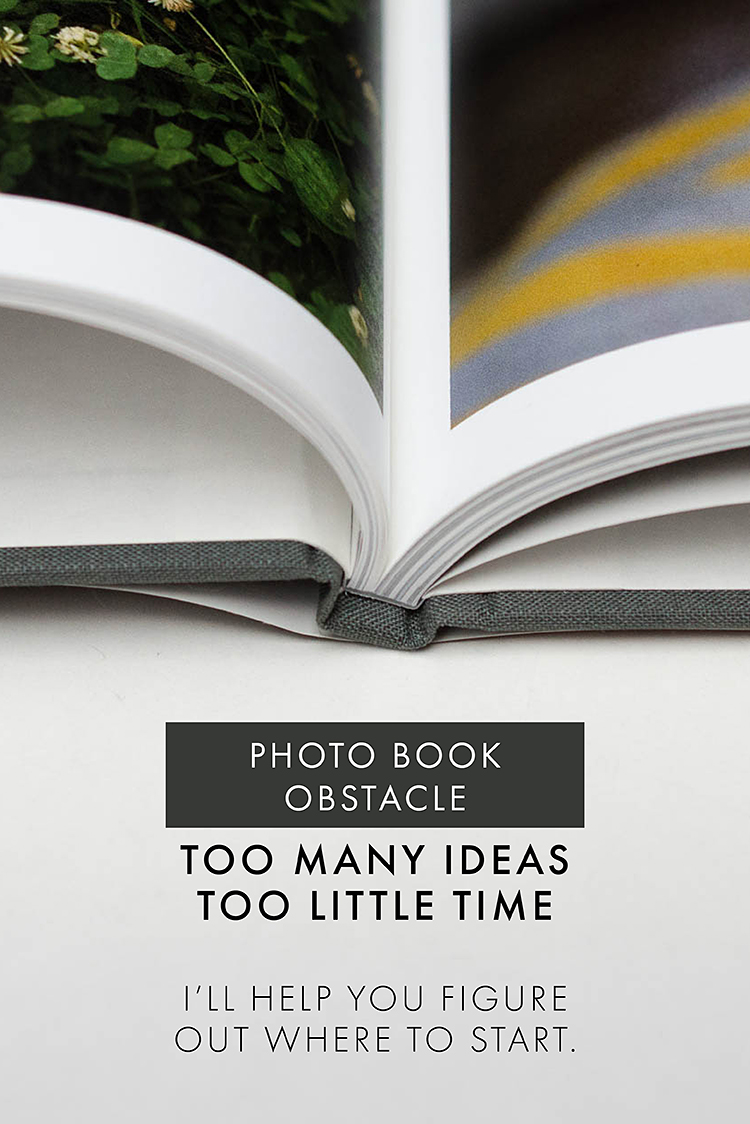
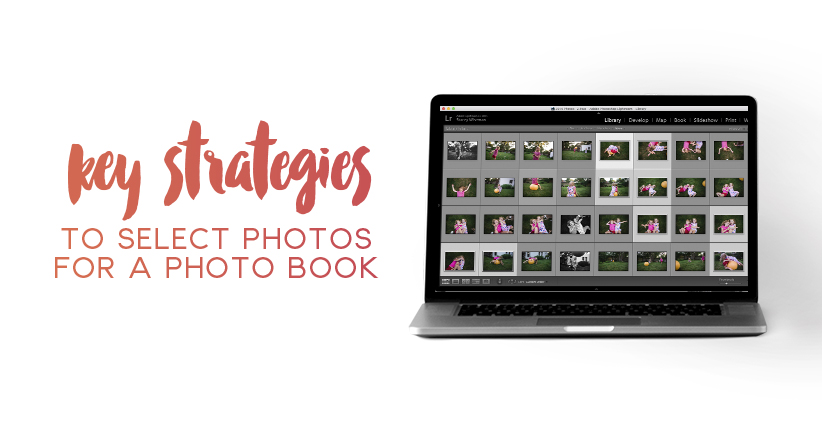
I want to share 5 tips on how to make a photo book even when life gets in the way.


1 – Make it a priority 


Making a photo book doesn’t have to be your top priority, however, it is important that you include it as a priority. I want you to think of making a photo book in a similar way to taking the photos. You pressed the shutter for a reason. You imported the photos into Lightroom (or whatever program you use) for a reason. You go through and edit or post to social media your favorite photos for a reason.


Don’t let that be the last step.


Print your photos! When you print your favorite photos in a photo book, you are making them accessible to your husband. To your kids. For the future. There is something special in seeing your photos curated together in a photo book.


2 – Get clear on the why


Once you’ve made it a priority, it’s important to understand the why behind making a photo book. Imagine what it will be like to have your kids go through your photo book when it comes in the mail. Now imagine your kids flipping through the pages ten years from now. What emotions are connected to that thought? How will it feel to see your kids going through your photos in a book. Hold on to that emotion and use it as motivation to keep you focused.


3 – Get clear on the how


The next step in keeping your photo book goal even when life gets in the way is to have a clear action plan for how you are going to achieve this goal. My workshop, In One Hundred Pages, outlines a clear map for you to follow to organize your photos and print them in a book. However, even if you don’t purchase the workshop, it’s important that you develop your own plan. Break down the steps you need to accomplish in order to reach this goal. Saying you want to make a photo book is too broad. Go deep and get specific. Once you understand how you are going to accomplish something, it’s more likely that you’ll actually see through the task.


4 – Establish your workflow


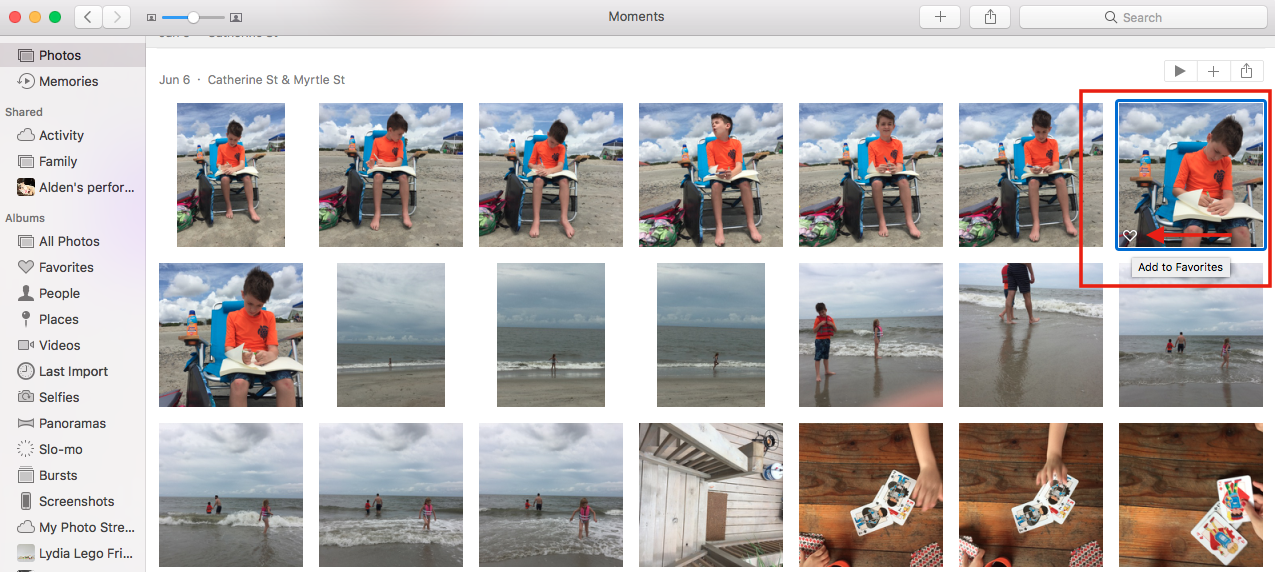
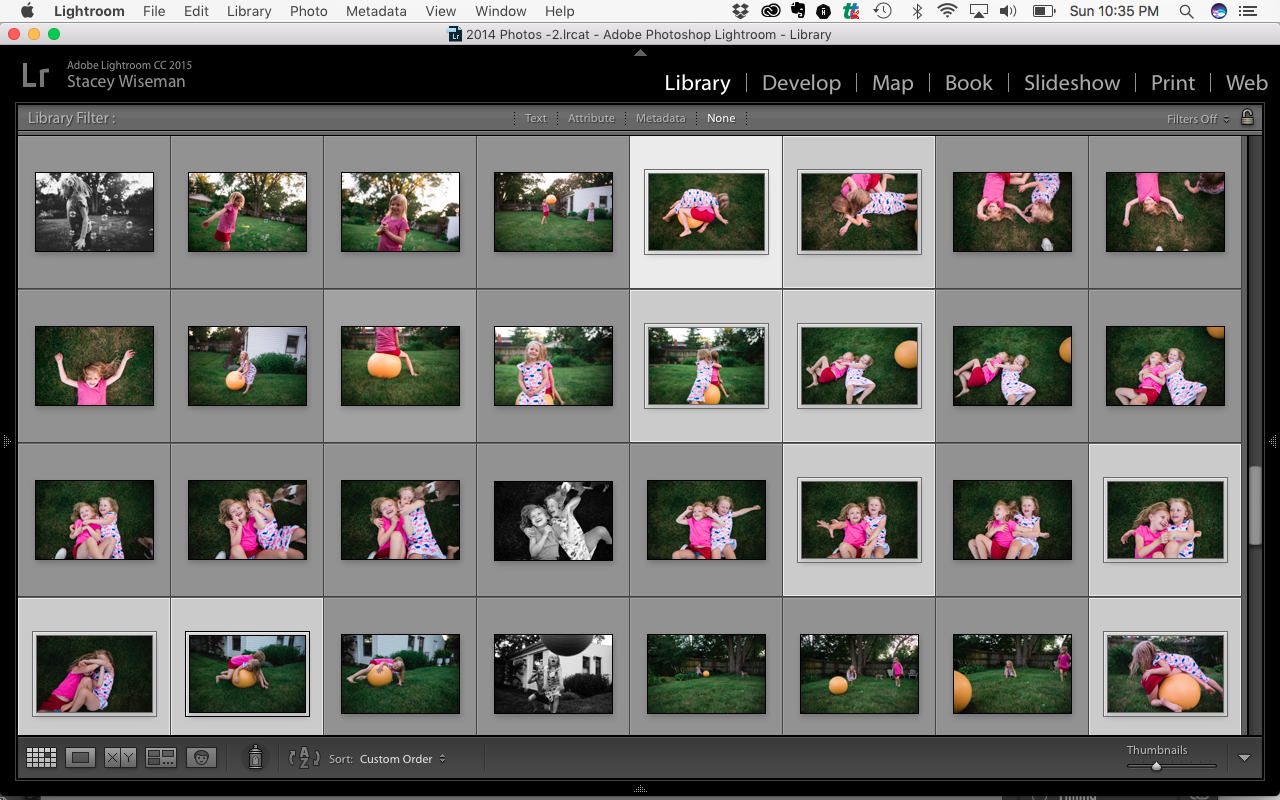
As you are defining how you will make a photo book, find ways to incorporate these tasks into an already existing workflow. Don’t think you have a workflow? I’m betting you do. If you take photos, import photos, edit photos, or share photos, you have a workflow.


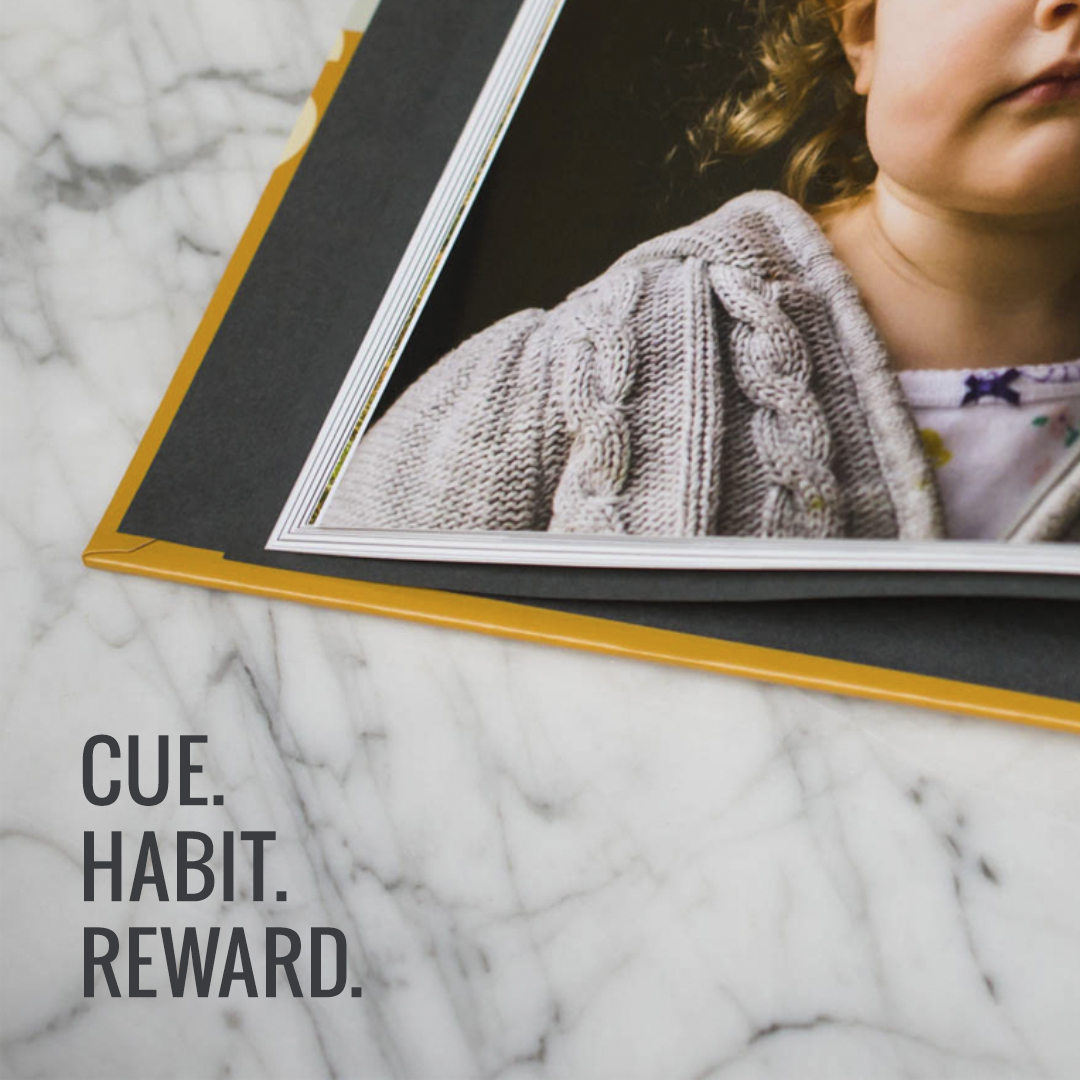
Find out how you can insert printing your photos into the workflow you’ve already created. Go back to the Cue – Habit – Reward system and figure out what you can task you can add to your existing process to make it easier for you in the end. If you export a photo to share on Instagram, immediately export it again with the setting needed to print the photo. It can be as simple as that.


5 – Find an initial win – to build momentum


Finally, create a small, easy-to-accomplish task to have an initial win and build momentum. This first win is crucial in establishing the habit you want to create. It helps you realize that it’s possible to print your photos and it doesn’t have to be hard, stressful or overwhelming. 


Not sure what this looks like. Let me give you some examples:


Create a folder on your desktop with the name: “2020 Photos to Print.”


That’s easy, right? I’m serious when I say making a photo book doesn’t have to be hard. This first step is crucial and yet so, so easy. 


Ready to keep going? 


If you use Lightroom, create a preset to export photos you want to print directly to this folder at 300ppi and the long edge set to 12 inches. 


That is how simple I want you to keep these tasks to build momentum.
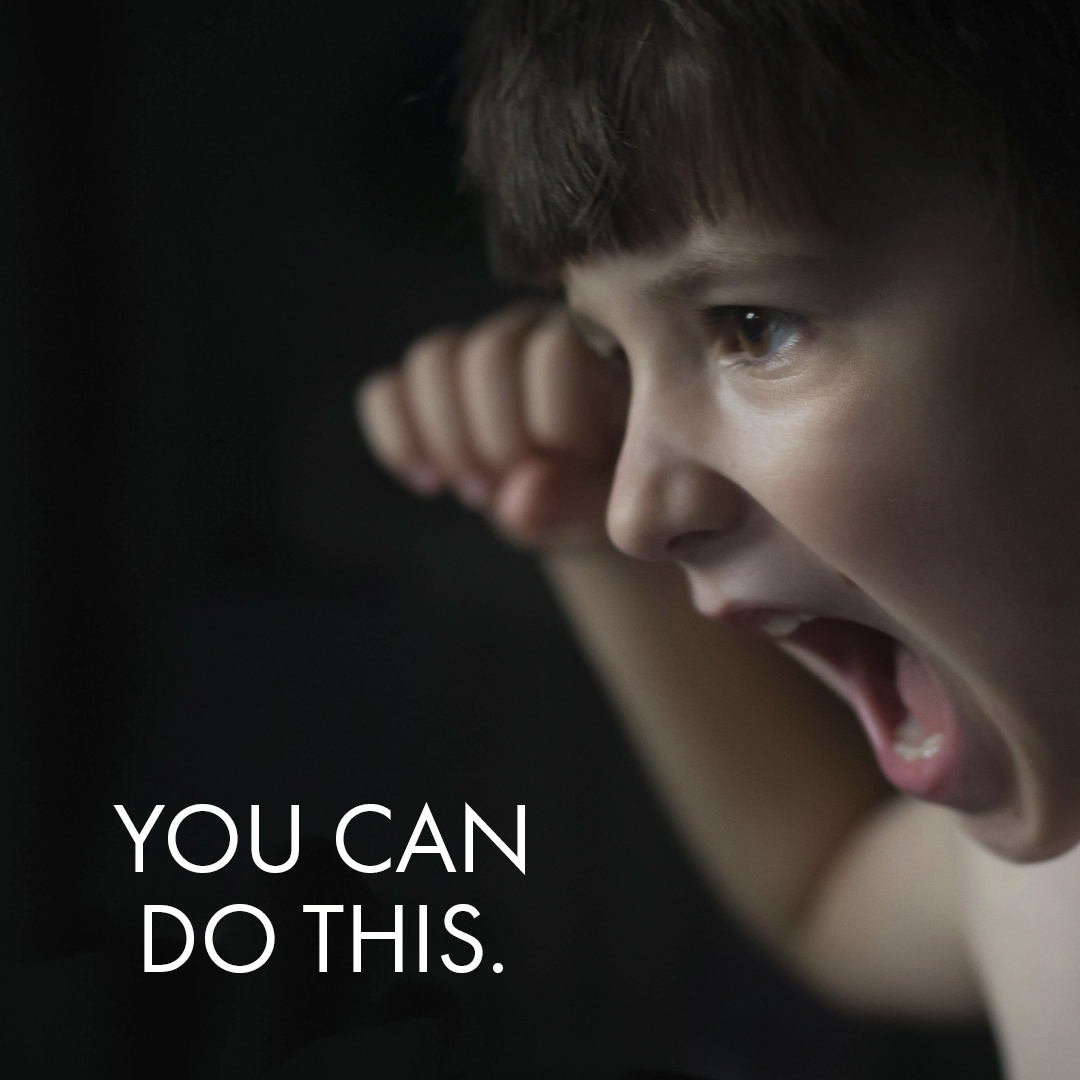
 

You can do this!


And if you want even more guidance, make sure to sign-up to In One Hundred Pages workshop!


Now is the time to get organized and make a photo book with your favorite photos from the year. Trust me, it doesn't have to be overwhelming or stressful. With my workshop In One Hundred Pages, I describe my entire streamlined process so you can make a photo book in less time and with less stress.

Photo Book Obstacle: Overcome Negative Thinking

Photo Book Obstacle: Overcome Negative Thinking

When you’re organizing your photos or making a photo book, do you ever have a small voice in your head playing negative thoughts? Something like: You’re never going to be able to go through all of these photos? Or you’re never going to finish this project? Or this is hopeless?

This is your mindset around printing your photos in a photo book. I want to spend time today addressing and adjusting your current mindset to make sure it’s helping you achieve your goals.

Now, maybe you are familiar with mindset…but if you’re not, here’s a story to illustrate. It’s been several years since we’ve gone through potty training in our house. However, we still go through times where we have to consistently work with our kids to be……well…..regular.

Recently, we were going through a dry spell 😉 and after several days of my daughter telling me she couldn’t go, I told her that she needs to change what she’s saying and to say “I can” instead of “I can’t”. I reinforced that she needed the confidence to believe in words “I can”. Sure enough the next day, she was able to go!

She was so excited to realize that changing her attitude could help her accomplish something. Simply by approaching the situation with a different mindset led to her success.

It’s this exact shift in thinking that you need if you keep talking yourself out of making a photo book.

Start paying attention to what you think about your ability to print your photos in a photo book.

Do you tell yourself that you have too many photos to ever get organized to print them?

Do you make excuses about why can’t finish a photo book project?

Do you immediately tell yourself you don’t have the time it will take?

Once you notice the thoughts you have, I want you to shift the language to be positive; to reinforce that you can make a photo book. Finally, I want you to have the confidence in the words. This voice should stay with you throughout the entire process. You can do this!

As I’m sure you already know, it’s not enough to simply say you can do something. You have to have the action to back it up.

If you need help with the action or implementation, I developed a workshop, In One Hundred Pages, to help. This workshop covers what you need to easily and simply start -and finish- a photo book. 

Now is the time to get organized and make a photo book with your favorite photos from the year. Trust me, it doesn't have to be overwhelming or stressful. With my workshop In One Hundred Pages, I describe my entire streamlined process so you can make a photo book in less time and with less stress.

Creating a Photo Book Habit

Creating a Photo Book Habit

Consistently making a photo book comes down to creating and reinforcing habits. For those who can never seem to make a photo book, it’s because it hasn’t become habitual for you yet. So in today’s email, I want to help you figure out how to make printing your photos a habit.

One method I learned from Charles Duhigg’s book, The Power of Habit, is to pair a habit you want to create with a habit or action that already exists. Then you need a reward for whenever you successfully complete the behavior you want. This is summed up as:

To illustrate how this works, I want to focus on a habit I’ve recently created in my life: consistently working out. Even with the best of intentions, it’s always a challenge for me to incorporate working out into my daily routine. So….I thought I would test out the Cue – Habit – Reward process.

Every morning, I look forward to my cappuccino. And every morning, we have the craziness of getting the kids ready and out the door for school. Right away, I have a reward (cappuccino) and something that is already being done (getting the kids ready for school). So I sandwiched the habit I wanted to create (working out) in between.

Once my kids are out the door, I start strength training exercises I can easily do from home. After I’ve gotten my heart rate up and finished a few push-ups and lunges, I drink a tall glass of water. Now, I’m ready for my cappuccino! The best part is, I’ve finished the action I’m most likely to put off, before 8am.


Now let’s look at how this could work for making a photo book. As you know the trick to a faster photo book is to keep your library organized with photos tagged (or rated) and edited. So for this habit, I’m focusing on organizing my photo library.


 Cue:

Select a time or existing habit already present in your life. Try to pick an activity that is consistent (recurs weekly or monthly) and has some flex time associated with it (either before, during or after).

One example in my life at the moment: my daughter’s ballet class on late Saturday morning. While she’s in her lesson, I have about 75 minutes of free time. In this example the cue is when my daughter heads into her ballet practice room.

Habit:

Organize your photos with the purpose of printing in mind – tagging/rating/editing.

While my daughter is working on her positions, I open up Lightroom and go through my library. I delete, rate, and/or tag photos in the Library module. Then I filter the photos I want to print in the Develop module and go through my quick edit process.

Reward:

Once you’ve spent time organizing your library, make sure to reward yourself. The key is to make sure this happens right after you finish the habit.

After ballet class, I take my daughter out to a girls’ lunch to celebrate.

Here are some other examples of creating a Cue-Habit-Reward process for organizing your photos. 

Cue: The opening screen of Lightroom (or your preferred photo organizing/editing program of choice).

Habit: Spend at least the first 5 minutes tagging/rating/editing the photos that you want to print.

Reward: Once you finish working on the photos you want to print, then you can go back to the reason you opened Lightroom.


Cue: Inserting and importing photos from your camera.

Habit: Immediately delete unwanted photos. Tag/Rate photos you want to print. Edit only those photos.

Reward: A small piece of dark chocolate. (Or pick any other treat you keep around the house.) A good  trick is to only have this reward when you import photos and immediately prep them for printing.

The key is to find something that will fit into your routine, your lifestyle. Use this example as inspiration to brainstorm potential cues and rewards that you can use to create a photo organizing habit.

To make this habit work, you need to really focus on the cue – habit – reward for at least the first 30 days. I know….it takes mental effort; however, the more you can pay attention to it in the beginning, the more likely you’ll create a habit that will stick for the long term.

Now I’d like to hear from you! What Cue-Habit-Reward are you planning to try for at least 30 days? 

Now is the time to get organized and make a photo book with your favorite photos from the year. Trust me, it doesn't have to be overwhelming or stressful. With my workshop In One Hundred Pages, I describe my entire streamlined process so you can make a photo book in less time and with less stress.

Photo Book Obstacle: Too Many Ideas….Too Little Time

Photo Book Obstacle: Too Many Ideas….Too Little Time

If you’re looking to make a photo book this year – admitting it is the first step.

Say it with me: “I want to make a photo book this year.”

Great! And I hope you said it like you meant it. Even if it was in your head. 😉

Admitting you want a photo book is the first step.

But as you know, it’s not the only step.

It takes knowing what type of book you want, how to go about selecting photos for the book, and laying out the pages in your program of choice and finally editing + ordering the book before you can cross it off your to-do list.

Did I already lose you?

I hope not. Because having a photo book is worth it. It matters to your family. It documents all of those amazing moments you captured of your family with your camera. It holds them all together in a book that you can easily access and go through with your kids.

So yes, you want to make a photo book. But how do you take the second step?

It starts with what kind of photo book are you going to make.

Maybe it’s been a while (or ever) since you’ve made a photo book and you don’t know where to start.

You have too many book ideas floating around in your head and are stuck on which one your should get to first.

I hear it from so many and I don’t want this to be your stumbling block.

Let me help you get past this hurdle.

Over the summer, I’ve helped three of my photo book club members decide which photo book is perfect for them to start and finish by the end of the year.

Now it’s your turn!


Fill out the form below and let me know all of the photo book ideas swirling around in your head or where you are getting stuck trying to decide what photo book to make first.

I’ll respond with custom advice to help you keep moving forward.

Now is the time to get organized and make a photo book with your favorite photos from the year. Trust me, it doesn't have to be overwhelming or stressful. With my workshop In One Hundred Pages, I describe my entire streamlined process so you can make a photo book in less time and with less stress.

Challenge: Select Your Favorite Summer Photos

Challenge: Select Your Favorite Summer Photos

Happy Labor Day!

With the official holiday to close out the summer, it’s time to start thinking about what you want to accomplish by the end of the year. And if you want to make a photo book, one of the best ways to start is to organize your photo library.

An organized library saves you time whenever you decide to print your photos. You’ll know right where to find your favorite photos and they will already be edited and ready to print!

Let’s get started with an easy challenge finding recent photos you love.


Challenge: Selecting Your Favorite Summer Photos.

I want you to go through your photos from the summer – Memorial Day through Labor Day (for those not in the US, basically June, July and August photos) and select 10 of your favorite photos.

They could be all from a vacation or you could select photos that sum up your summer.

Don’t overthink this: just select up to 10 photos from the summer that put a smile on your face.

Now here comes the organization part. Make sure you rate, star or tag the photos you select with your preferred rating system.

If you’ve never used a rating system before, start now. Most photo organization programs allow you to give a star or number rating to your favorite photos. Here’s a screenshot from iPhoto showing how to rate your favorite photos by quickly hitting the “heart” on a photo you love.

Don’t skip this step. It’s what helps you organize the photos that you love so they are easily accessible.


Here are my favorite 10(ish) photos with some suggestions to help you select your favorites from the summer.


PORTRAIT

It’s always good to include a classic and a creative portrait of your kids. They grow up so fast, it’s great to have a static frame showing who they are at this very moment.

BEACH OR POOL

Select an image from time spend at the beach or the pool.

HOLIDAY

Select an image from celebrating a Holiday. This summer our kids had fun with sparklers for the first time.

EVENT OR MILESTONE

Select a photo from the summer for any special event or milestone achieved in your kids’ lives. My daughter’s second ballet recital occurred at the beginning of the summer.

SIBLINGS

A favorite of mine is whenever I get these two in the frame together.

PLACE

Usually summertime includes travel to exciting places…or exploring fun places close to home.

EPIC LANDSCAPE

If you traveled to an expansive place – like the beach, lake, mountains, forest – chances are you have a great photo of an epic landscape.

FAMILY TIME

Include a photo that documents a visit with family.

EVERYDAY

Even though summer includes vacations and fun trips…and it also means times at home. Here’s a photo of my son and his stuffed bear while watching a movie.

EMOTION

And I’m sure you have a photo of extreme emotion – happy, sad, anger, laughter – from the summer. My daughter was not too happy to learn that an animal had been messing with her fairy garden.

SOMETHING NEW

If you worked on your photography this summer, challenged yourself with a project, or tried something new, include a photo from this experimentation.

Feel free to share your favorite summer photos on instagram, #favesummerphoto and tag @bookthisproject to hold yourself accountable. Plus, I’d love to see your favorite moments from your summer!


Two Key Strategies for Selecting Photos for a Photo Book

Two Key Strategies for Selecting Photos for a Photo Book

What is one of the biggest reasons people do not finish their photo book? Photo selection.

I hear it over and over again from people who have a hard time finishing – well, even starting – their photo book.

It’s easy to understand why. We become so connected and personally attached to our photos, it’s difficult to look at them with an objective eye. I completely understand. As someone who designs photo books for myself and others, it’s much easier for me to select photos for my clients than it is to select my own photos for a book.

But never fear! I have two key strategies to help you select photos for a uncluttered photo book.

1. Message

The first strategy is to define what is the message you want to convey for a particular day, event, moment? What is the perspective you want to come across when viewing a particular set of photos?

You could focus on the action of an event. Or interaction. Or facial expressions.

Any of these work. It’s just a matter of defining the message you want for a set of photos to be placed in your photo book.


2. Hierarchy

Once you’ve figured out what message you want to convey, it’s time to decide the hierarchy of the photos.


Hierarchy is an important concept in design that essentially establishes order within the design elements. This can also help as you select photos because you can decide what photo is the most important to convey the message you want to convey and what, if any, photos need to play a supporting role.

In some cases, you may only need one photo to convey the main take-away message you want. Or you could have several photos that play an equal role in developing the message. Other times, there is one photo you want to feature with other photos to support the main photo.


Think about this typical photo-worthy event: documenting a visit from your kids’ grandparents. Here are three likely scenarios:


1. Emotion. Select one photo from the visit that highlights your the excitement felt during the visit. It could be the initial hug between them when the grandparents first arrived.


2. Interaction. If you wanted to focus on the interactions throughout the visit, you could select two photos that feature your favorite two moments – such as reading a book together and eating lunch together. In this example, you don’t have to select a photo for every single interaction; just your two favorite.


3. Activities. Let’s say this was a longer visit than normal and a lot occured during the trip, it may be hard to select one or two photos. In that case, you may want to create a collage of images, 8-12 photos, documenting the visit. For this example, select the strongest photos that best describe the visit so it doesn’t become too overwhelming once they are placed in a layout.


Example

Sometimes it takes seeing an example – from selecting photos to designing the layout – to make everything click.

First, let’s start with the photos in my catalog for a particular event – a family weekend at my mom’s where my daughter had a blast playing with her cousin.

From the 32 photos above, I selected my favorite 9 photos. Already, I’ve narrowed it down to a quarter of the original photos making it easier to define what it is I want to say and the best way to say it.


With these 9 photos, there are several ways I could select and design a layout based on what message I want to focus on and the order required to best tell that story. Below are three different examples.


EXAMPLE 1

This layout features all 9 photos….because sometimes it’s too hard to keep narrowing down the photos! But you’ll notice, even in this layout with all of the photos, there is still a message and hierarchy.


Message: Quantity – By keeping all 9 photos, I’m prioritizing the amount of time they spent playing with the exercise ball because they were having such a fun time.


Hierarchy: Two of the photos are featured at a larger scale than the others in the layout. These were my favorite photos from the moment. They both focus on the interaction and bond between the cousins. Also, notice how the page on the left is only of the cousins and the page on the right is all of the photos with the exercise ball. This adds order and purpose to the collage.


EXAMPLE 2

Message: Play. In this selection, I’m focusing on their play to highlight their interaction. I wanted to seelct photos that best exemplified them playing together.

Hierarchy: My goal was to find four images of them tangled together (placed in a grid) to contrast that with one photo – my featured photo – of their interaction where we could see their faces.


EXAMPLE 3

Message: Action. This selection is all about the action – specifically a before, middle and after. Focusing on the action made it really easy to narrow photos. Here, it’s not necessarily about showing everything. Instead, I’m zeroing in on one before, middle, after set of photos to encapsulate the gist of this particular moment.

Hierarchy: When designing the layout, each of the photo boxes are the same size and arranged in a linear fashion to reinforce the action conveyed by the photos. The result is a clean, simple layout.


WANT TO LEARN MORE ABOUT

HIERARCHY IN DESIGN? 

BECOME A BTP PHOTO BOOK CLUB MEMBER.

This month’s lesson features how to use hierarchy to create layouts, select photos and use text on photo book covers. When you sign up, you’ll get access to all of the lessons in 2017 plus access to a private facebook group.

When and how to use a color background in your photo book

When and how to use a color background in your photo book

I want to start from the beginning of this post with the acknowledgement that adding color to your photo book can be a tricky and ultimately, it is a personal preference. There is no right or wrong answer. But I also understand it’s common to seek advice or suggestions on possible ways to attempt color. So when a Photo Book Club member asked me this question, I thought it would be a perfect time to address my thoughts in a blog post.

White Background versus Black Background

My personal preference is for a plain white background because it conveys a clean, fresh, modern look to my photo books. Because I frequently incorporate a mix of color and black/white photographs, the white background appears more neutral.

When I’ve seen successful photo books with a black background, it’s typically for books containing a majority of black and white photos with high contrast – or – to create photo books a dramatic, enveloping mood. With a black background, it is easier to establish a high level of contrast or striking difference between the photos and the page.

An easy way to think about this is with interior spaces. I’m sure if you’ve been around pinterest, picked up an interior design magazine or watched HGTV at all, you’ve seen light and airy living rooms with clean white walls and maybe you’ve come across a more dramatic living room with dark walls. (And of course, all of the varying shades of paint color in between….but for this example, I want to stick with the extreme ends of the spectrum.)

Look at these two examples below found on pinterest. Are you immediately drawn to one example? What do you like about it? What feeling or emotion does it invoke? Or if you are indecisive like me and feel drawn to both – what are the characteristics of each that you like and how does that start to shape your vision?

As you’ll notice, both examples work yet they illustrate a different vision. And this is what is great about photo books because you can create different moods or visions based on the content or photographs.

For example, if you’ve returned from a tropical vacation and wanted to make a travel book of your photos, chances are you’d have a lot of colorful, vibrant photos. The colors in the photos may pop more against a white background. A black background may overwhelm the photos.

On the other hand, if you wanted to make a photo book of your street photography, those photos may have a high degree of contrast and stark divisions between the bright whites and deep blacks. A black background will help ground and immerse the photos and almost create a more intimate experience in which to view photos.

Comparing White and Black Backgrounds

However, things are not always immediately black and white. In my Photo Book Club, I have a video sharing three photo book examples that flip the advice in the previous section on it’s head. Just because something may be the norm does not mean it’s the absolute.

As I mentioned at the beginning, using color really does come down to personal preference. So, I thought it would be fun to share two layouts with both a white and a black background for you to determine what you think works best.

Creative Use for a Color Background

If you prefer white backgrounds but want to try color or a color variation on some pages, a great idea is to create a color section of your annual book to highlight a vacation or a particular photography project. This sets these pages apart from the rest of your photo book without having to commit completely to a particular color.

The great thing about using a color background on important pages, particularly if it covers a decent amount of spreads, you’ll be able to quickly find this section of your photo book by looking at the edge of the book.

In my recently released Catalog Collection photo book template, I spent quite a bit of time analyzing catalogs and one of the things I noticed in a J. Crew catalog was their use of a white background for the pages featuring women’s clothing. For the men’s clothing, the pages had a small black border around the edge of the page. It created a bit of separation without it becoming too apparent. True to their brand, it was classic, refined, structured, and intentional.

How to Add a Color Background

Now that we’ve covered why and when to use color backgrounds, the next step is to help you with how to add a color background to your photo book. In this video tutorial, I’m showing how you can create a color background in BookWright and InDesign.