This summer, I’ve been sharing how to add color to your photo book. Recently, I used a color palette from Pantone into layouts. There is one handy trick that I did not share in this tutorial: ASE files. Do you know about or have you used ASE files yet? If not, prepare to be amazed. I love ASE files!
ASE stands for an Adobe Swatch Exchange file which is basically a collection of colors that you can add to your swatch panel into Adobe programs. This makes it incredibly useful if you use Photoshop or InDesign to make a photo book.

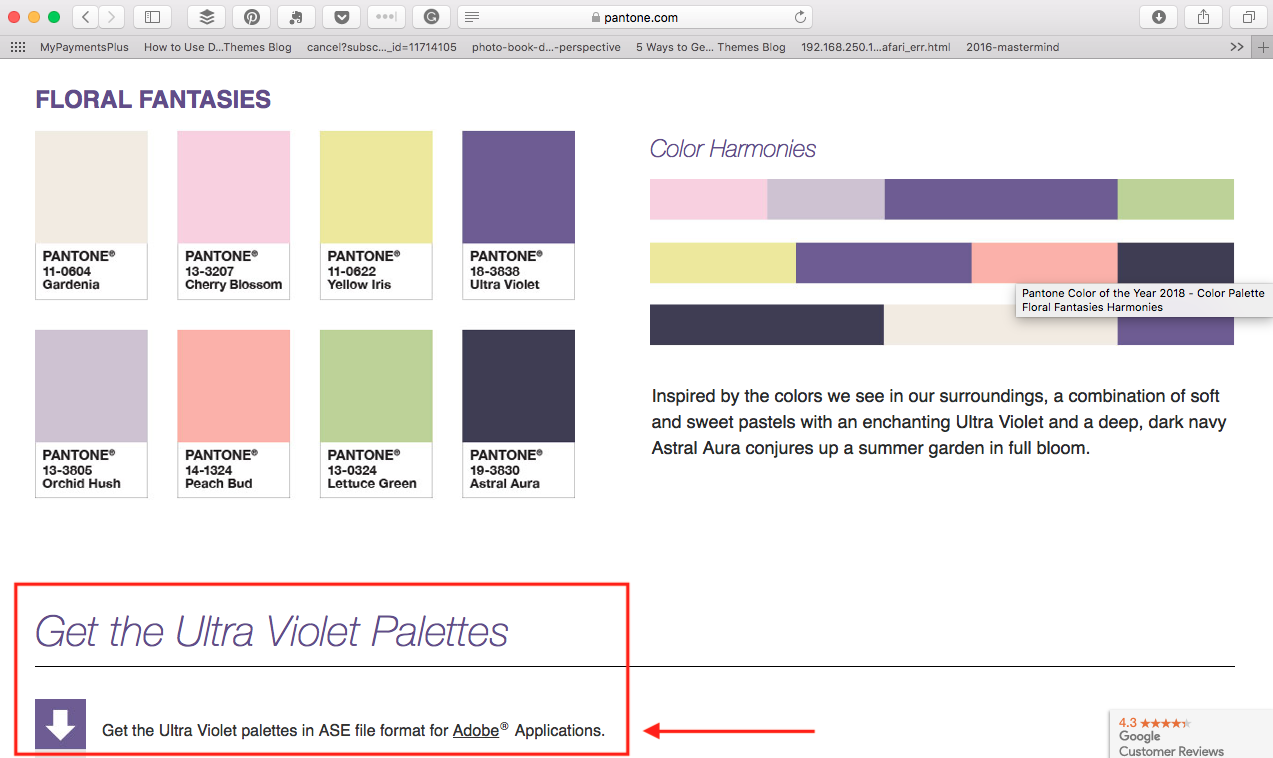
As I mentioned above, I referenced the 2018 Pantone Color or the Year in one of my recent blog posts. On this website, if you scroll all the way to the bottom, past all of the palettes, there was an ASE file download.
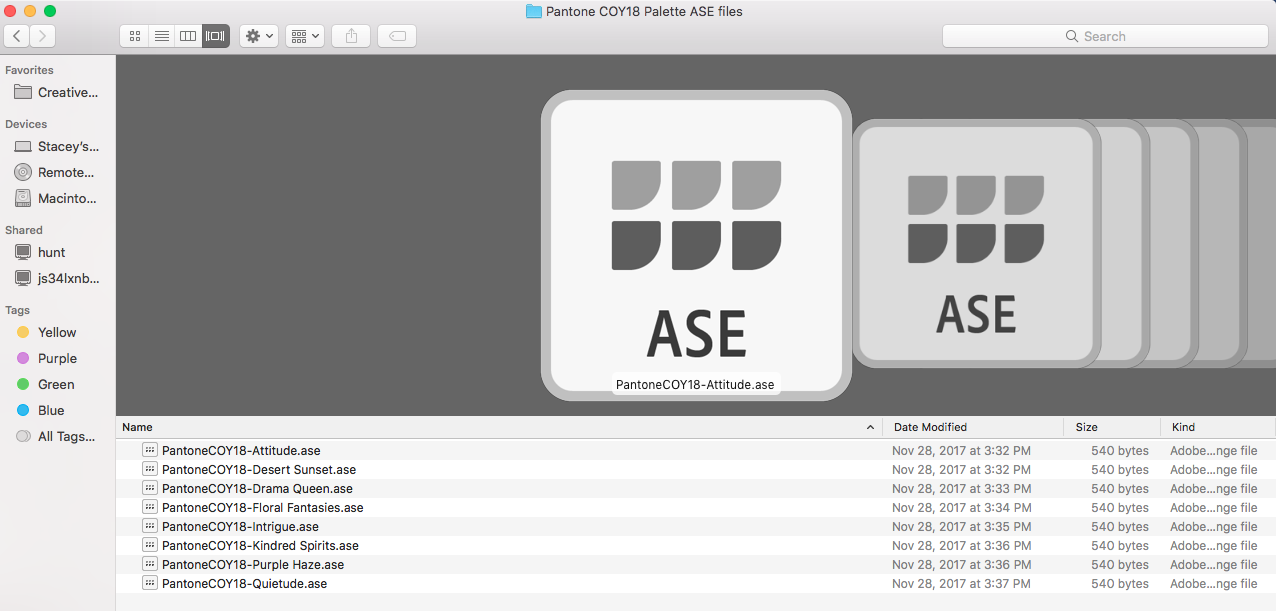
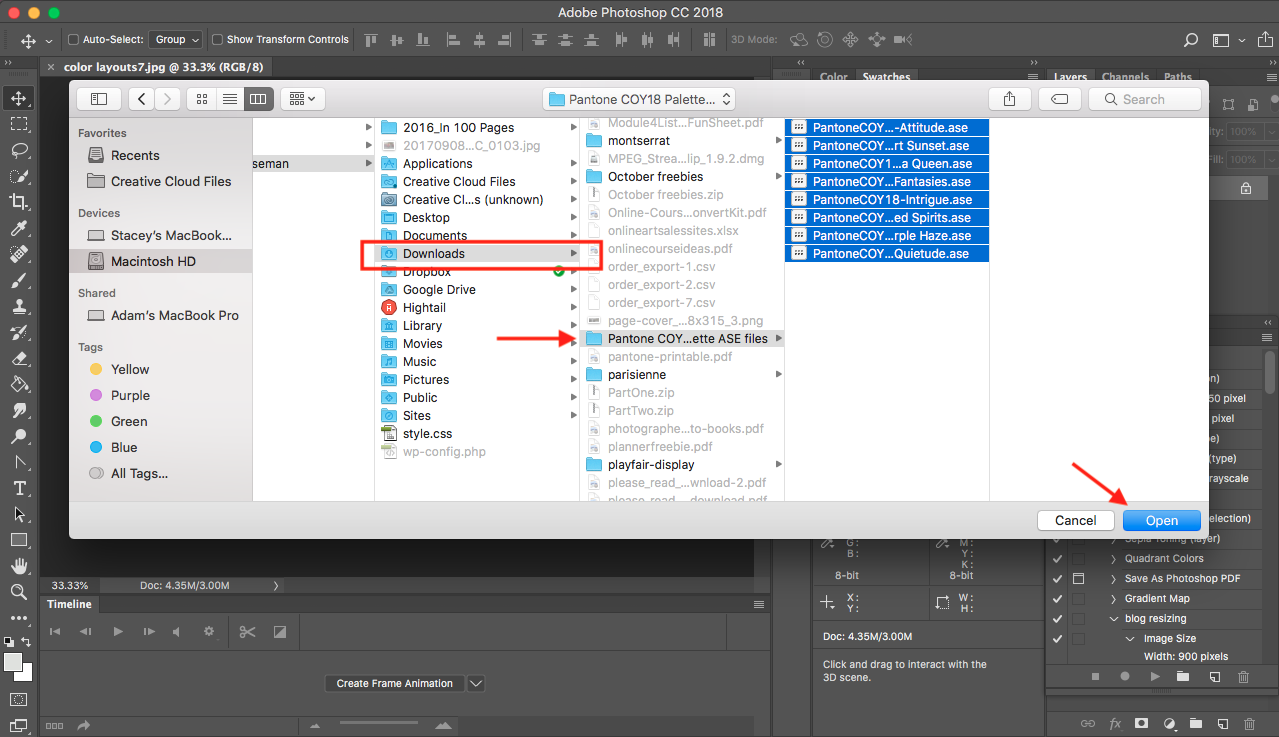
Once you click this button, the files will go directly into your “Downloads” folder on your computer. At this point, it’s helpful to move/copy these files into a folder you’ll remember. There is an Adobe Library folder that is installed automatically when you download the program; however, I create a folder specifically to house my color swatches in a place I frequently go to.
Photoshop
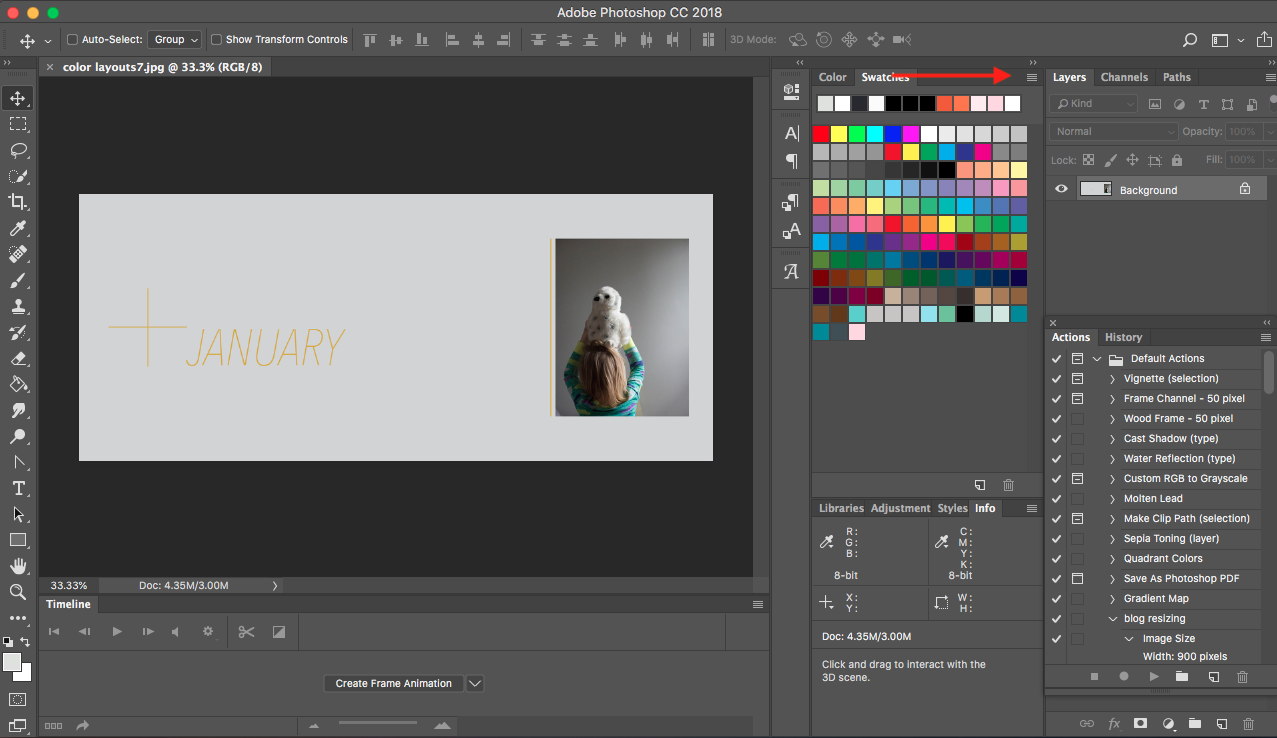
Next, click on the three small lines in the upper right corner of this panel. A
Under the
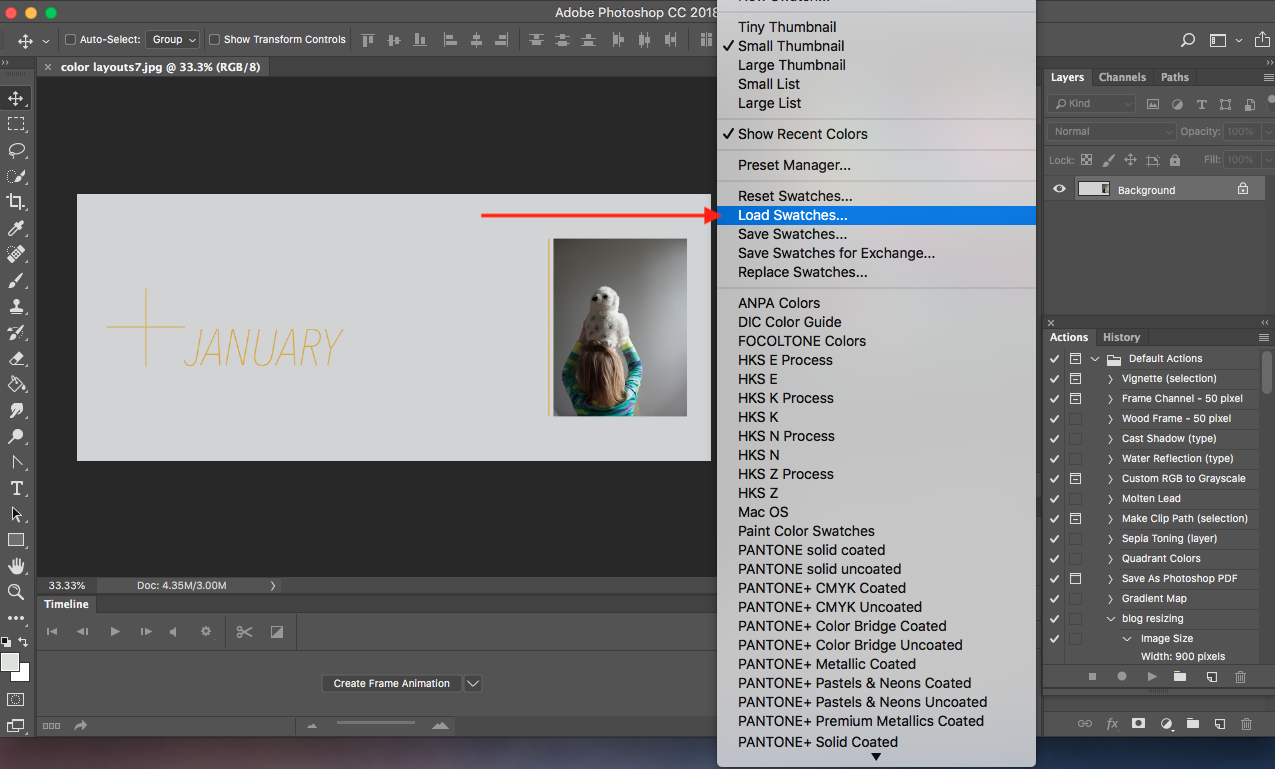
At this point, you’ll want to find the ASE files, wherever you placed them. As a default, make sure you check your “Downloads” folder.
Now all of the swatches are loaded into Photoshop swatch panel and ready for you to use as a fill or outline in your photoshop file.

InDesign
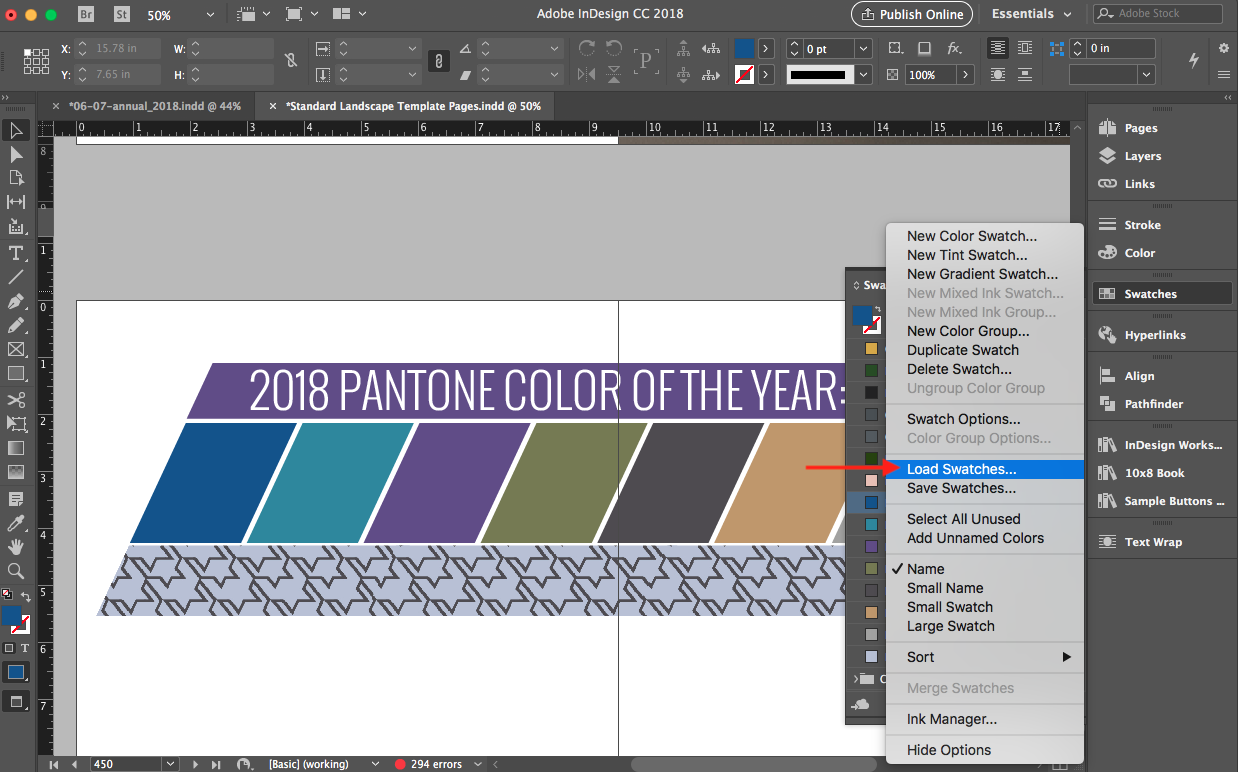
Now you can follow a similar process in InDesign to load ASE files. Using ASE files in InDesign is fantastic because you can orchestrate and design a full photo book within this program – start to finish. If you’re unfamiliar with how to fully use swatches in InDesign, make sure to check out my Advanced Photo Book Design Workshop.
The first couple of steps are exactly the same as Photoshop. Open up the swatches panel. Click the three lines in the upper right to make the
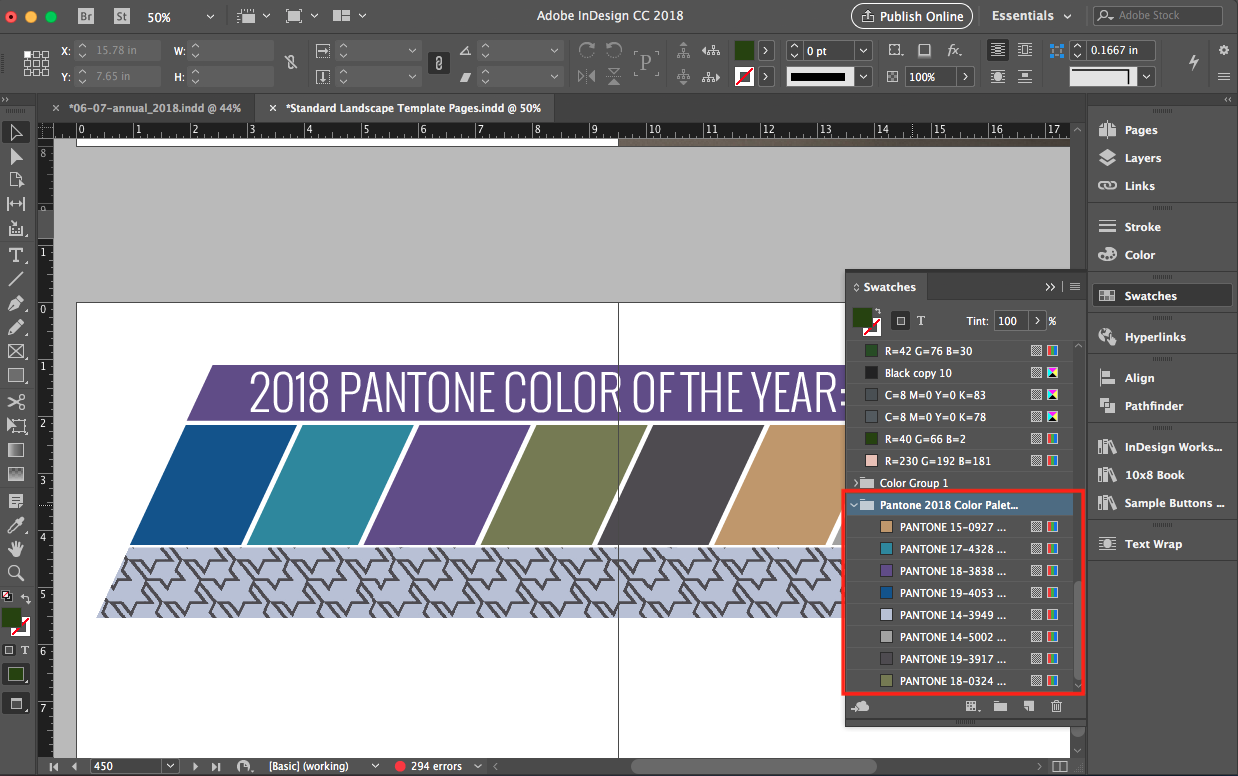
Here’s a great feature within InDesign that you can’t do within Photoshop. Select all of the swatches that were loaded in the ASE files.


Once your color group has been created, I recommend you double click on the name of the color group and change the name to describe the group.
This is a helpful tip for any swatches you’ve created on your own too. It’s a great way to keep them all together in one nice tidy location.
Now that you know how to install ASE files, I want to reiterate why you would want to use them. First of all, it’s a really fast way to have colors you love without having to mess with the sliders or come up with them on your own.
If you’re anything like me, it can be hard to figure out the exact color you want. I can spend a good 15 minutes messing with the sliders trying to determine the perfect amount of CMYK (cyan, magenta, yellow, black) for each swatch.
Using ASE files saves you time. And it provides a framework for you to use similar colors throughout your photo book – or several photo books.
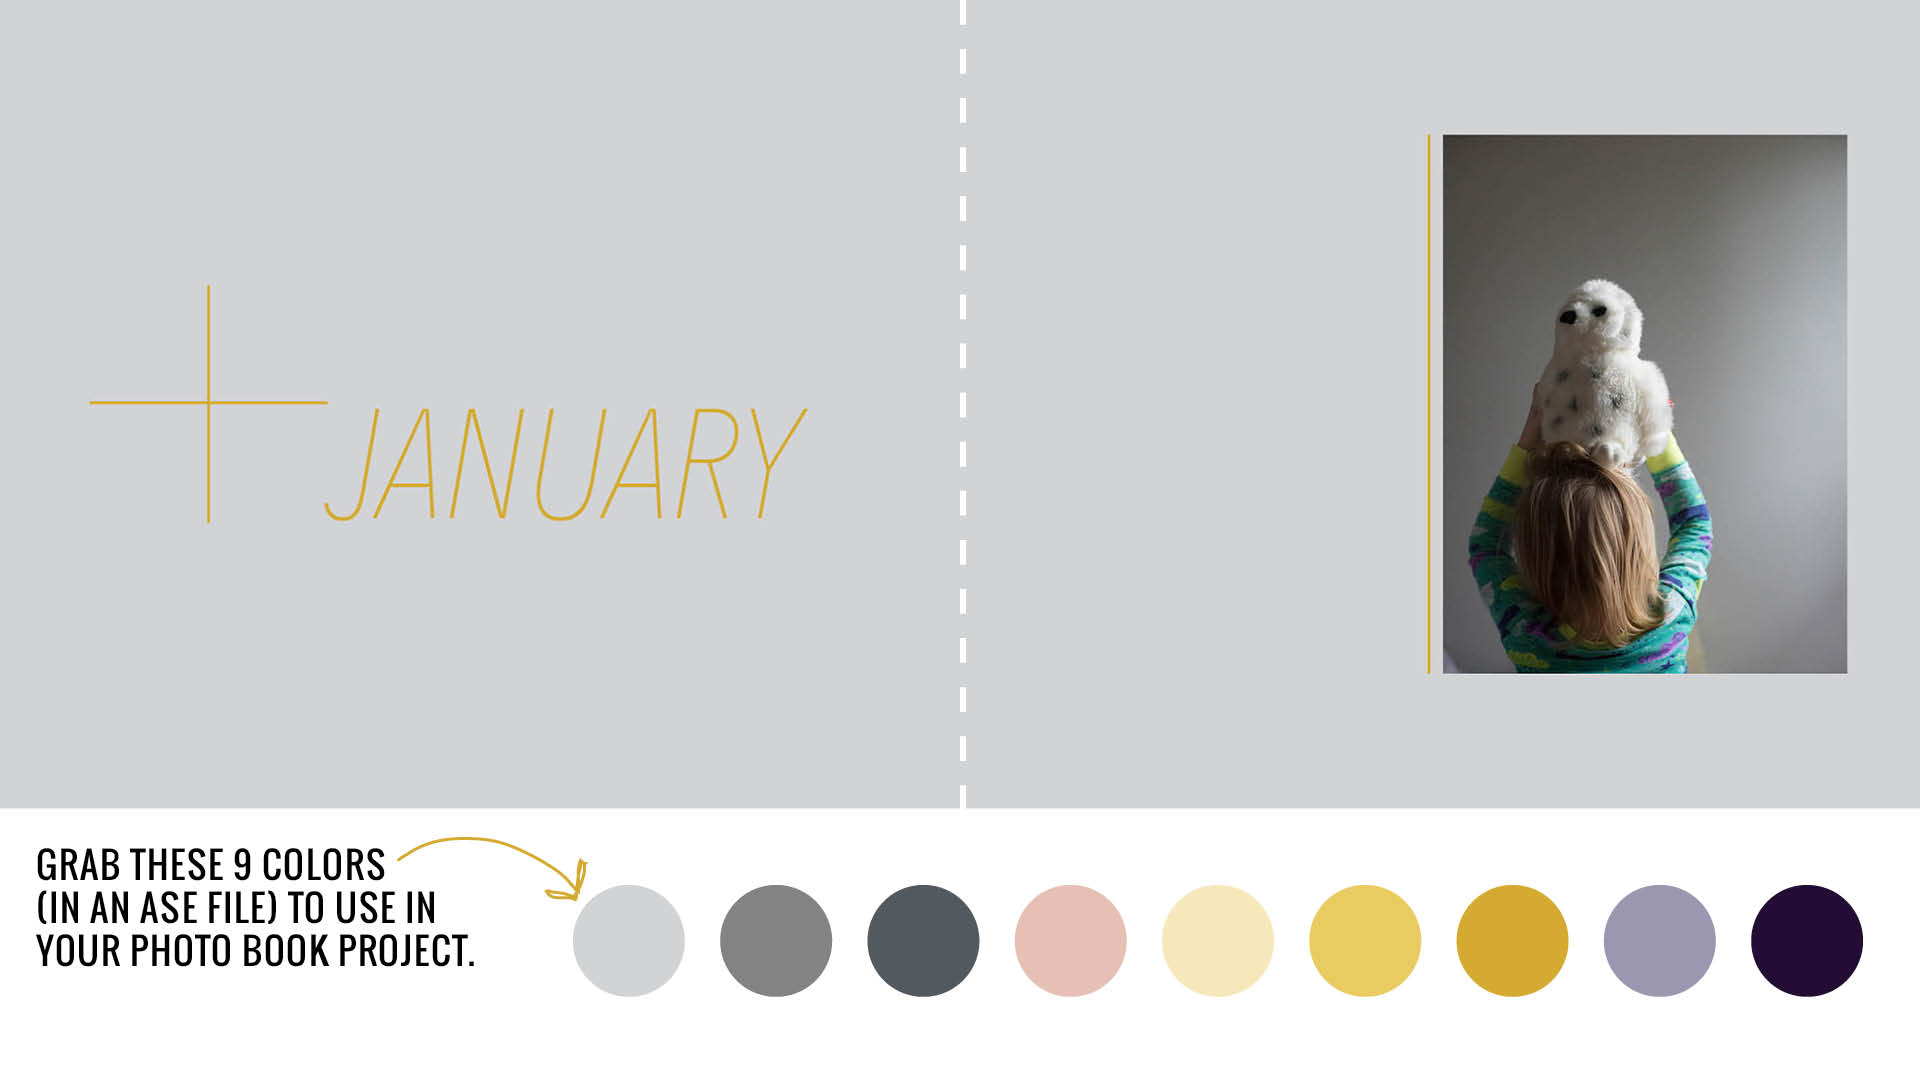
It’s time to practice! I’ve created 9 colors in an ASE file for you to download and practice using on your own. Simply add your name and email address to get these colors and stay on top of my favorite tutorials to make making a photo book a little easier and more fun!