by Stacey Wiseman | Aug 23, 2019 | Inspiration, Photo Book Design Layout, Product Feature, Tutorial
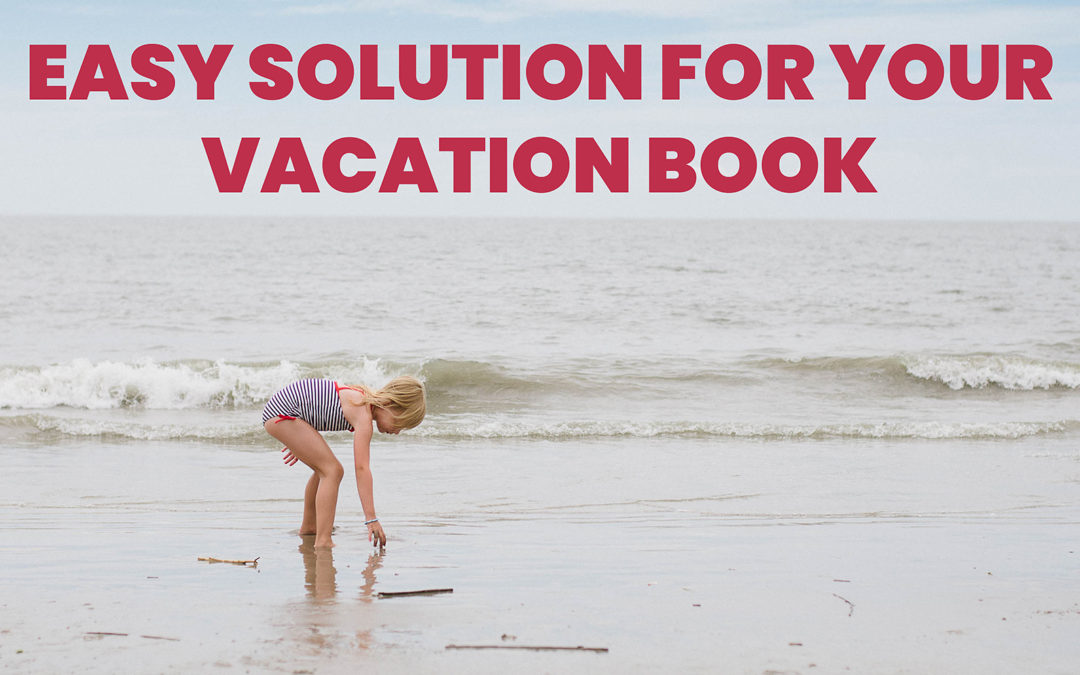
Let’s say, you want to make a photo book of all of your favorite photos. But…..you’ve never had great luck at finishing a photo book.
You start off really excited. Select some of the favorite photos from your vacation. Open up the design software but then you quickly become exhausted with creating the layouts for each spread. Or you get tired of using the typical layouts. It makes your photo book look more scattered than you want.
So you give up.
Which is so sad because these photos are documenting your vacation. And in my family, our summer vacation is the highlight of our year!
Your photos deserve to be printed. Once printed in a photo book, you’ll always have this document to refer back to, year after year. Imagine looking at all of your vacation photo books, ten years from now. It will be a blast to look back through the memories you had as a family every summer.
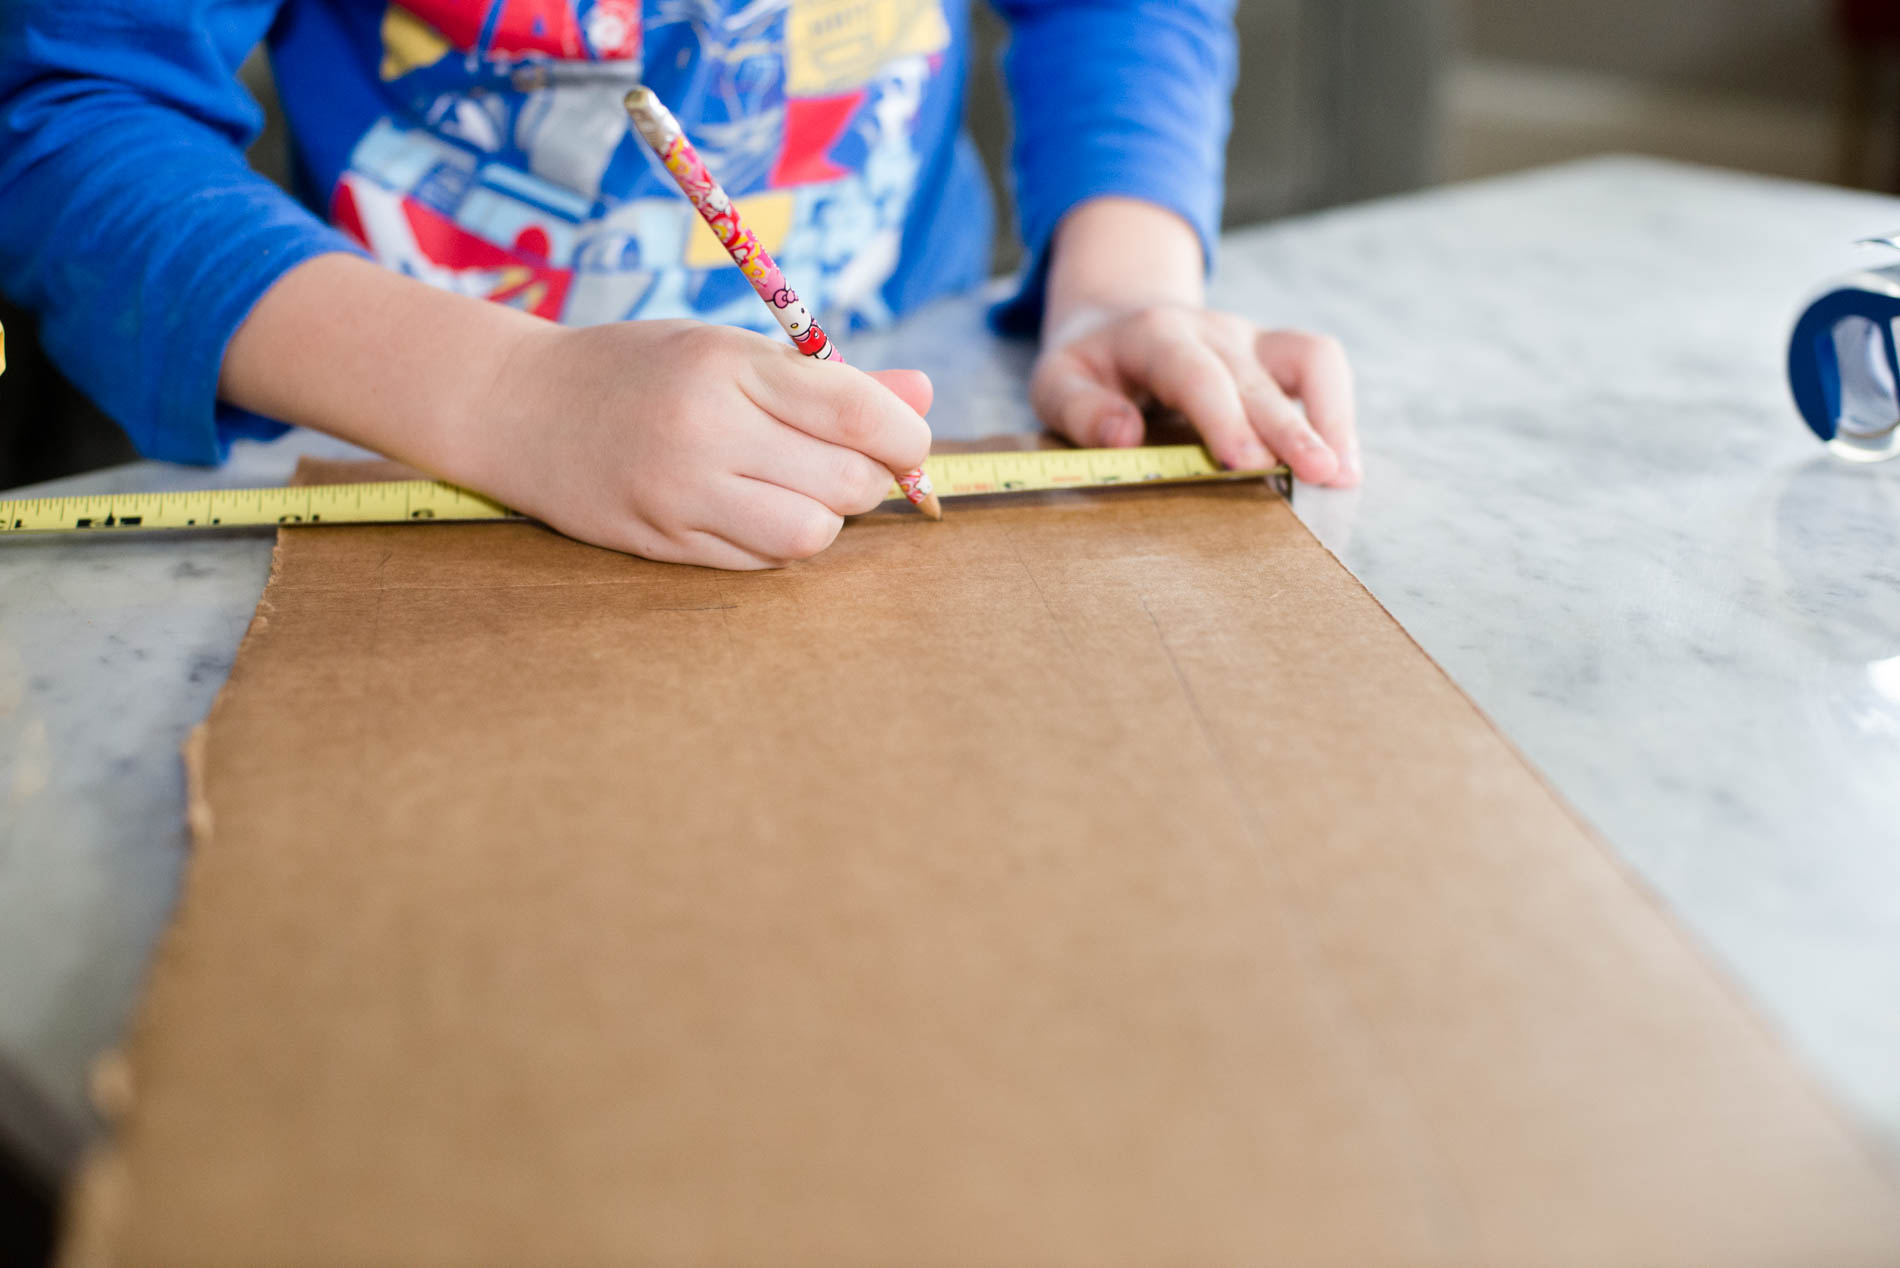
I want to show you that there is an easier way to compile your favorite vacation photos into a beautiful streamlined photo book. It starts with a template.
In particular, I want to show you how you can adapt one of my annual photo book templates to become a smaller, more focused vacation photo book. Take a look!
Ready to get started!?!? Export your favorite vacation photos to a folder on your desktop and purchase my annual photo book template here.
by Stacey Wiseman | Mar 6, 2019 | Photo Organization, Photograph, Product Feature, Tutorial
Over and over again, I hear from people that what makes designing a photo book so difficult, is selecting photos. Even if I design a custom photo book for you, you still have to select the photos, right?!?! So it’s important to get over this hurdle and find a way to make selecting photos less of a chore and maybe even {gasp!} enjoyable!
When I first heard that Marie Kondo was translating her very popular book, The Life-Changing Magic of Tidying Up, into a Netflix show I was excited. I read her book when it first came out but tidying up always comes in waves for me. I’ll make progress over several weekends, then get derailed with life’s other demands.
This is what makes her show so enticing to me. Once I started watching the first few episodes, I realized how much it helps to see her and the families in action to get me back in gear. And whenever I fall off the tidying-up wagon, I can just watch another episode (or one I’ve already seen) to get re-inspired and make progress in my own home.
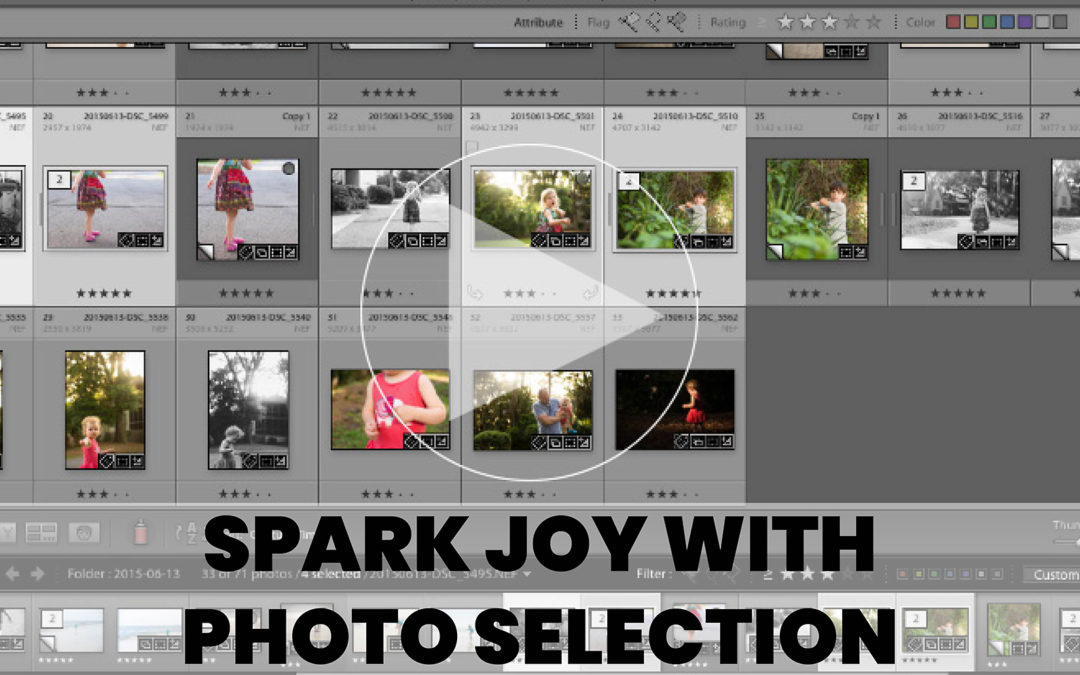
And this led me to photo selection. Kondo’s main mantra on clearing out the clutter can actually help you select photos for a photo book. As you are going through your photos, ask yourself, “Does this photo spark joy?” If so, it should definitely be flagged as a photo to print (either in a book or on your walls).
However, you also have to realize, multiple photos of the same event or moment, is just like clothes in your closet. While you may initially have a desire (joy) to keep 10 black dresses, at some point you have to ask, do I really need all of these? Or are there a few that spark the most joy for me. And that helps to narrow your selection….and all of the clutter.
I’m sure you would say most of your photos spark joy but you have to dig a little deeper. Are you holding on to similar photos just because you have the storage space? If pressed, could you actually select the pose/photo that provide you with the most joy?
Now, I would add one more question to help with your photo selection process.
How do I intend to use this photo?
Particularly when working on a photo book, it’s helpful to know if a photo is part of a series or a grouping – or – if you want it to be a stand-out photo on the page. Asking this question will help you determine if you can select a couple or if you need to be really strict and only select one.
As I mentioned earlier, actually watching someone else go through the decluttering process, helps motivate me to take action. If that sounds like you, I have a Photo Selection Guide ($5) that shows you how I selected photos from 4 different moments in my life. You’ll get access to videos walking you through my thought process while selecting photos plus examples showing how the photos ended up in a photo book layout.
by Stacey Wiseman | Oct 25, 2018 | Inspiration, Motivation, Photo Book Design Workshop, Product Feature, Tutorial
Recently I listened to a Revisionist History Podcast with Malcolm Gladwell titled “Free Brian Williams”. While the podcast starts off describing the moment in 2013 when David Letterman asked Brian Williams about the helicopter convoy he was on in Iraq ten years earlier. During his answer, he claimed that he was on a helicopter that was shot down….but it turns out, he was actually on a different helicopter that arrived on the scene of the ambush an hour later.
This lead to him eventually being fired from the host of NBC Nightly News and he was excoriated in the media for lying. However, Gladwell’s point in using this as an example, is not that he was lying but illustrates an example of how memory can be contorted over time.
{
We are memory fundamentalists. We think our memory is a camera recording our life in real time with a video time-stamped for later retrieval…[But] everytime we retrieve a memory, there’s a chance it can get contaminated. We hear a new detail somewhere about the event and without realizing it, we just add it in. Memory researchers talk a lot about what they call time slice errors. A couple of things happen in the general timeframe and we get the sequence all jumbled up.
Malcom Gladwell, Revisionist History, Free Brian Williams
Memory is fallible. Mutable. Imperfect.
It’s why I take photos and make photo books. Not to capture every single detail; but to capture the essence of my life, year after year.
I take photos to help me remember a moment and while I’m not always successful, I attempt to take photos that remind me of not just what is happening but the emotion surrounding the event.
When I look at photos months or years later, I want to remember the moment and what it felt like to experience it.
And the only way I look back at old photos is through my photo books.
I can’t remember the last time I went back into my photo archives. Due to the sheer number of photos I take, this usually involves an effort to pull out the hard drive, load the digital catalog and sift through the thousands of photos I took that year.
But a photo book transports me immediately.
I just pull the year I want from the shelf, open it up and remember what life was like that year. It’s a collection of my favorite photos, creativity arranged to reflect my artistic voice – similar to my photographic vision.
Take this example a month before my youngest daughter was born.
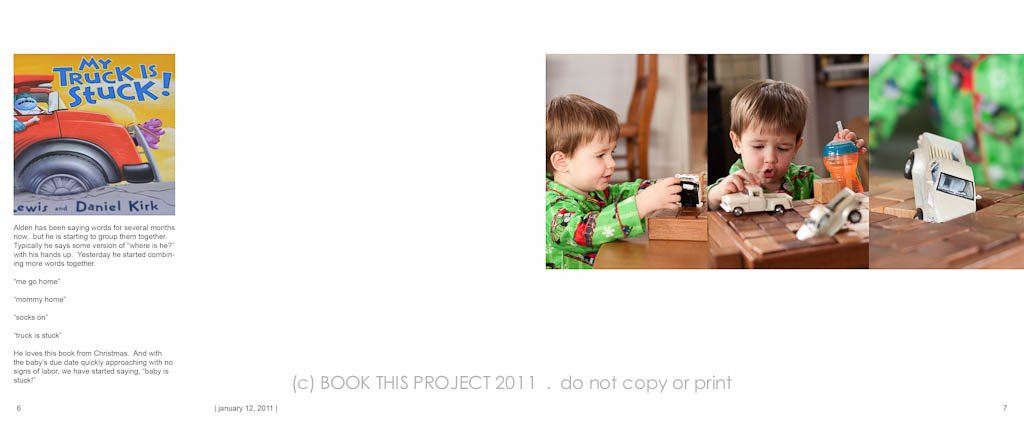
I don’t have to rely on my memory because it is documented in my photo book. When I was nine months pregnant with my daughter, we were preparing for my son to be a big brother. One day we asked him when his little sister was going to get here and he said she was stuck in mommy – because we were reading the picture book, My Truck is Stuck, a lot. It was one of those classic family stories that have been memorialized in a photo book.
Everything about this layout is specific and intentional. Where I placed the photo, the amount of negative space I included, and the font style, size, and color. All of these small decisions led to a cohesive, sophisticated photo book.
A share my entire thought process, gameplan and inspirational layout and book examples in my workshop, Document Your Year. This e-course walks you through how to define your own vision, use the free Blurb design program to its greatest advantage and design a photo book to show off to your family and friends.
Ready to make your own photo book this fall?
Sign up for my free video training sharing 5 tips to make a better photo book. In this 40 minute training, you’ll learn the best first step to make, my favorite 3 tools in BookWright and how to change a layout with one word.
by Stacey Wiseman | Jun 26, 2017 | Photo Book Design Layout, Product Feature, Promotions
I’m not a risk taker.
Approaching unfamiliar situations or trying something physically risky causes a bit of anxiety for me. Usually I like to stick within my comfort zone and it’s only when I’m able to fully observe the situation and figure out if it’s something I can really do, that I finally take the first step in doing something new.
And I’ve realized that this is how I’m raising my kids. Both of my kids are somewhat cautious. They never climbed out of their crib; or climbed on the furniture. They’ve never broken a bone or had to have stitches (knock on wood). And it was only a couple of weeks ago when my son fell during a game of tag and skinned both of his knees that I realized that this was the first time we had a major cut to clean and cover with a large band-aid.
While my kids embrace new or different situations, they always do it carefully and recognize their boundaries and limitations. At the same time, they have a curiosity that pushes them to make sure they don’t remain too complacent.
And I’m the same way. While we are not adventure seekers, we like to approach new situations on terms that feel comfortable to us.
Design can be the same way.
Sometimes you want to break the mold of placing all of your photos in the center of a photo book layout. You want to try something different, unique, extraordinary. Yet you feel stuck trying to reach outside your comfort zone.
I totally get it.
Trying new things with your photo book can be a little scary without a safety net. Sometimes it takes seeing how it can be done, to feel confident to try it with your own photos.
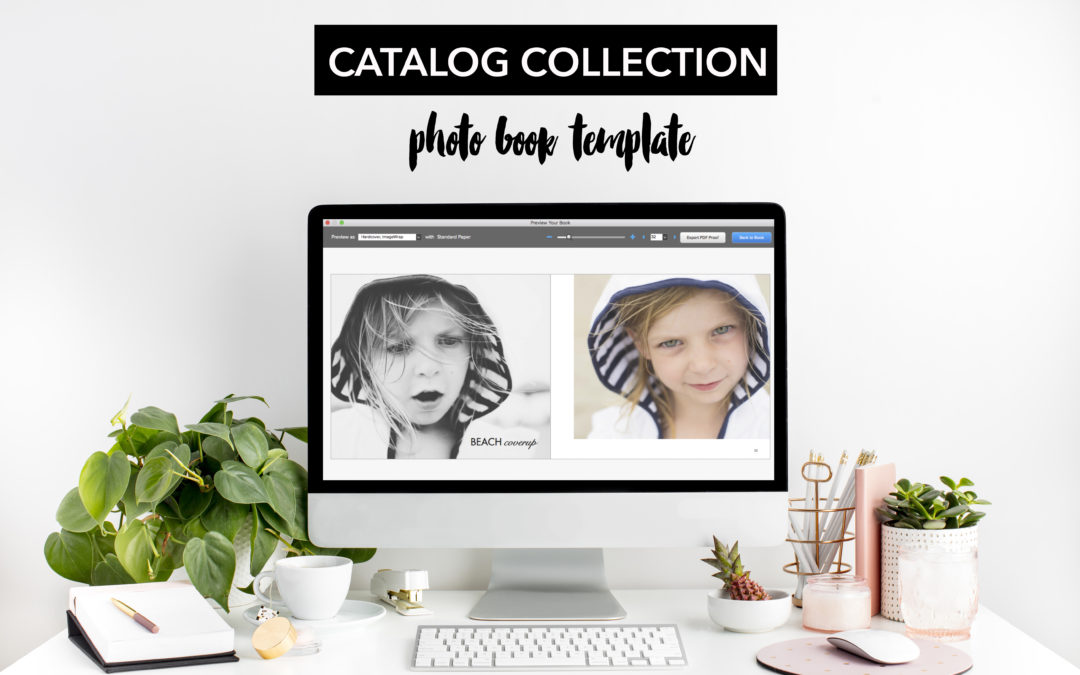
That is exactly what I’ve done with my new photo book template: Catalog Collection.
I observed and studied my favorite catalogs then practiced a couple of different layouts to see what I thought would work best for an annual photo book. I wanted to create a sleek, modern look that feels refreshing to flip through.
Consider this template your safety net to try something new when it comes to design.
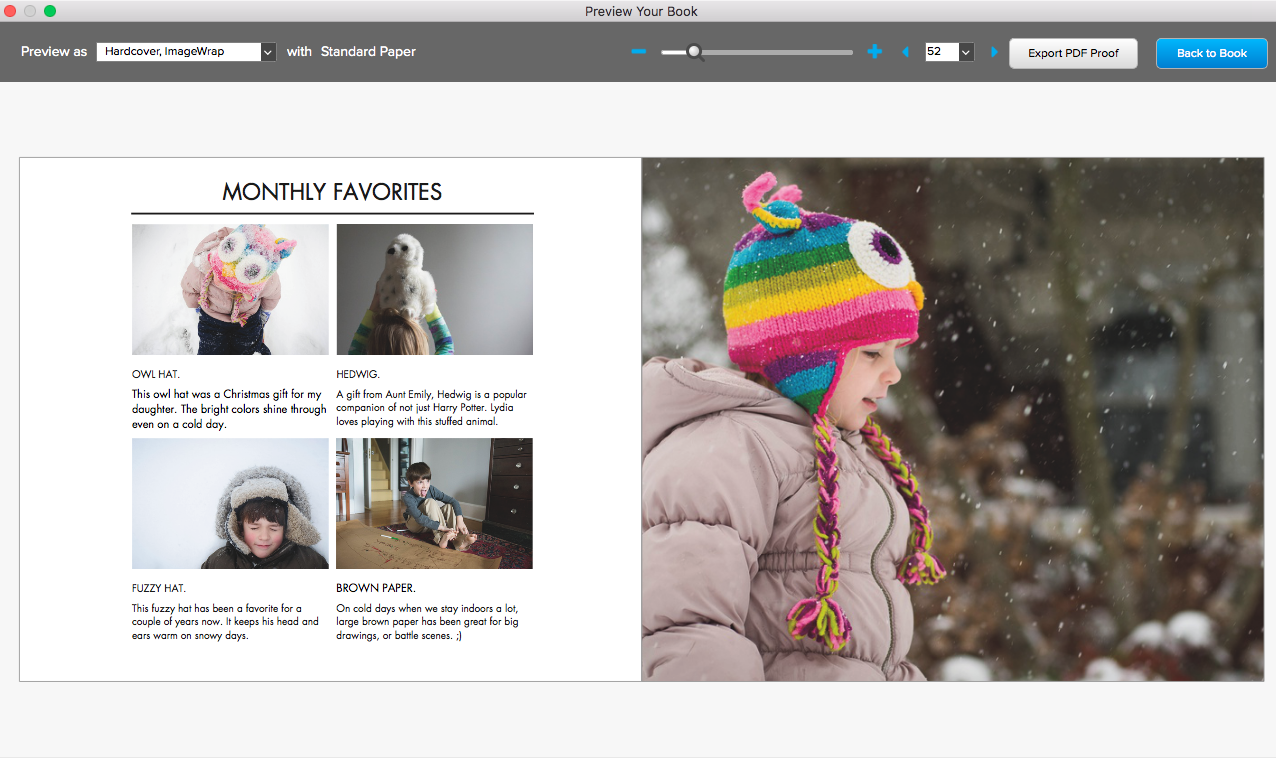
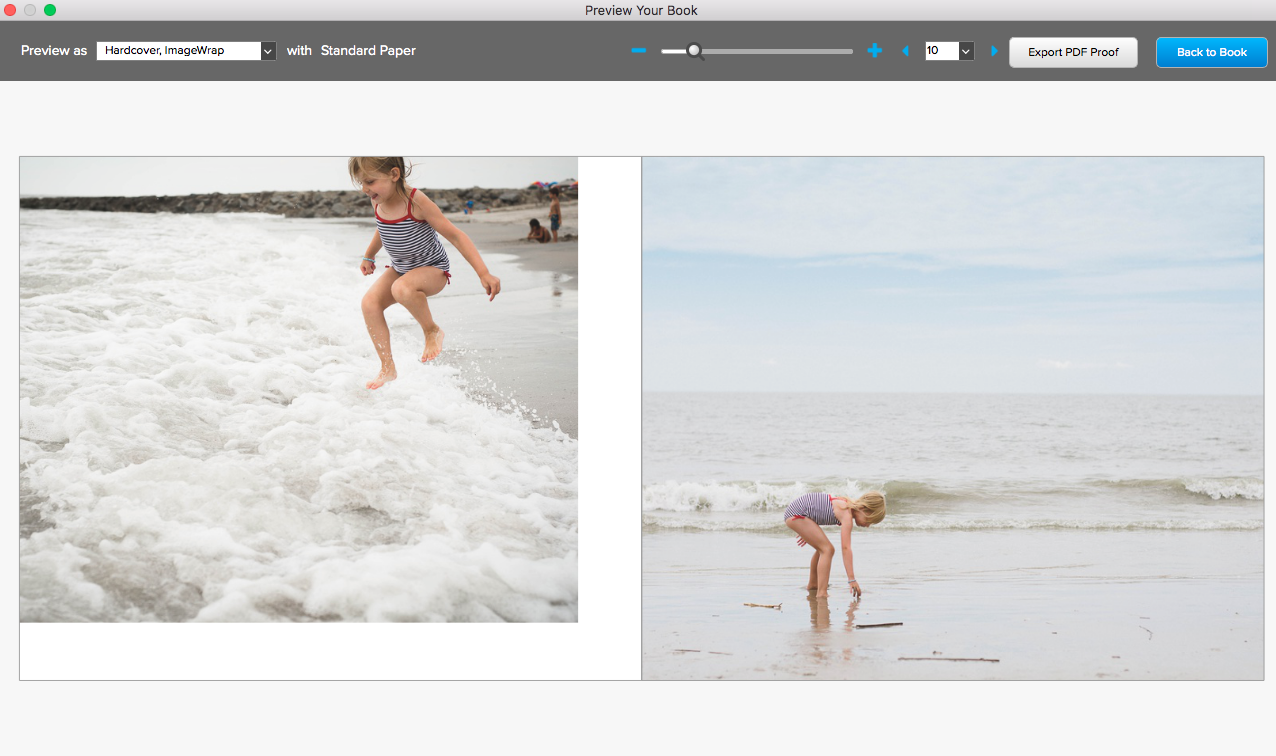
Here’s an example of a layout and how it looks with photos placed in it.

Plus, the template comes with unique layouts to share tell your family story in a fun way. The photo book template comes with a 36-page PDF instructions to help you customize the template to fit your vision.
If you’re hoping to work on your family annual book this summer, start with this template to save you time and design a photo book with unique layouts that push design boundaries in a careful, thoughtful way.
Want to get this photo book template to save you time in creating a beautiful photo book for your family photos?
Purchase the template today to access my template file, favorite layouts and PDF guide on customizing the layouts to fit your photos.
by Stacey Wiseman | May 9, 2017 | Family Photographs, Inspiration, Photograph, Product Feature
Once I finished this photo book for my sister-in-law, I knew this was something I had to try for myself. While I do not have a major life-changing event, such as a having a baby, I still know that our lives change in subtle ways. And these shifts in our everyday routine become more apparent when they are documented in photos and printed in photo books. Once printed, the patterns of everyday life and how the evolve become more apparent after 6 months, 12 months, 2 years.
By isolating your year to two days spaced out by 6 months, you have fewer photos to cull, edit, and export for a book. This makes it easier to focus on the design. To try something new with how to arrange the photos. To have more fun and experimentation with design elements.
I’ve set this up as a challenge to my Photo Book Club Members to work with me on documenting our life changes over time in a very unique photo book. The goal is to limit the type of photos – either by event or time span – in order to focus on the design vision and how to best represent the photographs.
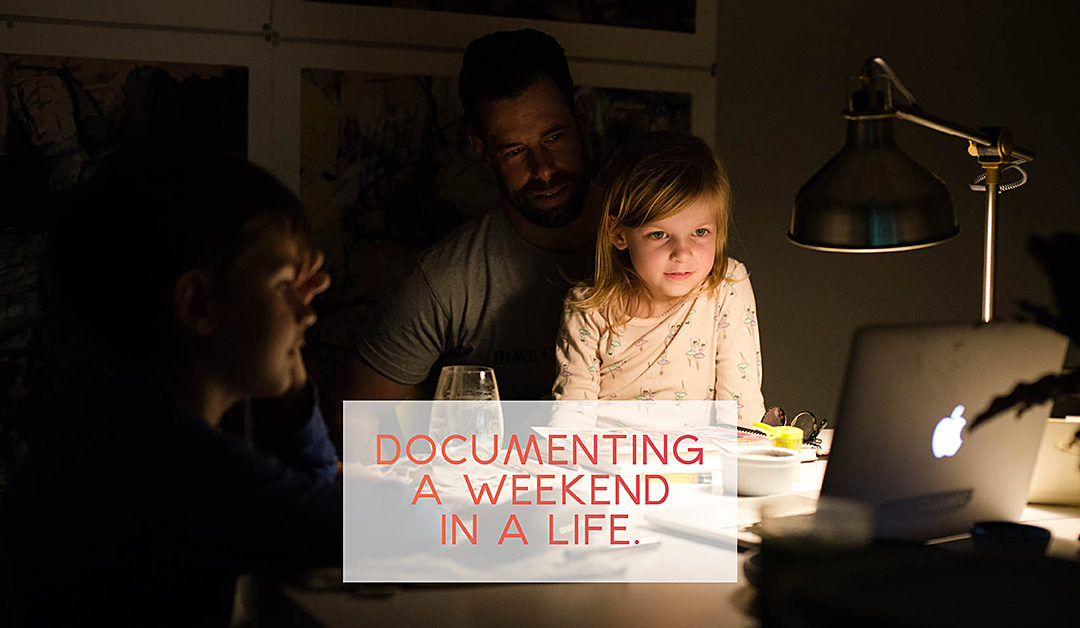
Now, some of the Photo Book Club members are using this as an opportunity to dig into their own archives to select photos that have repeated over time, such as frequent trips to Disney or Christmas mornings. Others are following my goal to document a weekend in the life in the spring and again in the fall, six months later.
I just wrapped up shooting my first weekend and will wait until late October before I shoot the next round. I thought it would be fun to share some of my photos from my first weekend. It’s been a while since I’ve been consistently photographing my family….so it took a bit of energy to remind myself to pick up the camera. But I’m glad I did and can’t wait to see what our life looks like in October!
Want to make your own Two Days in Six Months Photo Book? Click here for advice and help to make this special project for your family.
by Stacey Wiseman | Nov 6, 2016 | Product Feature, Promotions
In the spring of 2014, the New Jersey band Real Estate released a new album, Atlas. Pitchfork described it as their most forlorn album and their most beautiful. That summer, it was our go-to album
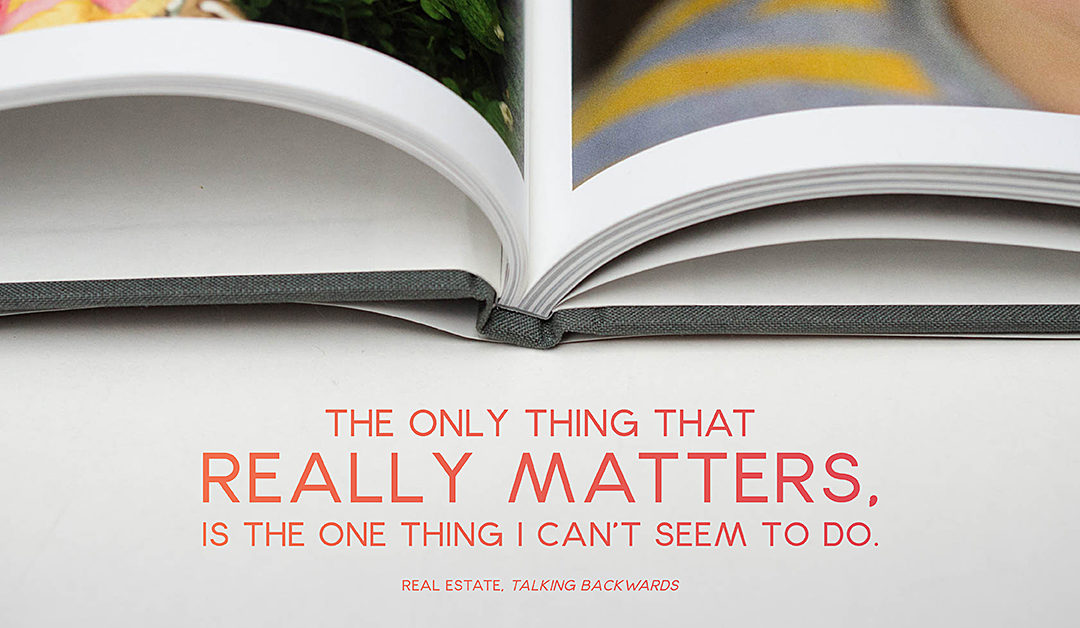
I was particularly inspired by the song, Talking Backwards. Although it’s about a guy having a hard time telling his girlfriend he loves her, I couldn’t help but find other parallels to things that, for whatever reason, hold us back.

Talking Backwards became my theme song for creating In One Hundred Pages. I wanted to help creative moms who can’t seem to find the time to print their photos even though they know how important it is.
You pick up your camera and take pictures to capture fleeting moments.
You take photos because you love your kids and want to remember them at this moment.
You capture real moments – the smiles, tears, tantrums, laughter.
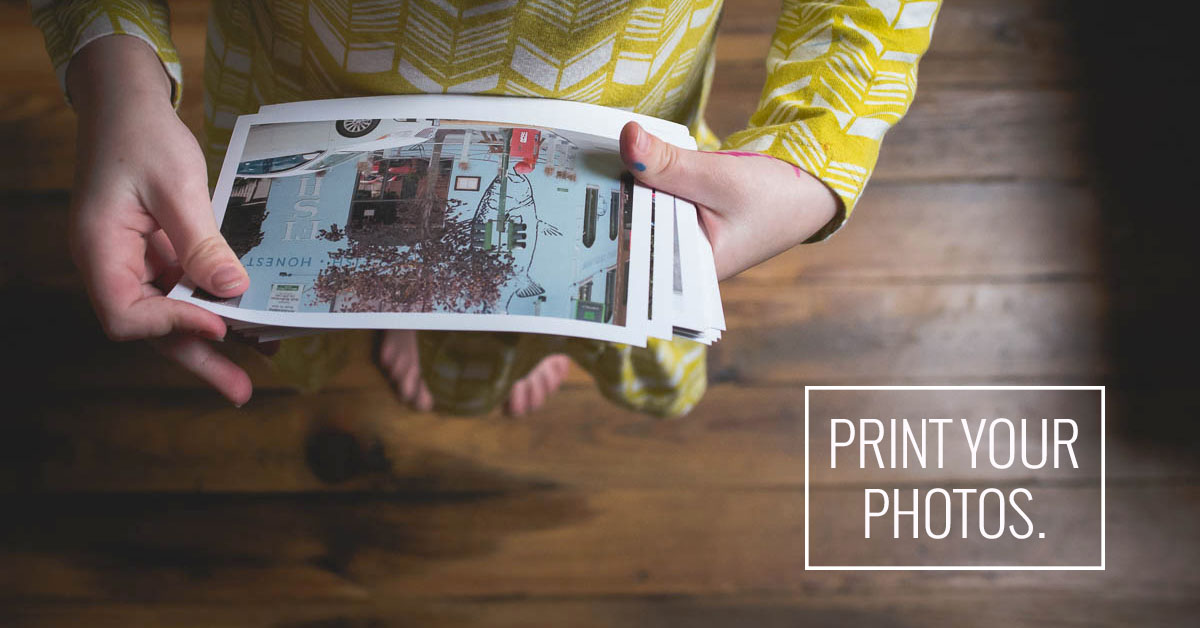
But for so many of us, when it comes to printing our photos, it’s the one thing that’s so hard to do.
Years from now, do you want to huddle around your computer, phone, Facebook or whatever other digital device/network that’s around to reminisce?
Instead, imagine looking through a photo book.
Flipping page by page, remembering your family’s big and small moments.
Imagine seeing your favorite photos from the year in one place.

If you love the idea of an annual photo book…..but never find time to make one….In One Hundred Pages is for you.
It’s my version of the faster-to-do, must-have annual photo book.
It’s one thing that really matters.
If there’s one photo book you make this year, tell your family story In One Hundred Pages.
Join me today.


by Stacey Wiseman | Jan 19, 2016 | Inspiration, Motivation, Product Feature, Uncategorized
Ah, January. The time for making resolutions and setting goals.
I have to admit, I get a little caught up in the beginning of the year / time to start fresh season. And if I’m being honest, I have the same feeling in August during the Back-to-School rush! What can I say, I’m planner at heart. It’s one of my favorite things to do.
Of course, I’m setting the typical goals. I started working out more in 2015 and would like to be more consistent in 2016. This sounds almost silly to type, but I also want to drink more water throughout the day. Sometimes I get so caught up with work that I forget to drink the recommended 64 ounces.
I’m also hoping to do more crafts with my kids. Throughout December, I participated in my first ever 25 Days of Christmas. We spent a lot of those days working on crafts and food-related activities. I realized how little I do this with my kids throughout the year….and how much fun they had doing them. Obviously, this is not something I’m going to do every day; but I do hope to have a craft or recipe to bake every weekend.
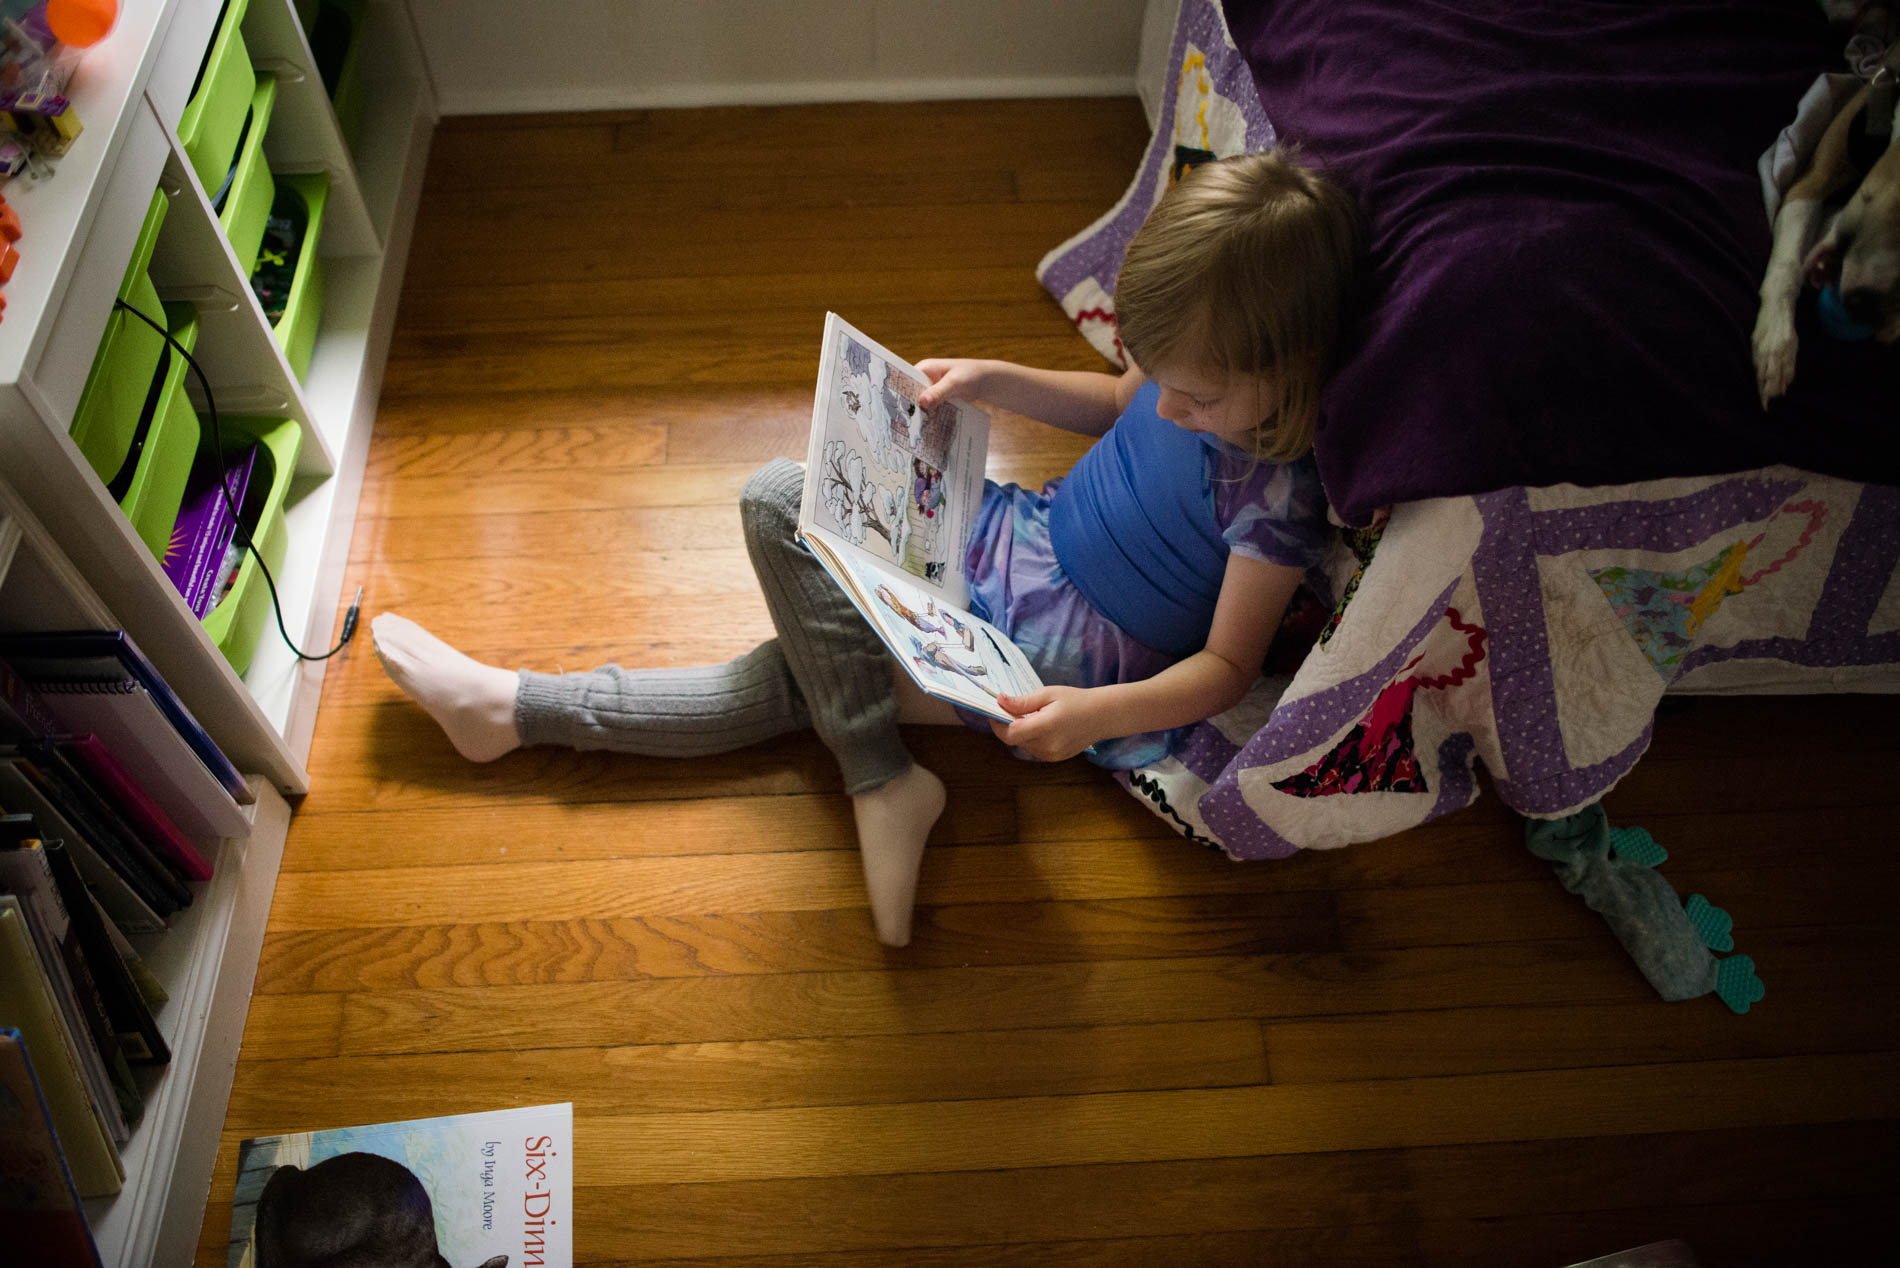
After I finish my In 100 Pages Photo Book, I use the collection of my photos to figure out how to define my photography goals for the upcoming year. As I looked through the photos contained in my book, I realized how few storytelling photos I have. In a lot of ways, the photos tell more about where we go instead of what happens around the house. I want to take more photos that include environmental clues about our home, the interaction, what my kids play with. I love taking portraits. It’s something that I know I’ll continue to take. So I set my goal to attempt to capture more conversations and tell our story within the frame.
As for my photo book goals….I’m somewhat embarrassed to admit….but I’m a little behind on my annual photo books. I’ve made plenty of personal books (and books for my clients). But I miss my in-depth annual photo books. Similar to my photography goal, I want to make a photo book that includes more text and photos than a lot of my other books.
My goal for 2016 is to finish my 2015 photo book and stay on top of my 2016 photo book.
To help me stay accountable, I’m hosting a 2016 Mastermind.
I’ll share my progress in a private facebook group and interact with others who are also setting the intention to print more of their photos in 2016. One of our first exercises is to make a SMART goal. Now, I’m sure this is something that you’ve heard of. It’s a common concept for a reason – it helps you set a goal that you can actually achieve. Now there are a couple of variations but for this post, I’m assuming SMART stands for: Specific, Measurable, Attainable, Relevant, Timely.
To show you how this works for my photo book goal, notice what I said above – “I want to finish my 2015 photo book and stay on top of my 2016 photo book.”
Not exactly a SMART goal.
Let me re-work it a little.
Specific. I want to make a 240 page photo book with approximately 1,200 photos from 2015.
Measurable. I want to start working on this book in February and finish by the end of July (6 months). This means I need to complete 2 months of pages, every month, for 6 months.
Attainable. This is achievable and something I’ve accomplished in the past.
Relevant. It’s extremely relevant because 2015 just ended and is still somewhat fresh in my mind. It’s also something that is really important to me.
I value printing my photos and sharing with my kids, family and my future self. 😉 Timely. Yes, I’ve given myself a time limit to work toward and track my progress. I want my 2015 photo book completed by the end of July. All of these define a much more specific goal:
To complete my 240-page photo book with 1,200 photos from 2015 by the end of July (finishing two months of pages, every month, for 6 months) while the activities, conversations, and moments are still fresh in my mind.
Now that I’ve stated my goal in this manner, I already have a game plan and a better shot at achieving it. Over the next few weeks, I’m going to be working with my mastermind participants to further refine their photo + printing goals to make sure they meet the SMART criteria.
by Stacey Wiseman | Jan 27, 2015 | Photo Book Design Layout, Product Feature
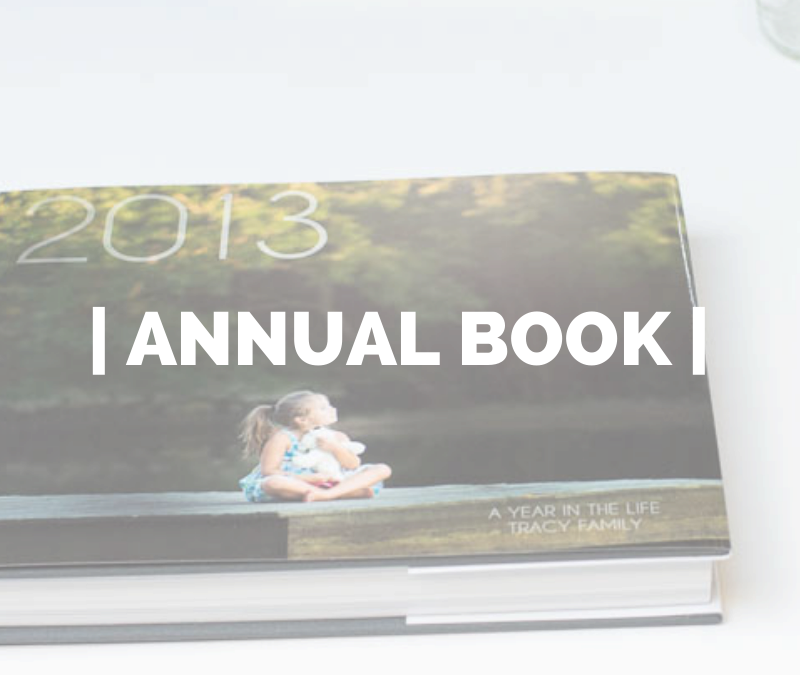
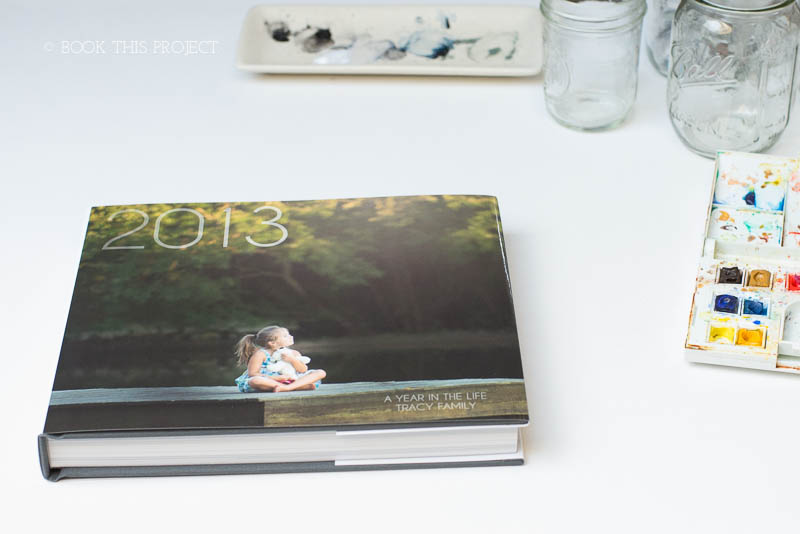
An ancillary benefit to designing photo books is to live vicariously through my client’s lives. And the C Family in Indiana is no exception. I have to admit my jealousy over the travels this family took in 2013. Last summer, they loaded up in a RV and traveled across the country. It looked like an absolute blast.

Working on her family photo book reminded me of one of my favorite trips out west as a child. Many years ago, my sister, brother, and I were marooned in the back of a station wagon for what seemed like days. But the agony of being cramped and hot was worth it once we finally arrived at Yellowstone.
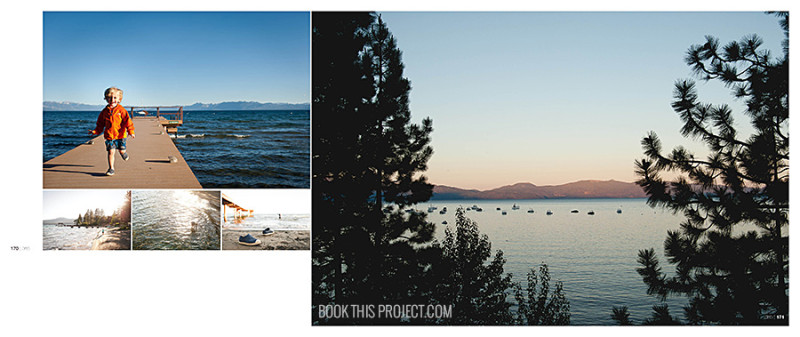
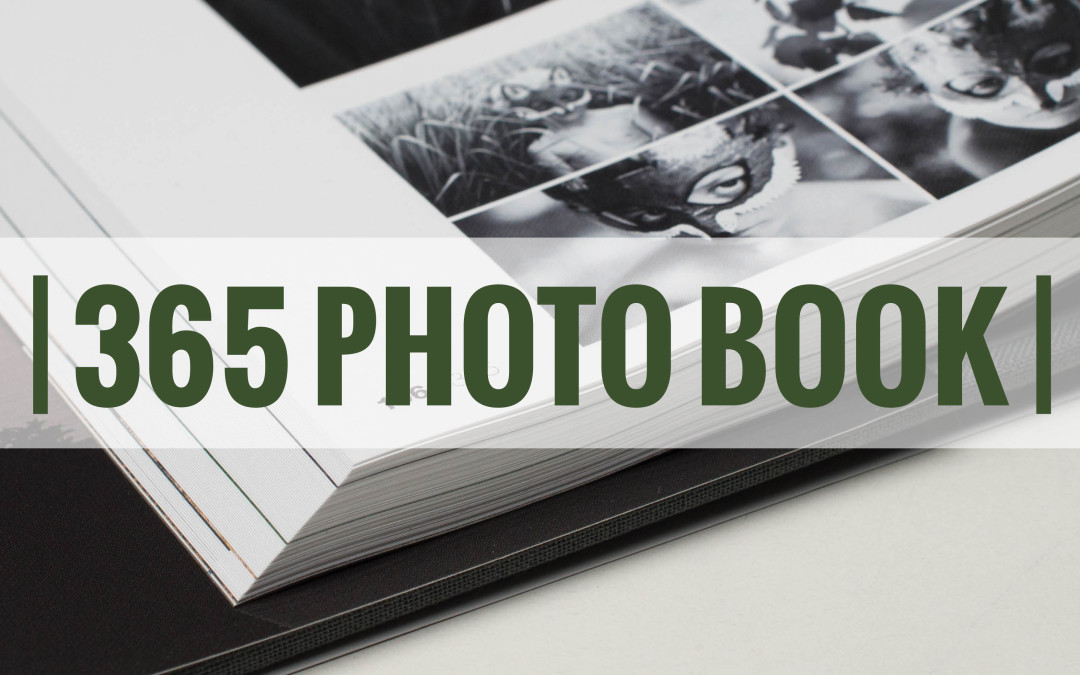
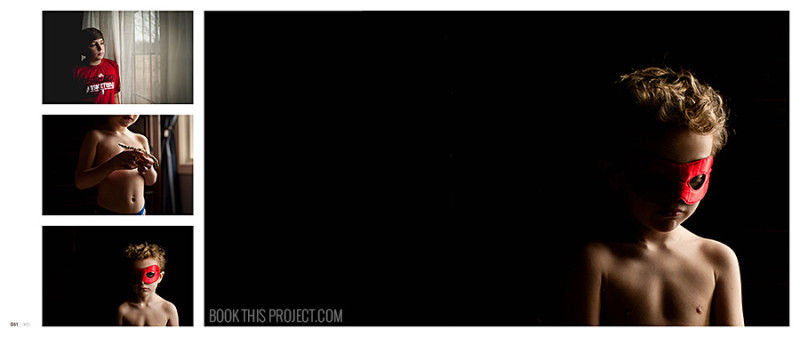
I love that I’m helping to preserve these memories of their 2013 trip by placing them in a photo book. Of course, that was only one part of their year. The entire book actually documents a Project 365 – a photograph taken every single day of 2013.
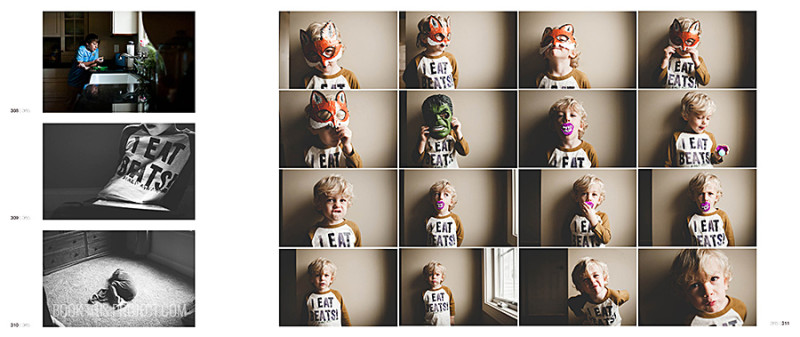
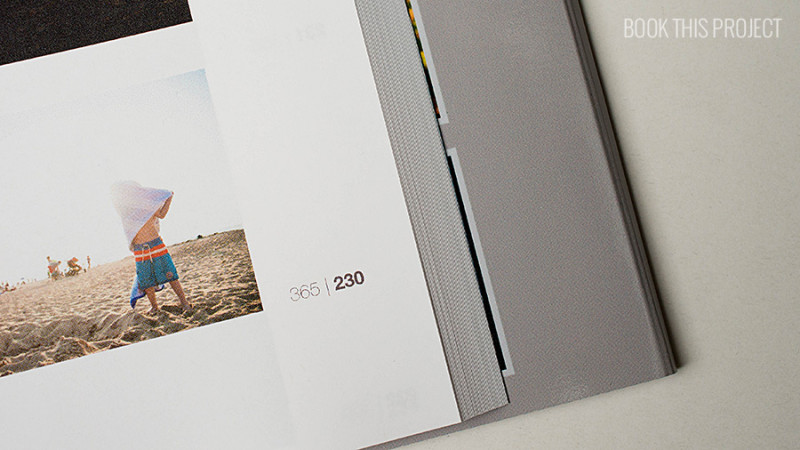
Using the Day # / 365 was an important detail I included in the design. It was the only caption or title throughout the entire book. I did not designate the months, places, or events. Only the day the photo was taken.
This was a monumental project and one that I know my client will treasure years from now. The simple, elegant design of this photo book allows her photos to shine.
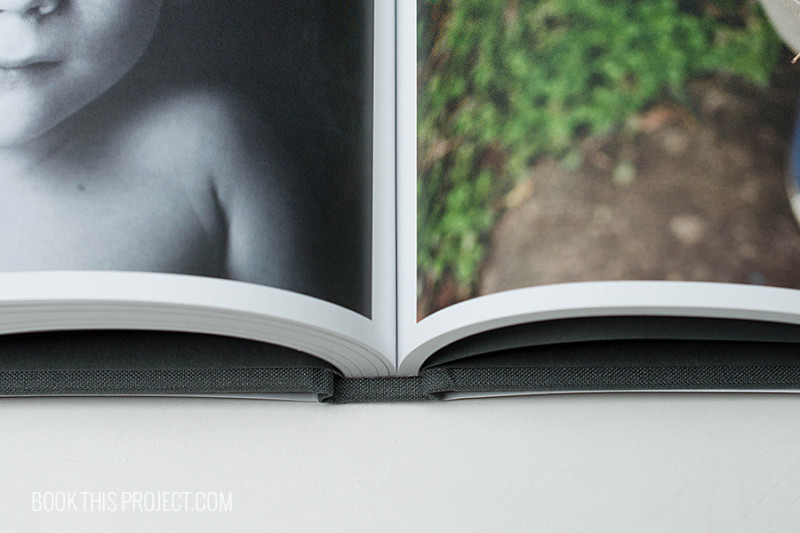
11×8
270 pages
Hardcover Linen with Dust Jacket
by Stacey Wiseman | Jan 15, 2015 | Photo Book Design Layout, Product Feature
Custom Cover Design
Often when I’m designing photo books, I prefer a clean, simple yet sophisticated design to let the photos (and the moments captured in the photos) standout. While this sounds good, I realize it can be difficult to understand what that truly means.
The best way I can explain it, is to show an example. My design for the T_Family, located in South Carolina, is a perfect example. There is simplicity to the layouts because there is order, alignment, and hierarchy. All of the photos are organized on the page in a logical way. The alignment, margins and spacing between photos are consistent throughout. White space is used to provide the eye breathing room to dwell on particular photos. Hierarchy is employed by placing larger images next to smaller ones.
All of these decisions are deliberate. It shows my ability to choose from the photos my client provided to show them in the best possible way on the page. It reveals how I can tell a story of a year, over the course of a book.
Having said that, it’s also important for me to show a design sophistication in the details. For this photo book, I selected an ornate font, soft color palette and graphic that appears on each month section page and page numbers. Since a majority of this photo book documents the life of their daughter, I wanted to present a sophisticated feminine approach. I used two shades of a muted pink as opposed to a brighter more vibrant pink to emphasize the daughter interest in dance.

Section Divider Page
I was elated to learn that my client absolutely loved her photo book. Currently, I’m designing her 2014 photo book – we’re going to change a few elements but the core concept of a sophisticated and modern book design will be the constant driving factor.

11×8
240 pages
Hardcover Linen with Dust Jacket
Would you love for me to design your family photo book? Let me know!

by Stacey Wiseman | Dec 30, 2014 | Photography Tip, Product Feature
It’s the end of the year. Seriously.
I’m sure I say it every year. I’m sure you say it every year. It goes by so quickly. It seems like just yesterday, I was getting ready for my son to start kindergarten. Yet here we are. Another calendar year to be preserved to memory.
Of course, I love creating photo books to document the year. But to add a little fun, I also love making a video of our year using photos and videos.
Here’s what I look for when making my end of the year video:
1. Horizontal photos.
2. Photos in a series – even if some are slightly out of focus.
3. Photos with funny and differing expressions.
4. Photos featuring family members.
5. Not necessarily my favorites (those are for my photo book) but photos and videos that represent our year.
Of course, I could spend way more time editing each photo in the video – but then I would never finish!!! My goal is not to have a perfect product but to finish something that my family can watch together for years to come. This is the third year in a row I’ve made one of these videos. It’s now a tradition!
Here is my 2014 video.
I know….there are a lot of photos! And they go by really quickly. But what I try to do for these videos is show several photos that are very similar with slight adjustments. It’s a lot of mini-stop motion photos spliced together to convey our life. It helps to show the variety in our year.
For this video, I worked really hard with the pacing of the photos. I tied to match the changing of photos with the beat of the music. To help make the connection, I selected a song with a pronounced beat. While the photos are chronological, I did not label the months, like I did in my 2013 video.
If you want to follow what I’ve done, I’ve prepared my strategy and screen capture video of working in Apple’s iMovie to create a similar video for your family. I reveal the organizational and program shortcuts I use to save time.
Check out the tutorial!